Cold Climate Abundance - Establishing Our Farm, Garden, & Orchard in Canadian Hardiness Zone 3
  • Home
  • Archives
Home
Archives
Cold Climate Abundance - Establishing Our Farm, Garden, & Orchard in Canadian Hardiness Zone 3
  • Home
  • Archives
Projects & Plans

Planting More Fruit in the Orchard – Haskap!

July 10, 2021 by Dave Trenholm 4 Comments

It was a pretty exciting week here as we finally got to plant our haskap section of the orchard! Our 112 little baby haskap plants actually arrived in a small cardboard box back on June 15 – but they had come straight from the nursery and had to be hardened off first. (This is a process of gradually exposing them to the outside elements of wind and sun over a period of about 7-10 days.)
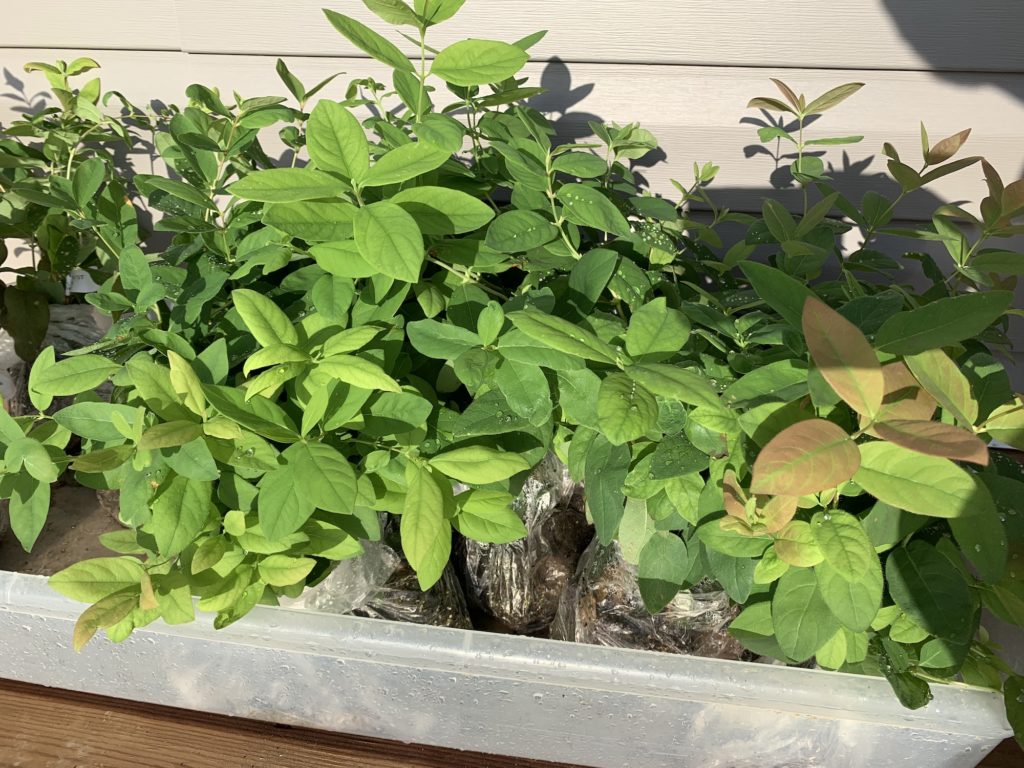
  • Can you believe this is 112 haskap plants?

However, as it happened, Alberta entered a recorded breaking heatwave just about the time these little haskaps were hardened off and ready to get out to the orchard. I decided not to plant them yet, and just keep them protected (and shaded) around the house until the heatwave passed. This wasn’t ideal, but I’m sure it was better than setting them out to bake in the sun! It wasn’t until July 5 (20 days after they arrived) that the weather cooled off enough that I felt it was ok to plant them. It was a bit overcast with a high of only about 20° – so that was perfect for planting! The rest of the week was forecast to be between 25° and 30° (not great for little plants) but I didn’t want to keep them in their little plastic bags any longer and so we planted!

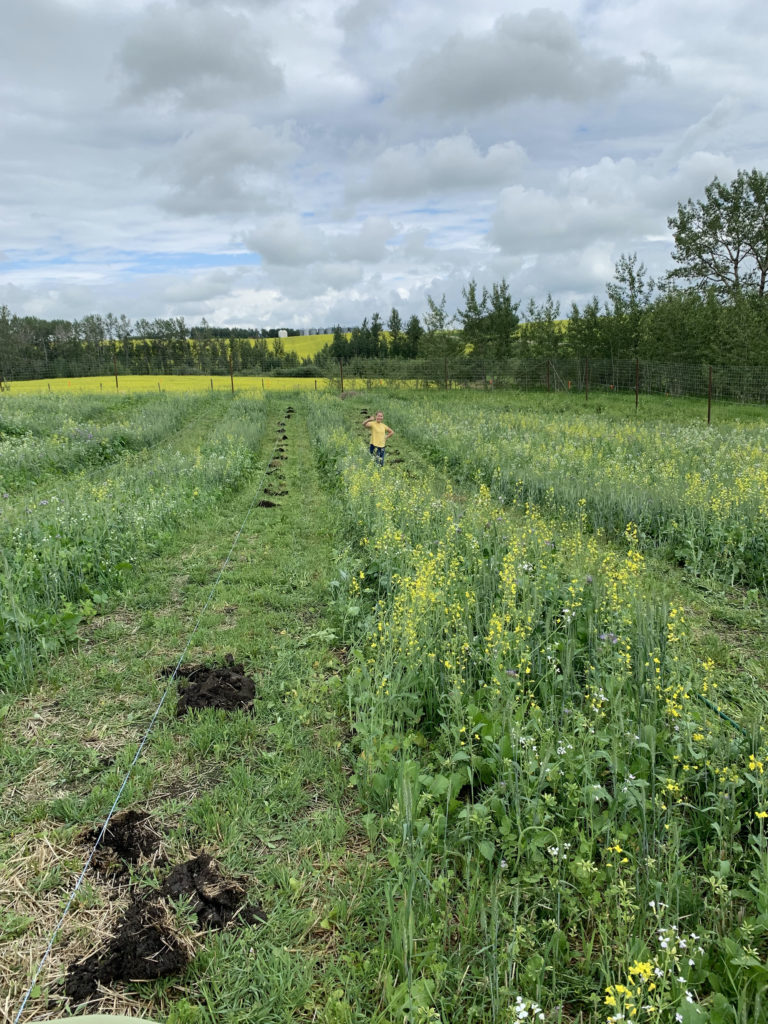
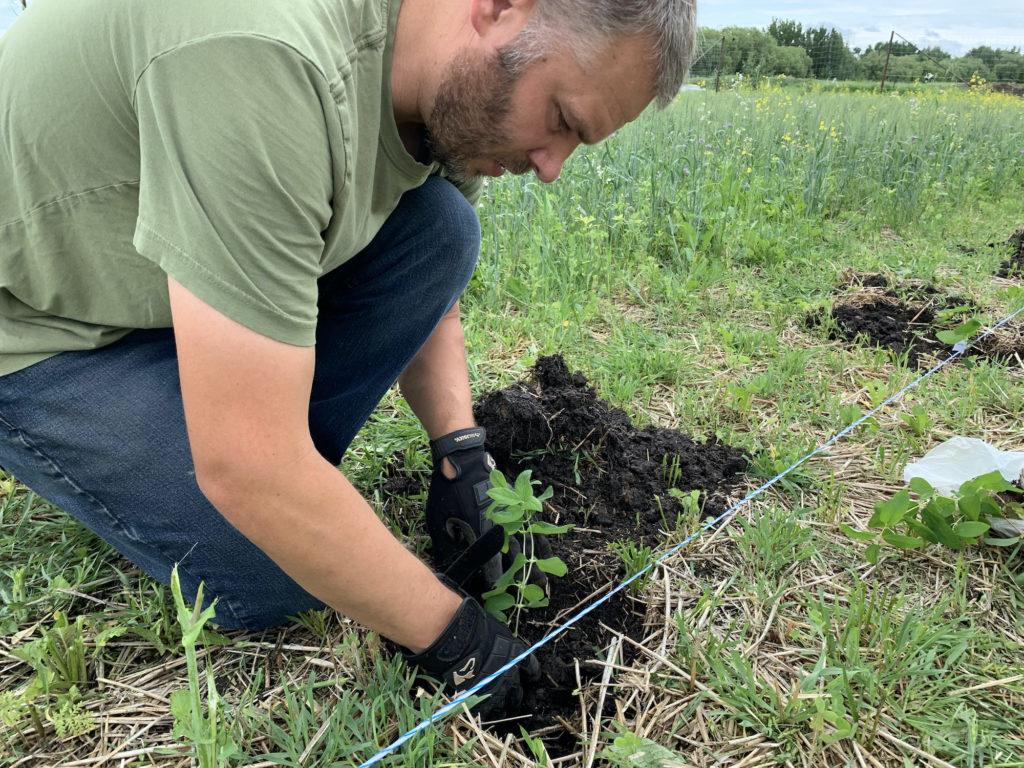
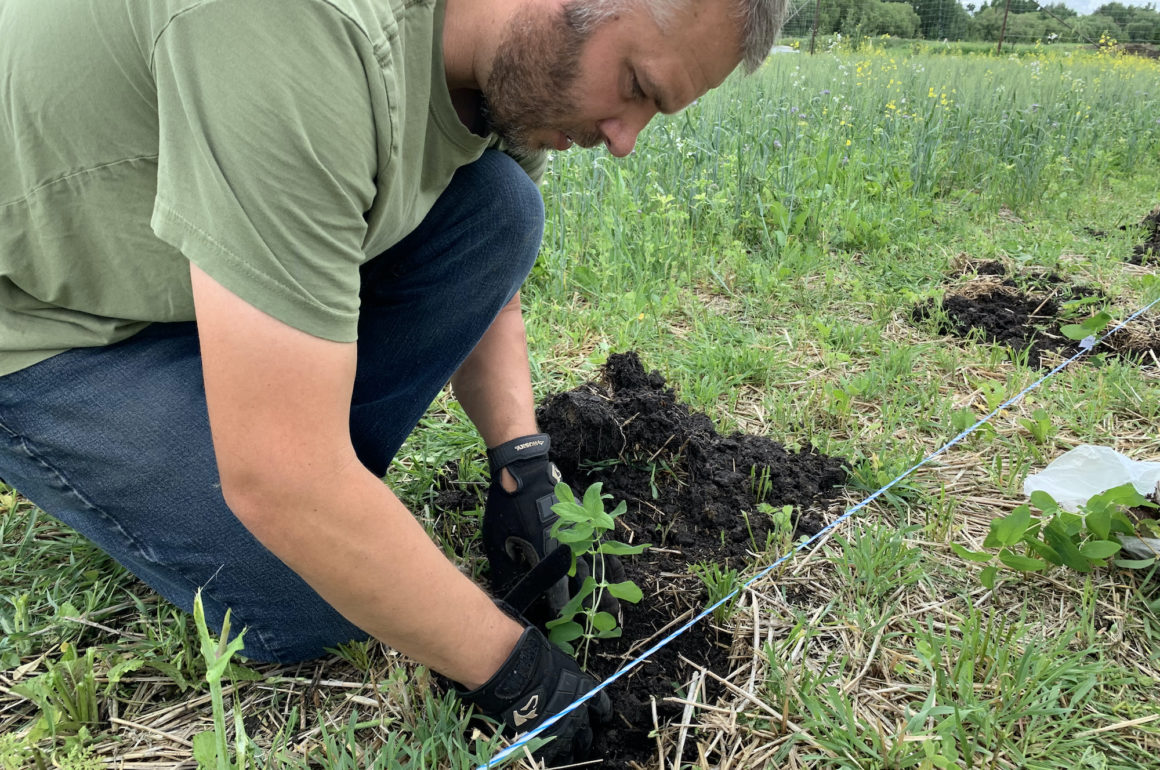
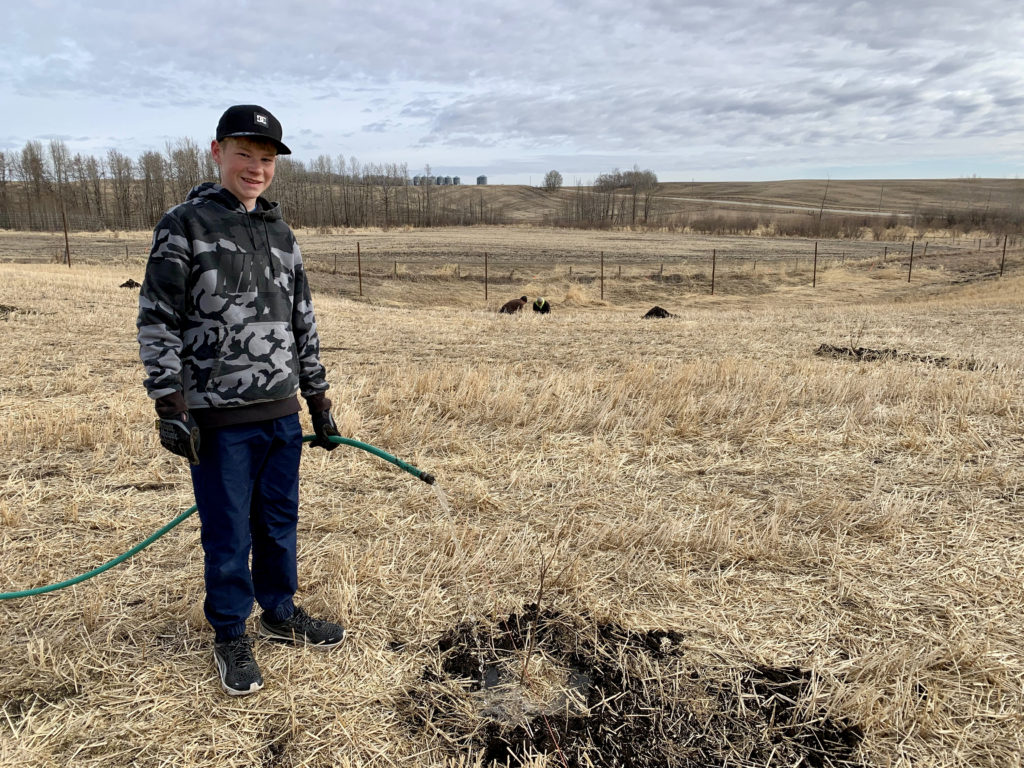
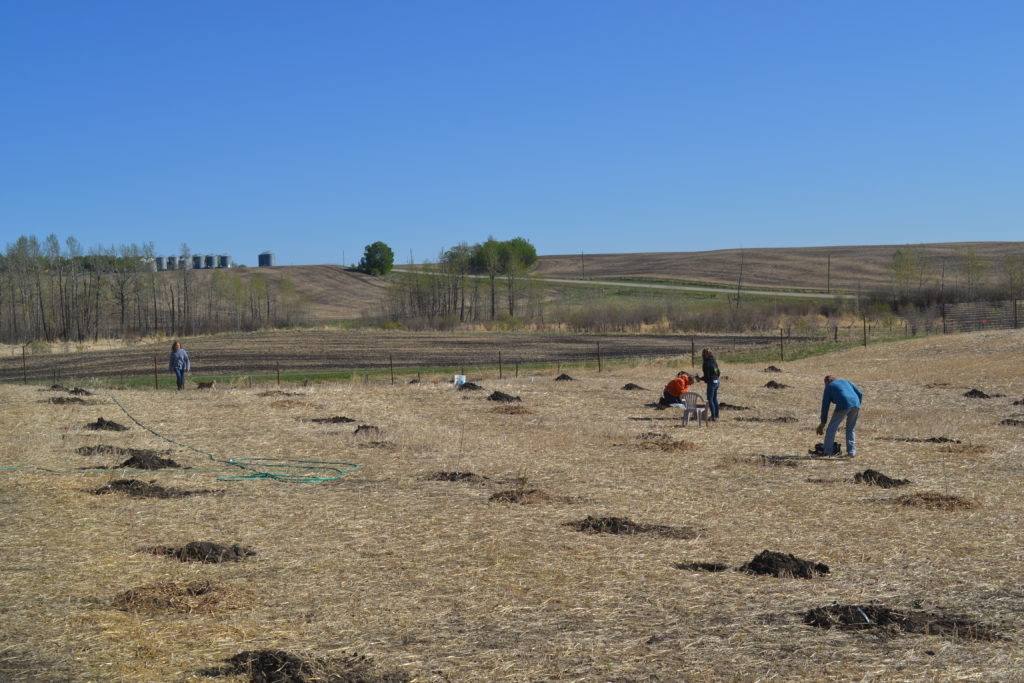
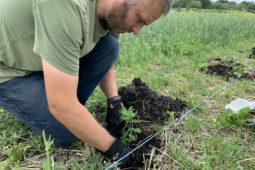
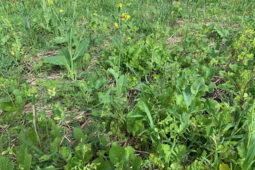
The first thing I did was to mow a strip through our covercrop. Our covercrop (of barley, canola, radish, turnip, peas, clover, phacelia and several other varieties) was growing really well in that area of the orchard and was super thick! But I needed to be able to run a string line to keep the rows straight, so a couple passes with the mower cleared a nice path! With that done, I strung my line and tape measurer and my son Ben & I planted the little haskap plugs in rows of 16 plants spaced 5 ft apart. As we planted, my daughter Allison watered them in good!
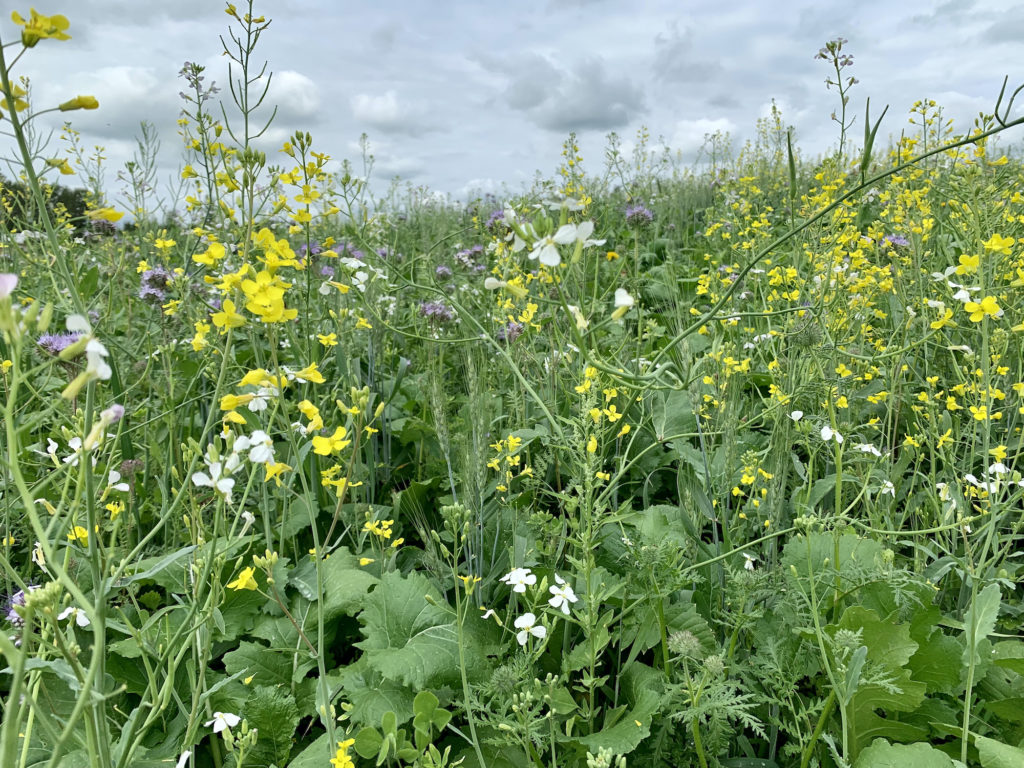
  • Covercrop!
  • Preparing the haskap rows
  • Holding a haskap plug
  • Planting Haskap

There were 16 plants of each of the seven varieties I had ordered – Boreal Blizzard, Boreal Beast, Boreal Beauty, Aurora, Honeybee, Indigo Gem, and Indigo Treat. (I had also ordered Borealis and Tundra, but they were unavailable at that time – I’ll see if I can get them later this fall.) Because of the extended time before I could plant them, a handful of the plants ended up not looking well and I think I’ll lose some of them. The record-breaking heatwave is over, but the hot weather continues and some plants have had some wilty moments.

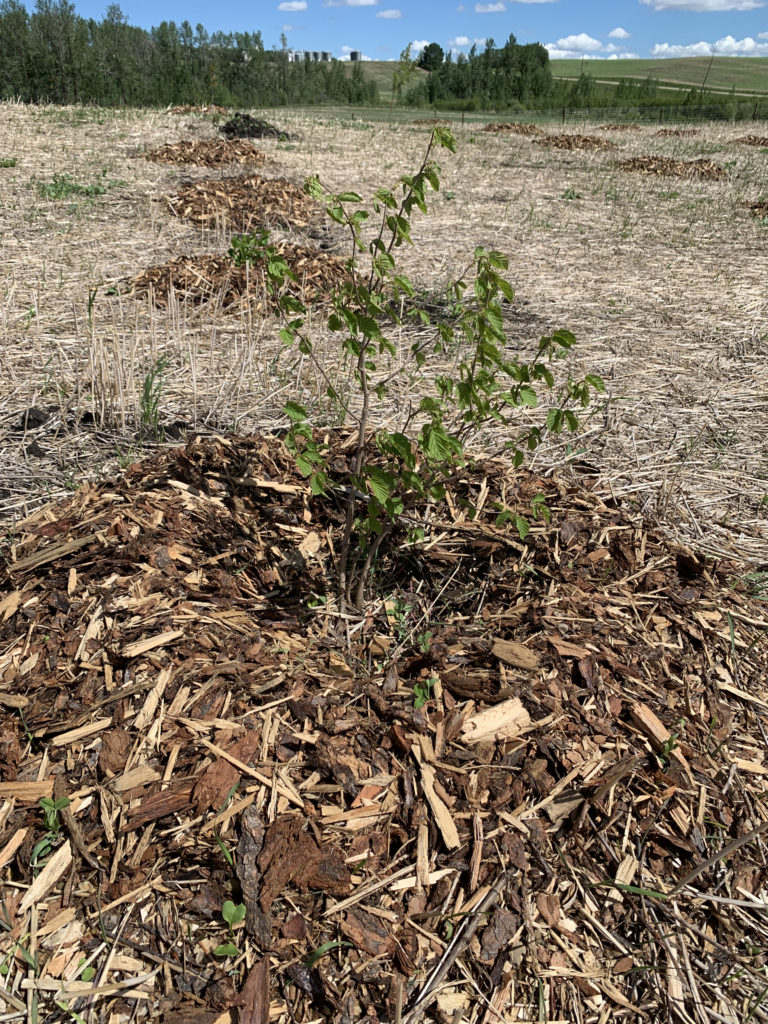
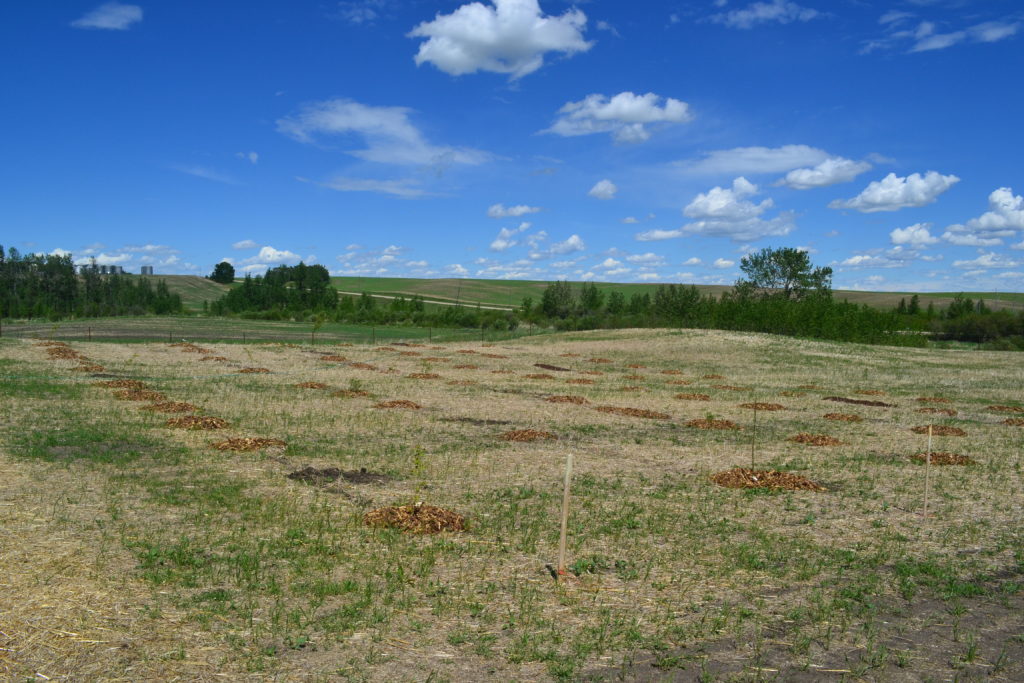
I’ve had to water them daily so far – I’m hoping to get some cooler cloudy days soon and can start reducing the amount of water they need. I also have a pile of mulch I need to apply – but so far I haven’t had a chance to do that! I think that’ll be Monday’s job!

If I could do it again, I think I would order for fall delivery and planting – mid-summer is just too hard on the plants. But I think the vast majority of plants will come through and we’ll be eating haskap berries before we know it!

Share:
Reading time: 2 min
Projects & Plans

How I Planted My Zone 3 Fruit Orchard

June 14, 2021 by Dave Trenholm 2 Comments

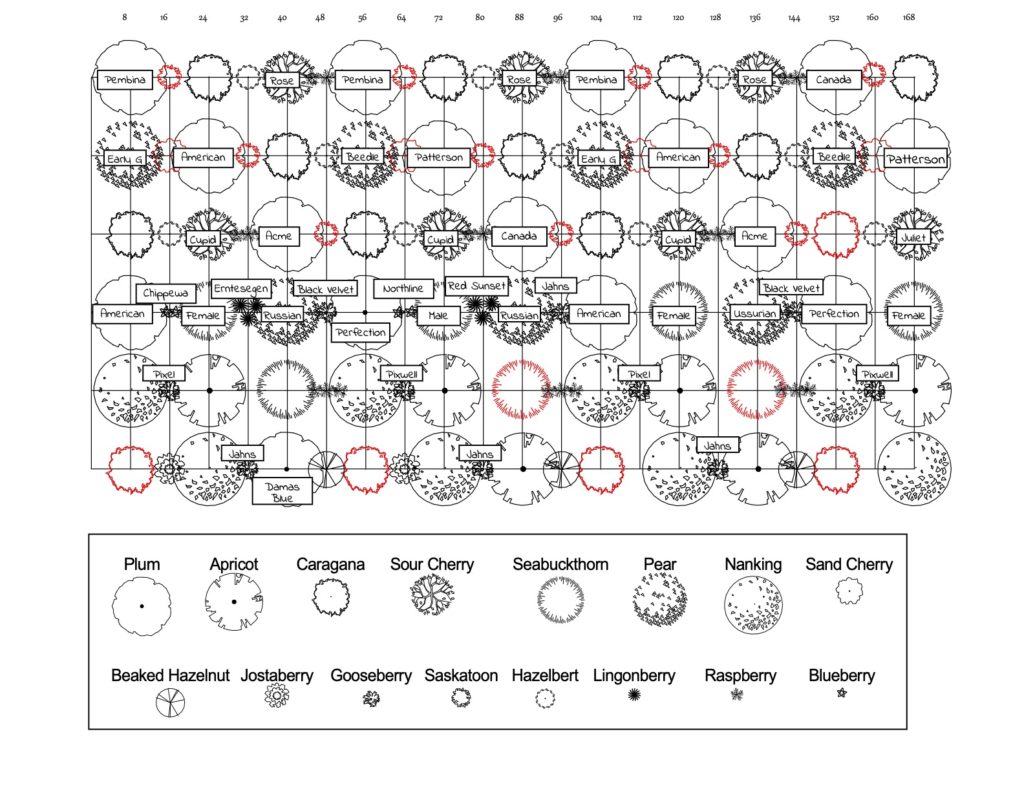
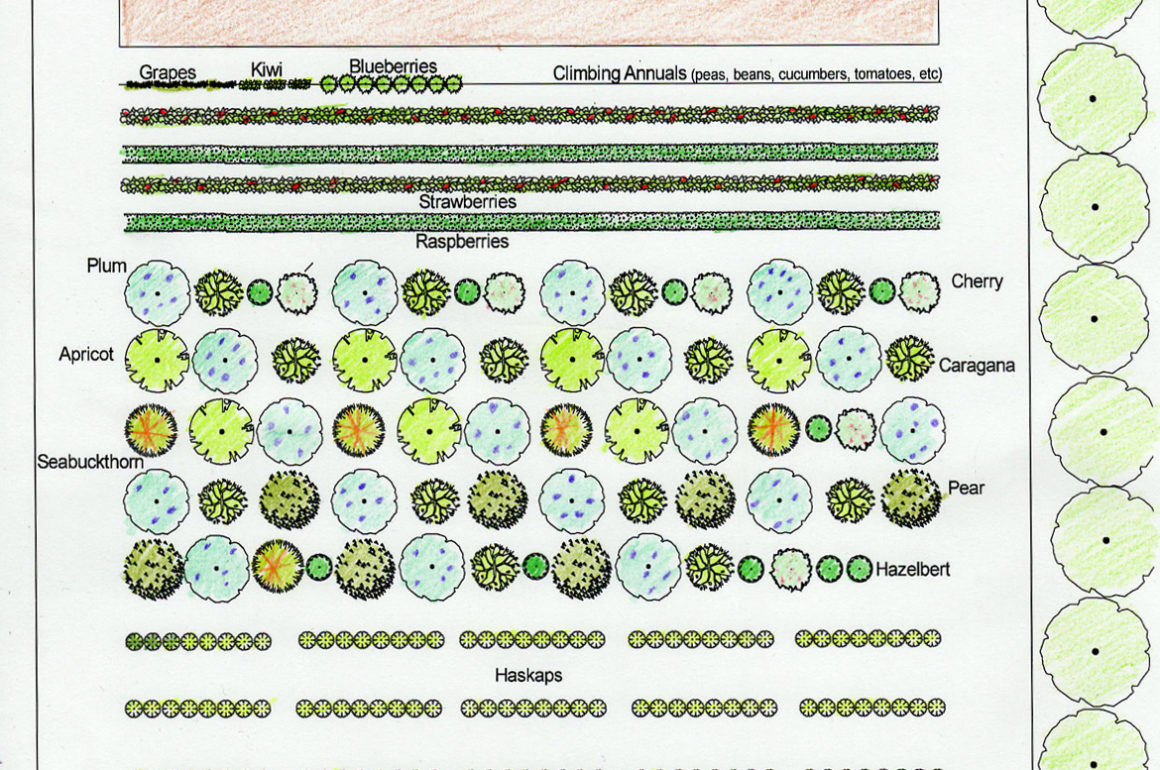
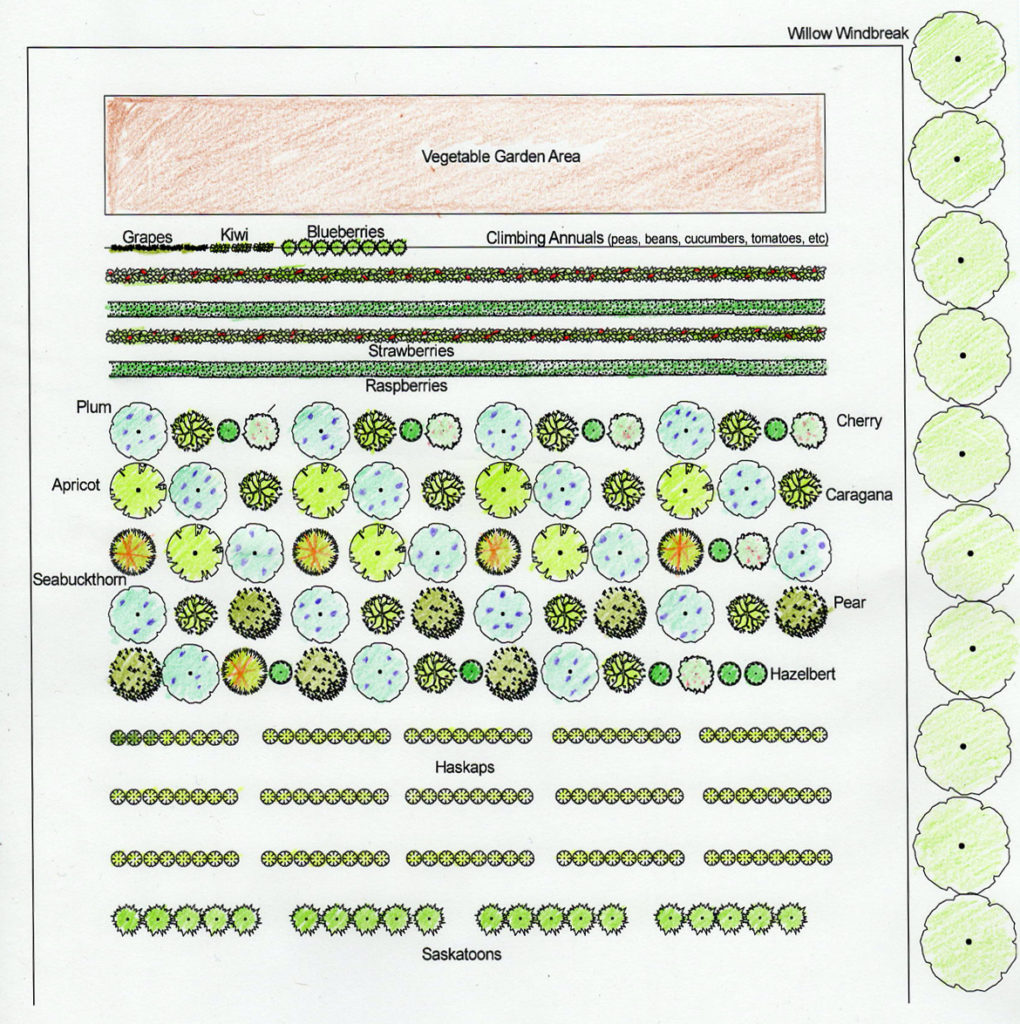
Planting an orchard has long been a dream of mine, and this spring, that dream came true. Of course, it’s not a massive commercial sized orchard. To-date, I have 94 fruit trees and shrubs planted (not counting raspberries and strawberries!) with about another 125 to be planted by this fall – most of those, haskap. Everything is planted in a 2-acre field inside an 8ft tall fence (to keep the deer at bay) and for the most part, I’ve followed the plan for my Abundant Zone 3 Orchard that I told you about back last December. But as I expected, I have had to make a few changes. Here’s what my orchard looks like now, in diagram form, that is. (Oh, and by the way, the red symbols are the plants that I don’t have planted yet.)

As I mentioned earlier and as you can see from the diagram, my rows are spaced 16′ apart and each major tree is spaced 16′ apart within the row (with a smaller shrub in between them, so basically a plant every 8 ft.)

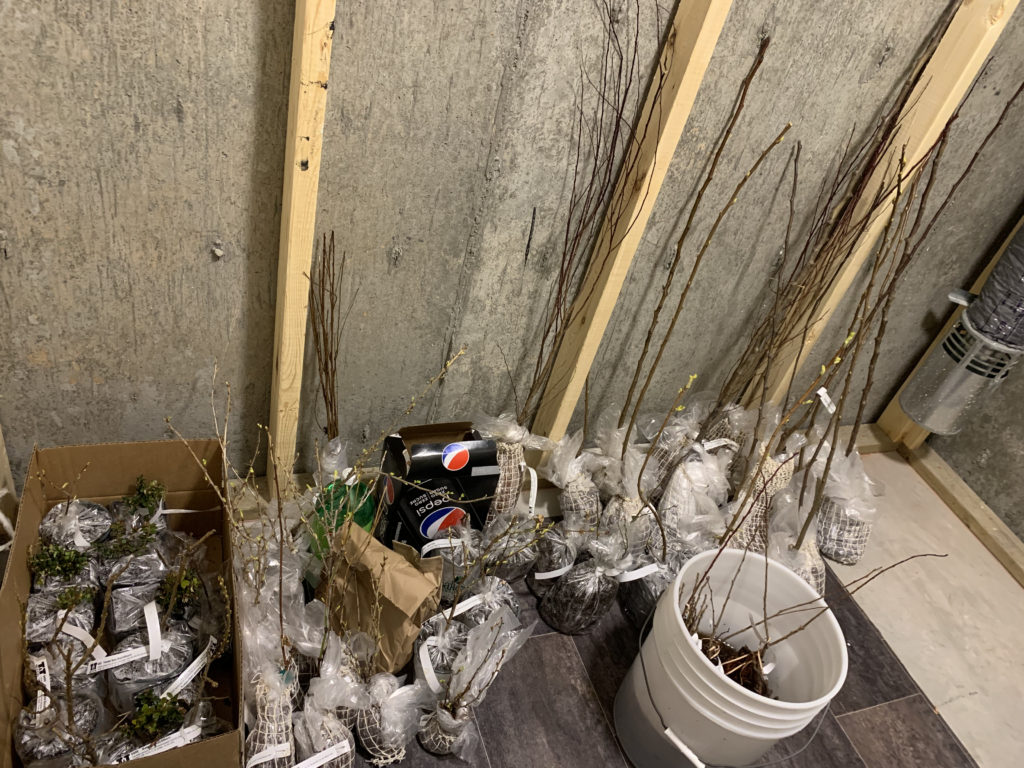
Most of my plants came via Canada Post as bare root plants. There were a few that were potted, but many were not much more than sticks with a wee bit of roots. I couldn’t plant them the day I got them, so I opened them up and kept them in my cold room over night and soaked the bare root bundles in water. Most of the trees and shrubs were very small – perhaps only 8″-14″ tall. But some were surprisingly large – up to 4 ft.

This is my order of fruit trees and shrubs from T&T Seeds. (I had to buy the Pepsi separately!)

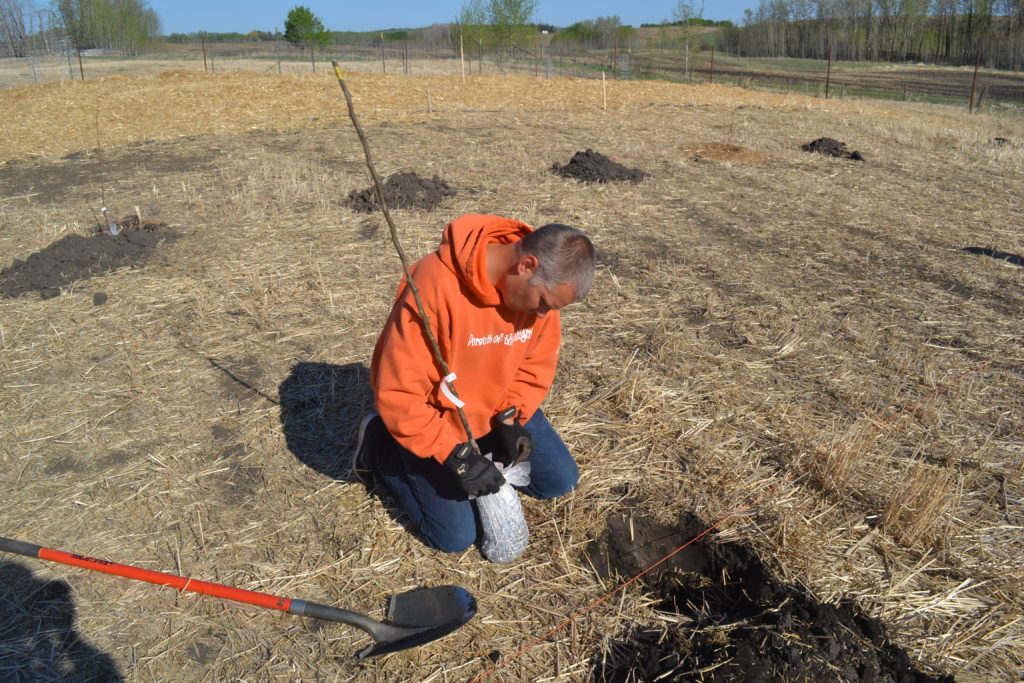
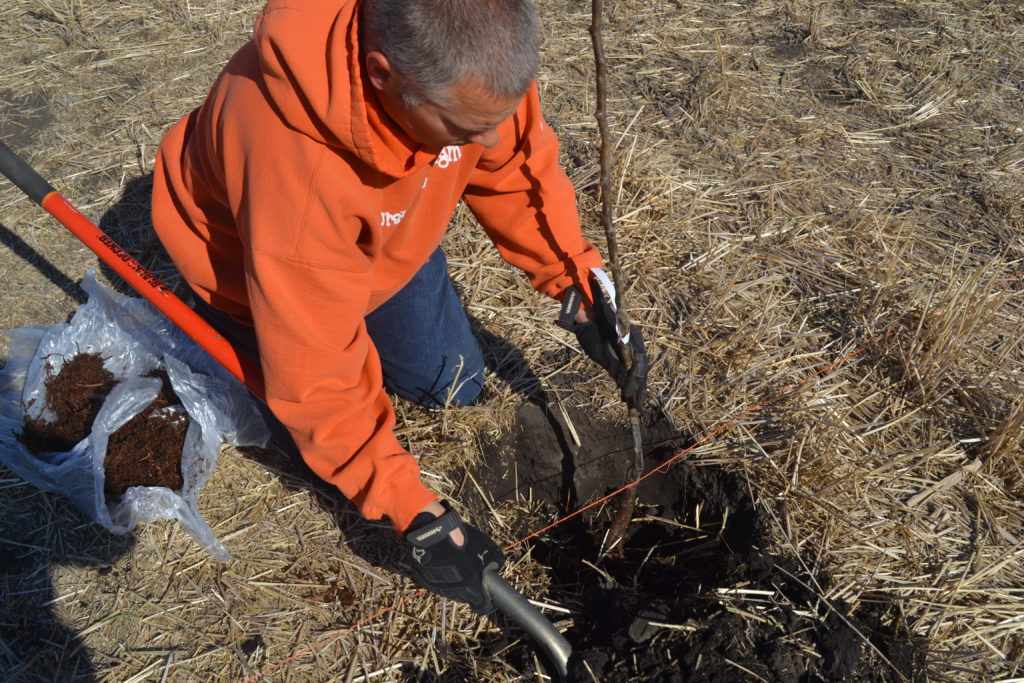
The following day, we dug the holes according to our map. (Some of the holes we had dug earlier, so that saved a lot of work on planting day.) Because they were bare root, most holes didn’t have to be all that big – probably about 1 ft deep and 1 ft wide. Then we carefully unwrapped the tree’s roots, placed it at the proper level, and pushed the dirt back in the hole. With any extra dirt, we created a bit of a rim around the hole so the tree would be in the centre of a bowl. Then when we watered it, the water would pool and settle down to the roots instead of running away.

  • The whole family helped on planting day – it is after all, a Family Orchard!

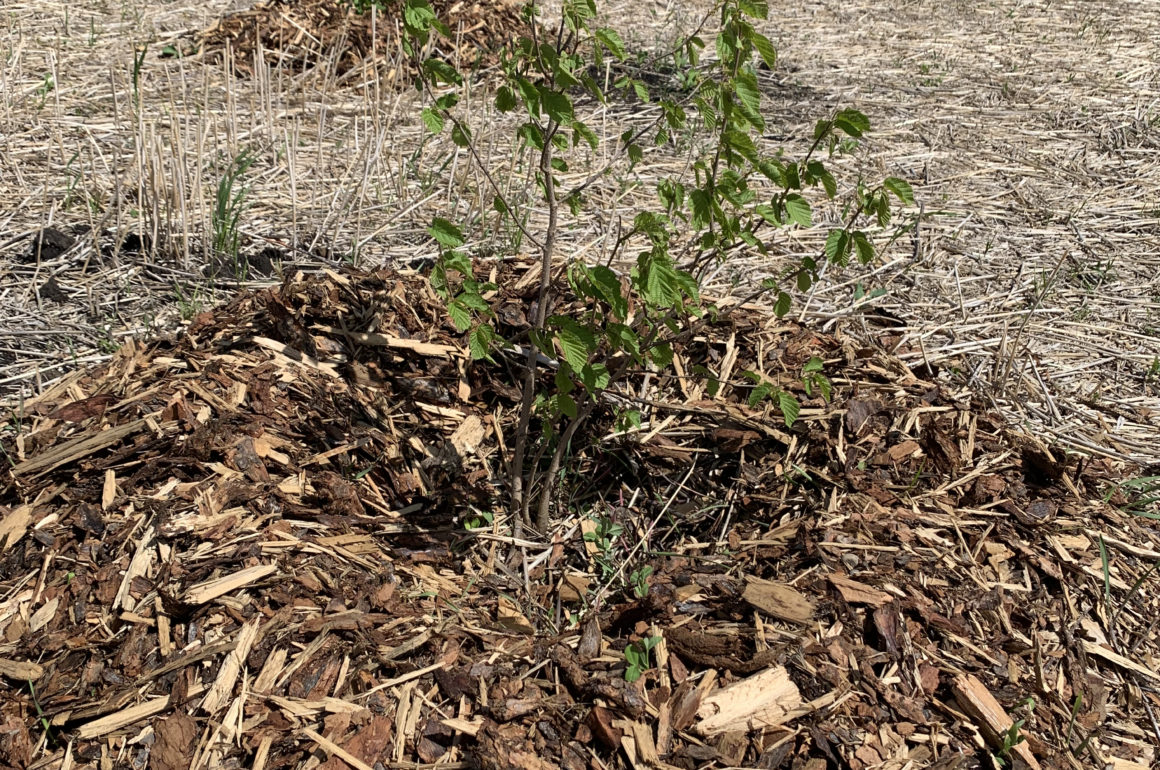
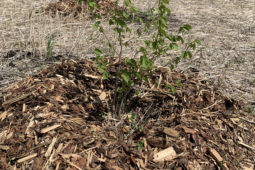
The last step, and one I consider to be of utmost importance, is to add a donut of mulch around each tree or bush. Mulch keeps the soil from drying out too quickly and keeps the weeds from growing around the tree. It also breaks down over time to provide rich nutrients for the tree as it grows. When mulching, you don’t want to put the mulch right up to the tree trunk – the trunk needs to breath or the excess moisture can cause a variety of problems. That’s why I say add a ‘donut’ of mulch – not a mountain of mulch. I aim to make my donut as large as possible (with the mulch I have available) – but a radius of about 2-3 ft should be good for seedlings. (That’s keeping the mulch back about 3 inches from the trunk…)

And that’s about it. To be honest, for the first few weeks, the orchard didn’t look like much. From a distance, all you could see was little piles of mulch in the the middle of the field. But slowly and surely the trees are growing. The first trees were planted on April 29, and the second batch on May 22. Most have leafed out now. (Though I’m still waiting for the Apricots and the American Plums to show signs of life.) Now, if you look close, you can at least see little green sticks and bushes as you look out over the orchard.

But soon we’ll have trees. And flowers. And fruit.

Soon.

Share:
Reading time: 3 min
Projects & Plans

How To Plant Fruits & Veggies In Marvelous Straw Mulch

June 1, 2021 by Dave Trenholm No Comments

I’ve long been convinced that growing in mulch is the best way to garden. After all, it just makes sense. Mulch suppresses weeds, holds in moisture, and provides abundant food for all the worms and other little creatures in the dirt that provide nutrients for your plants! But honestly, even with all that knowledge, I’ve been slow to change over from the ‘traditional’ method of gardening. You know… roto-tilling the entire garden before planting – then tilling in between the rows a few times throughout the year…. keeping the garden soil bare and black so that it looks like a neat and tidy garden. (And I do tend to be a neat & tidy, straight-rows, kinda guy…) But this year as we start a new garden space on the farm, I’ve made the decision to cover the entire garden with a thick layer of straw mulch.

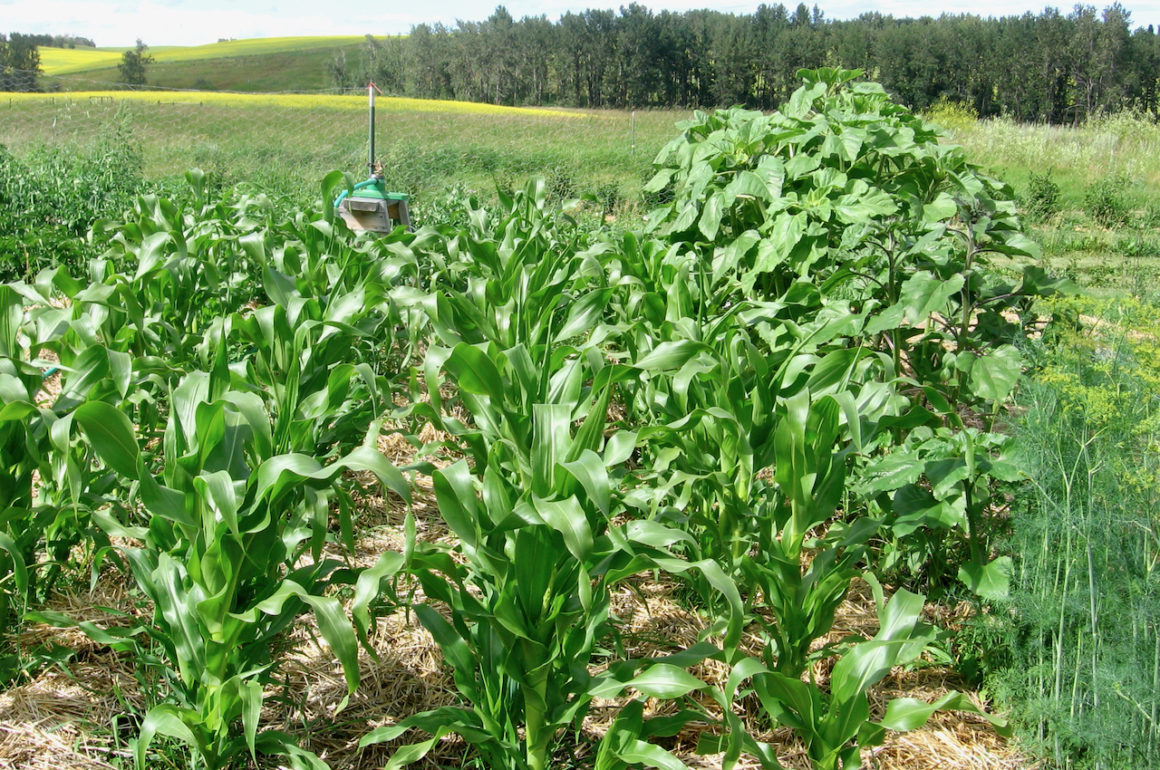
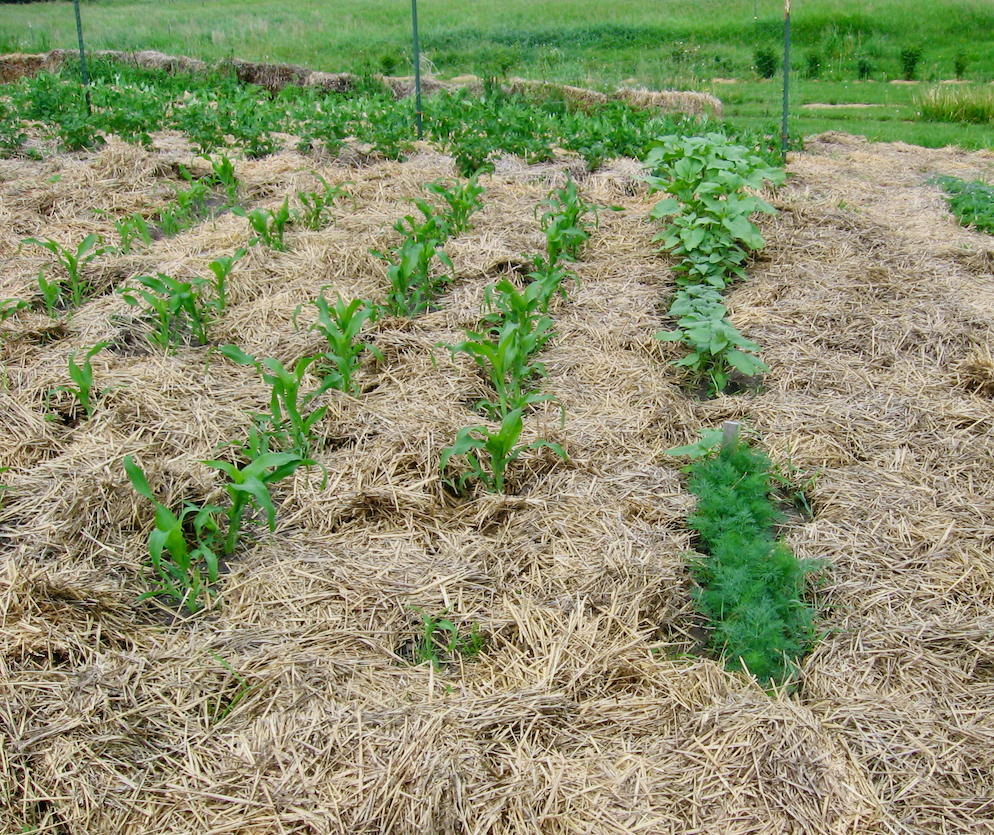
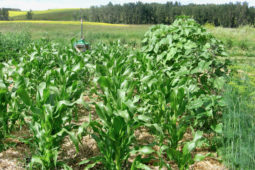
Now, I have played around a little bit with growing in straw previously. If you followed my old blog, you’ll remember that one year (back in 2008) I grew potatoes on top of the dirt, buried in straw. (See Growing Potatoes in Straw) And that worked really well! In fact, I experimented on a small scale with potatoes, corn, peas, sunflowers, and carrots all mulched with straw.

  • My experimental garden grown in straw in 2008

So this isn’t the first time I’ve experimented with this. But this will be the first time I fully take the plunge and plant the whole garden under straw.

The first step was to acquire some straw. As it happened, the farmer down the road had a stack of old round straw bales that had been sitting in his field for the last couple of years, so we offered to take them off his hands. He invited us to take whatever we wanted for free – which was an incredible blessing! We happily took them all.

My garden space is on the west end of my orchard – which is fully enclosed by an 8ft fence so my garden doesn’t become a salad bar for the deer. The site has been a traditionally farmed field for the last decade or so – previously planted to barley, wheat, or canola – so I’m thankful I don’t have to deal with sod or an enormous amount of weeds. However, it is a very large site (at least compared to anything I’ve gardened before). It’s about 80′ x 190′. To cover that area with 6-8 inches of straw would be a mammoth undertaking!

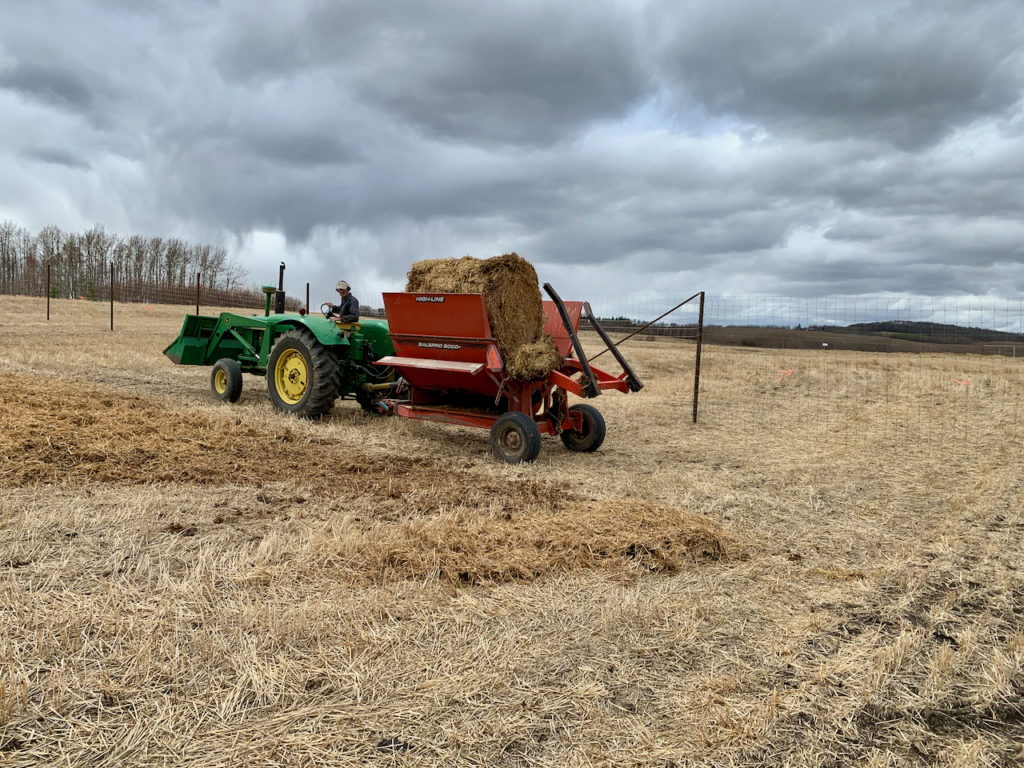
Thankfully, another neighbour had a bale shredder (used to feed or provide bedding for cattle) that he offered to loan us. This would make the job of spreading the straw WAY quicker and easier! (As it was, it still took the bulk of an afternoon spreading out nine round bales of straw over the roughly 15,000 sq ft of garden space.) Praise the Lord for neighbors! Farming has a long history of community cooperation and it’s no wonder! We couldn’t do this without the help of friends, family, and neighbors!

  • Using the bale shredder to cover the garden with straw

Well, one very windy afternoon later, we had roughly 8 inches of straw all over the garden area. I left the straw to settle for about a week before we began planting.

Potatoes were first to plant and they were fairly simple. I employed a little help from yet another friend and we pulled back pockets of straw with a pitchfork, dug a hole for the seed potato, and then covered it up again with dirt and the straw. For most other veggies, I would leave the straw to the side until the plant had emerged, but I knew the potatoes would have no trouble pushing through the straw, so I completely re-covered the area with several inches of straw.

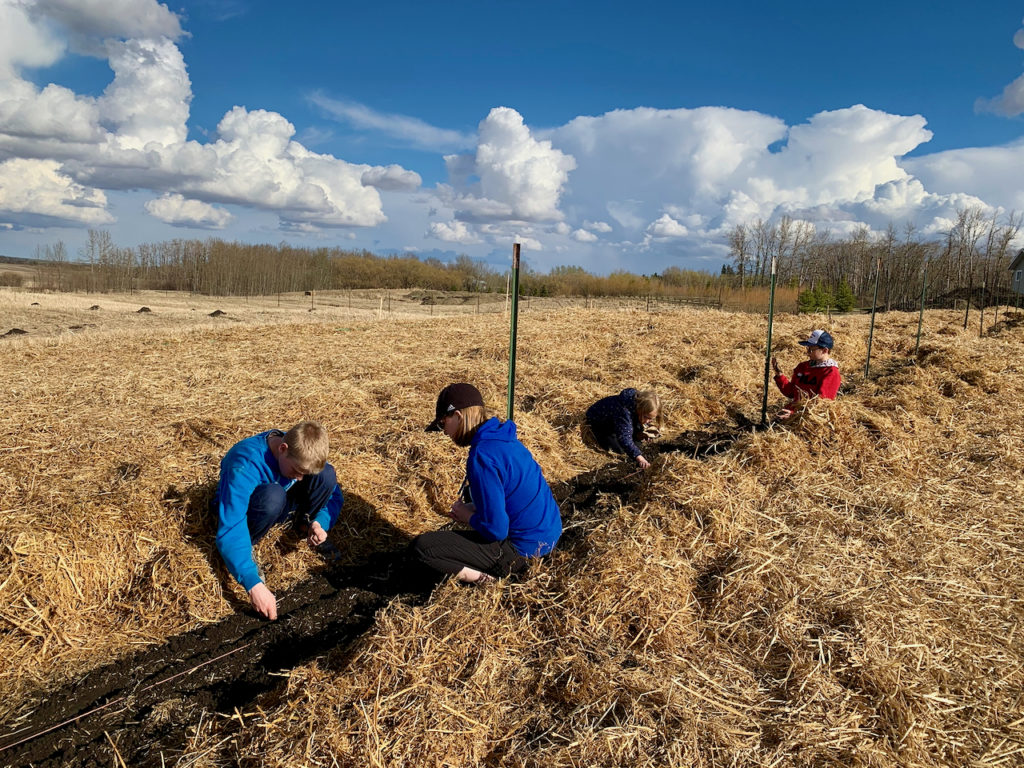
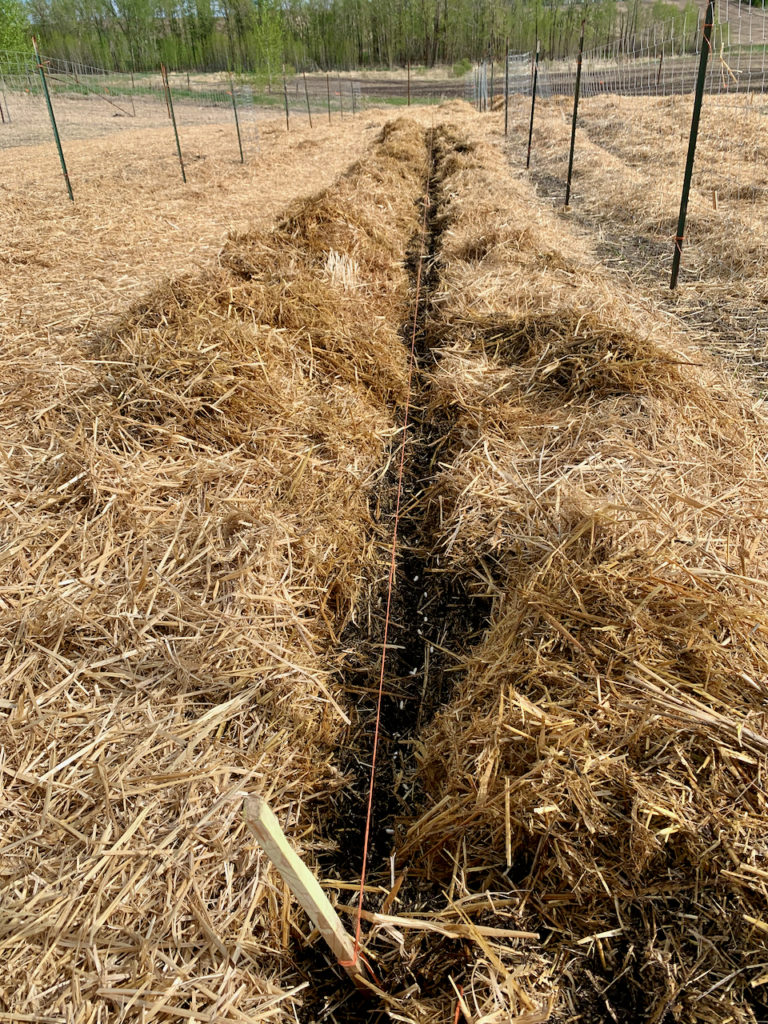
For peas, I started by putting in my pea fence posts. Then, with the help of my kids, I pulled back about a 1 ft strip of straw with either a rake or pitchfork. Then I hoed two furrows side-by-side so I could have a row on either side of the fence.

  • Planting peas in a double row. We’ll pull the straw up to the plants once they’ve sprouted a few inches.

For other seeds, like beans for example, I pulled aside just a narrow strip of straw with a triangle-shaped hoe. Then, using that same hoe, dug a small furrow.

*As a little note, I found that although the tractor pulling the bale shredder sure spread the straw quickly, it also resulted in the ground becoming very compacted! In the places where the tractor tires went, it was very difficult to dig the furrow. Other places were much easier! I think once the straw begins to decomposed and the worms do their thing – the soil should become much easier to work with!

  • Growing beans in straw mulch

Finally, after seeding in the furrow, I covered the seeds with soil, but not with straw. I’ll wait until there are some well-visible sprouts before I move the straw back around them – since I don’t want to smother them.

And that’s about it! At the time of this post (May 31), I have all of my seeds planted, but still a few seedlings to transplant into the garden. I’ll likely do that in the next week or so.

Share:
Reading time: 4 min
Projects & Plans

How to Build a Deer-Resistant Garden Fortress

May 20, 2021 by Dave Trenholm No Comments

Sixteen years ago I planted dozens of young fruit trees in my front yard – and all but two of them were eaten by deer. So this time around, I’ll not be providing these four-legged menaces a smorgasbord of fresh fruit seedlings. I plan to plant over 500 trees, shrubs, and plants this summer and the best way to keep them safe from deer is to build a deer-resistant garden fortress. I could almost say “deer-proof” – but that would only motivate the deer to prove me wrong…)

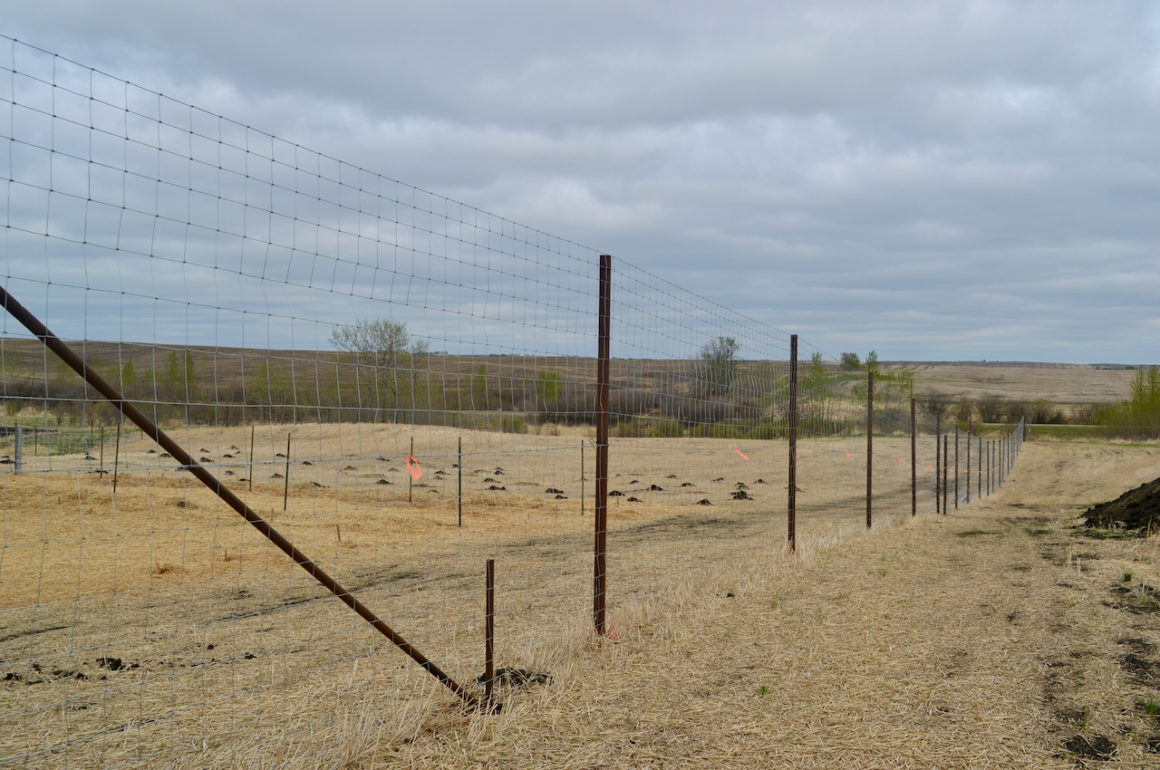
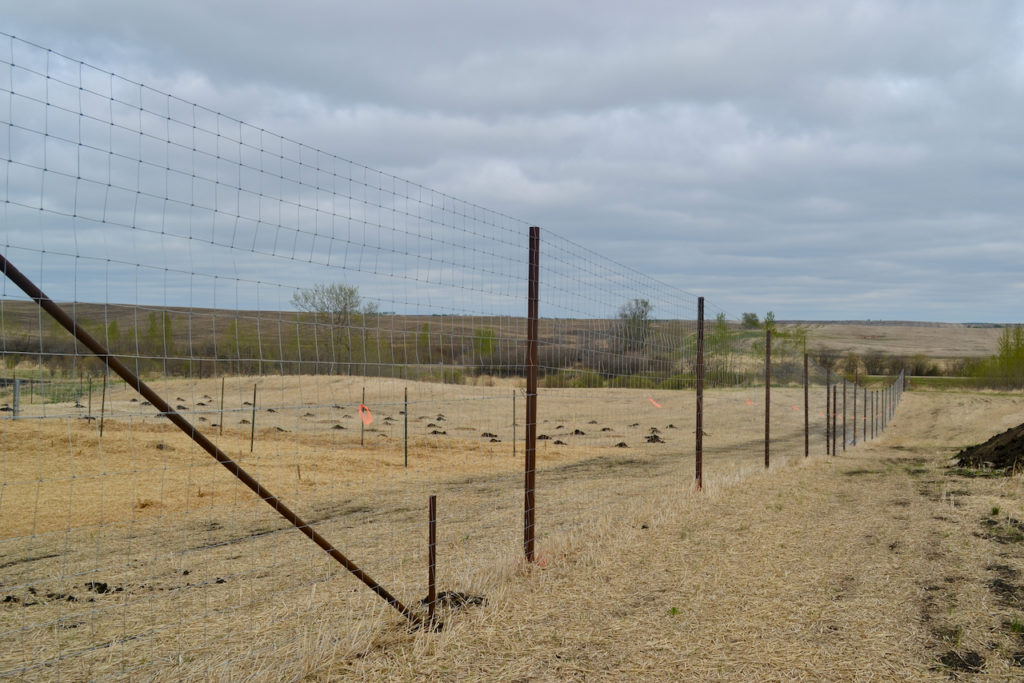
My goal was to build a 8 ft high steel-post, wire-mesh fence around what will become my 2-acre garden/orchard. Normally, this could be a very intimidating (and expensive) task, but thankfully, I have a resourceful father-in-law full of good ol’ farmer ingenuity who has lots of great tools at his disposal. He happened to have a bunch of 30′ steel posts just laying around already and was willing to cut and weld them to 12 ft lengths. Meanwhile, I bought eight rolls of 4′ x 330′ wire fencing from Uncle Wieners (yes, that’s an actual retail store!) The 4′ fencing would be stacked two high to make the 8 ft fence.

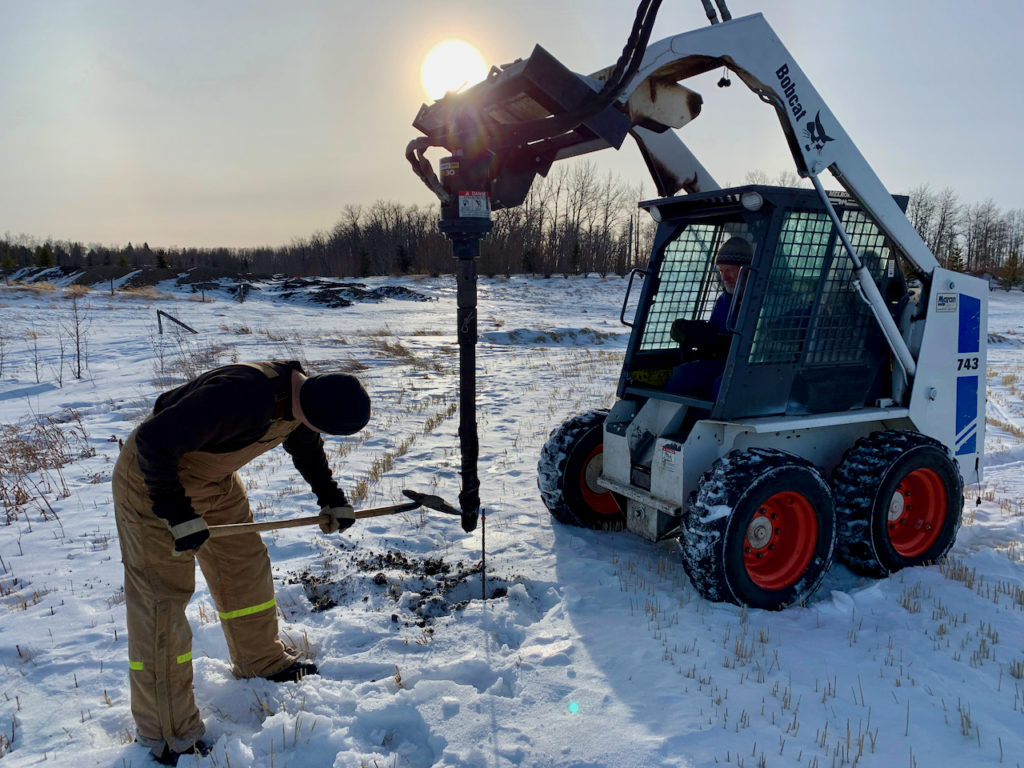
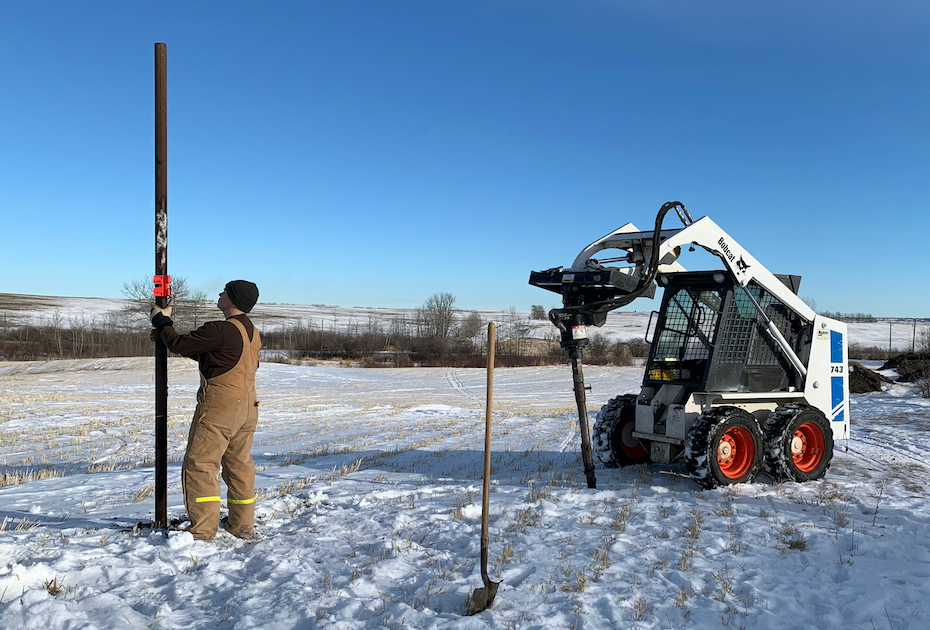
  • We began drilling post holes through the frost in January.

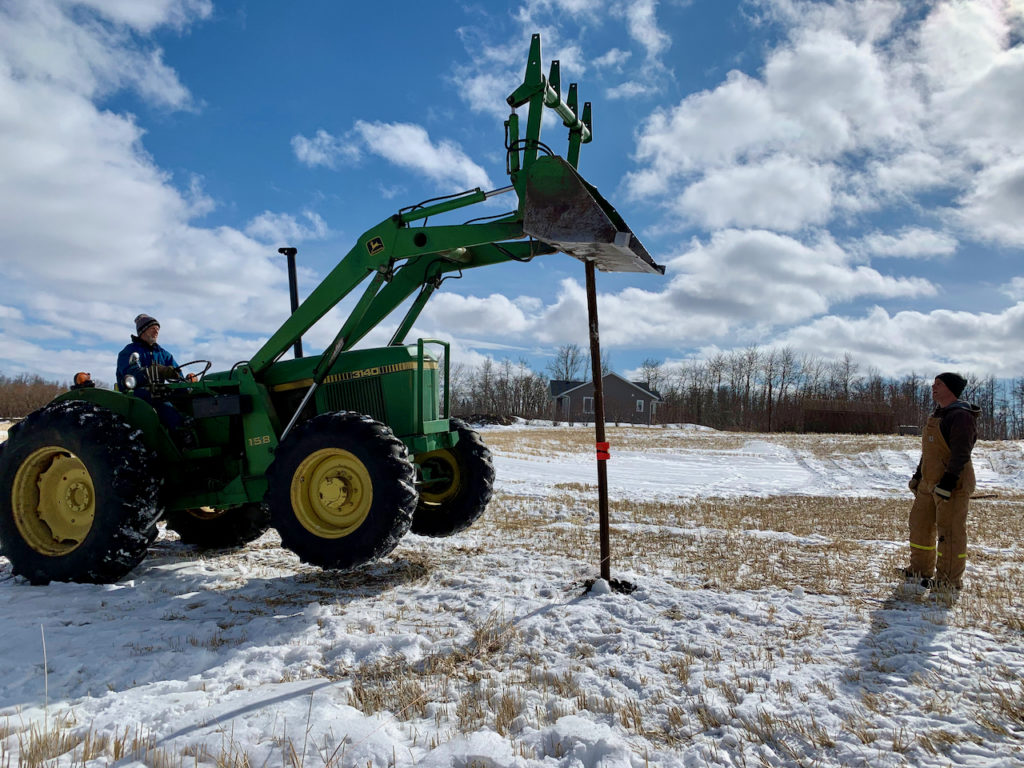
Believe it or not, we started putting in posts in January – the dead of winter! My father-in-law (Don) built a drill bit attachment for the skid-steer that could drill 3″ holes – just large enough to fit the 27⁄8” pipes. We drilled down through the frost with the bit, and then pushed the 12′ post 4 ft down into the ground with a tractor loader. This wasn’t always easy. The frost was deeper in some areas than others and several of the holes took quite a while to drill. Sometimes the drill would end up going in at a bit of an angle so that the post would either resist going in, or go in at a crooked angle. However, with a little push from the tractor, we could straighten up the posts so the fence would be straight and true.

  • The tractor would push the 12′ post into the drilled hole. Sometimes it didn’t go down easy!
  • We managed to make sure that everything was straight and true by the time we were done.

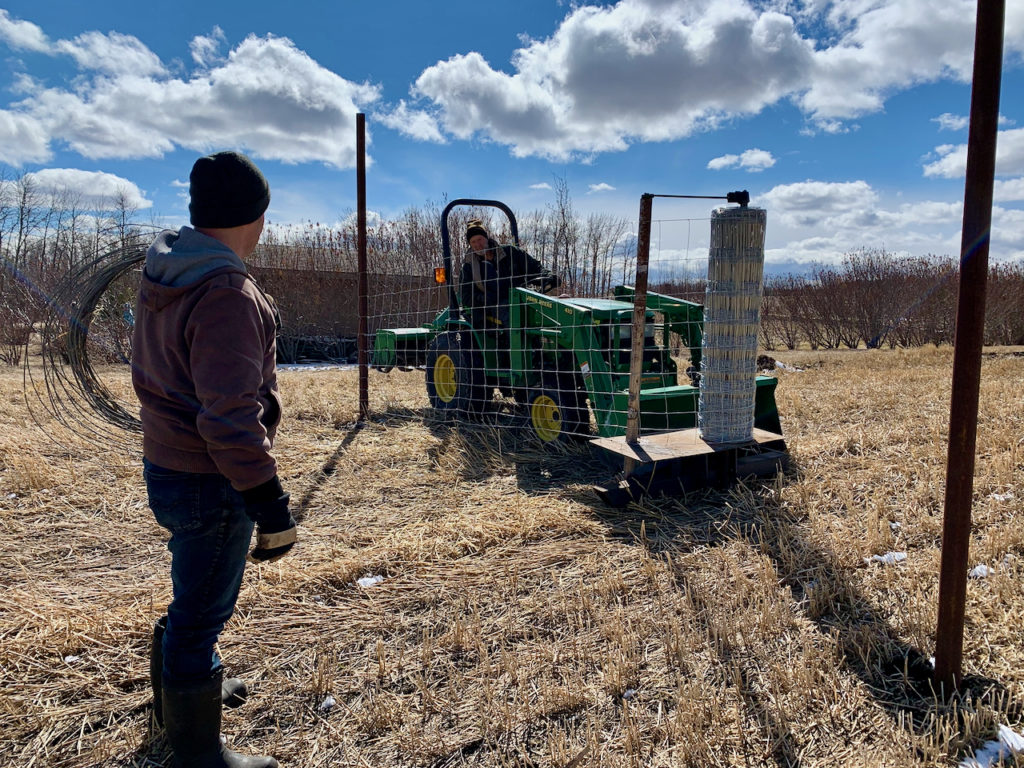
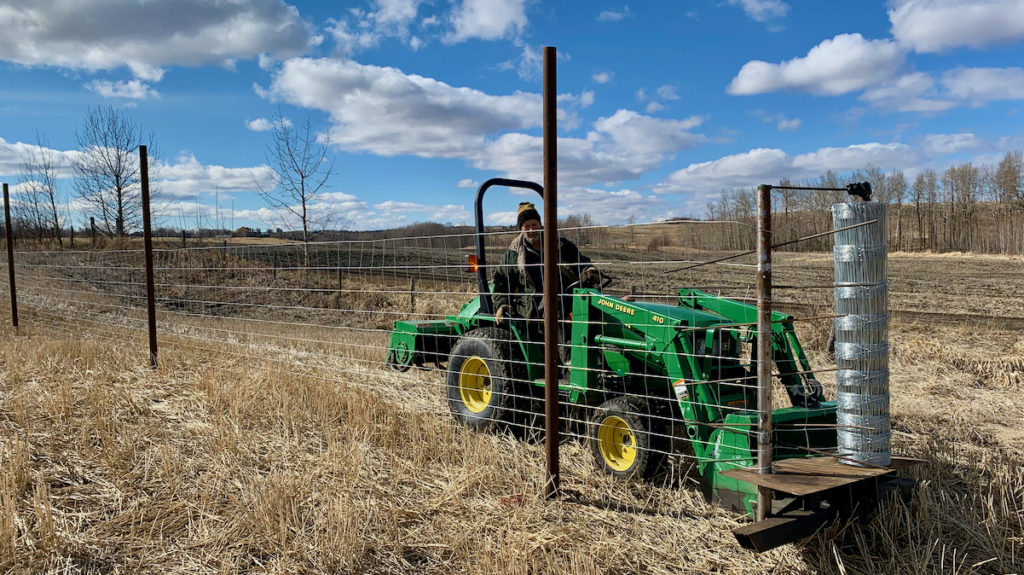
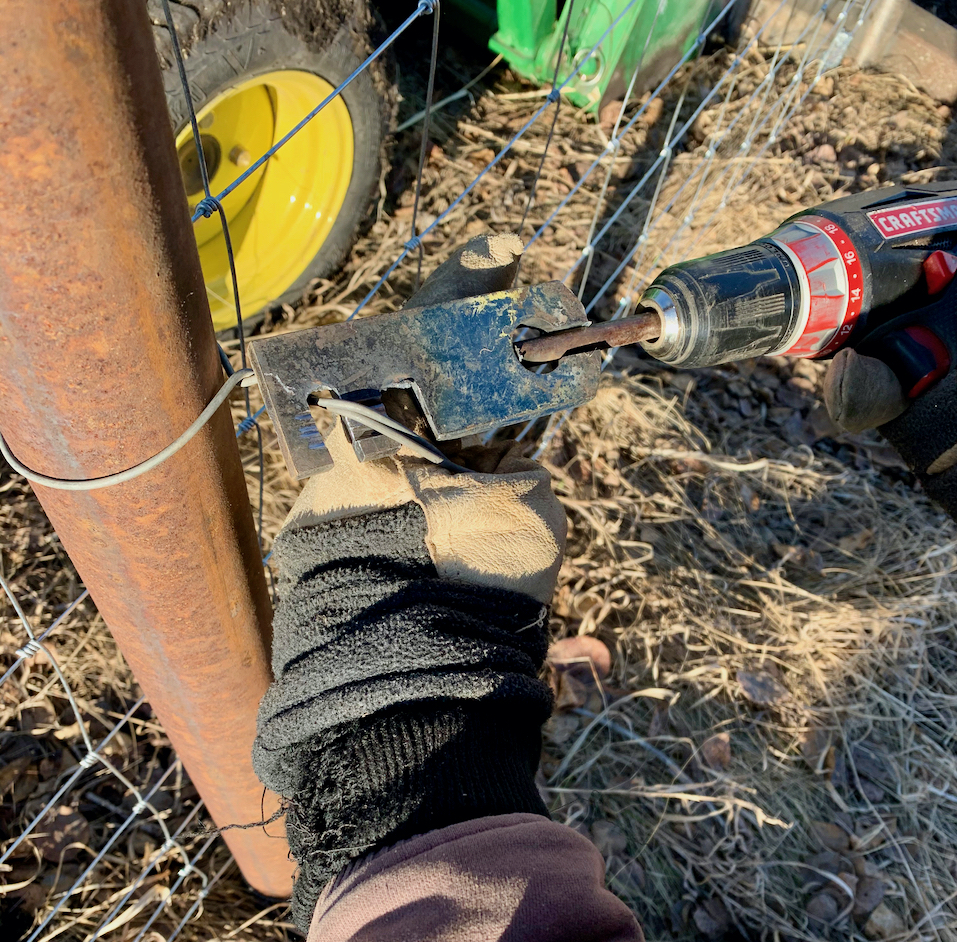
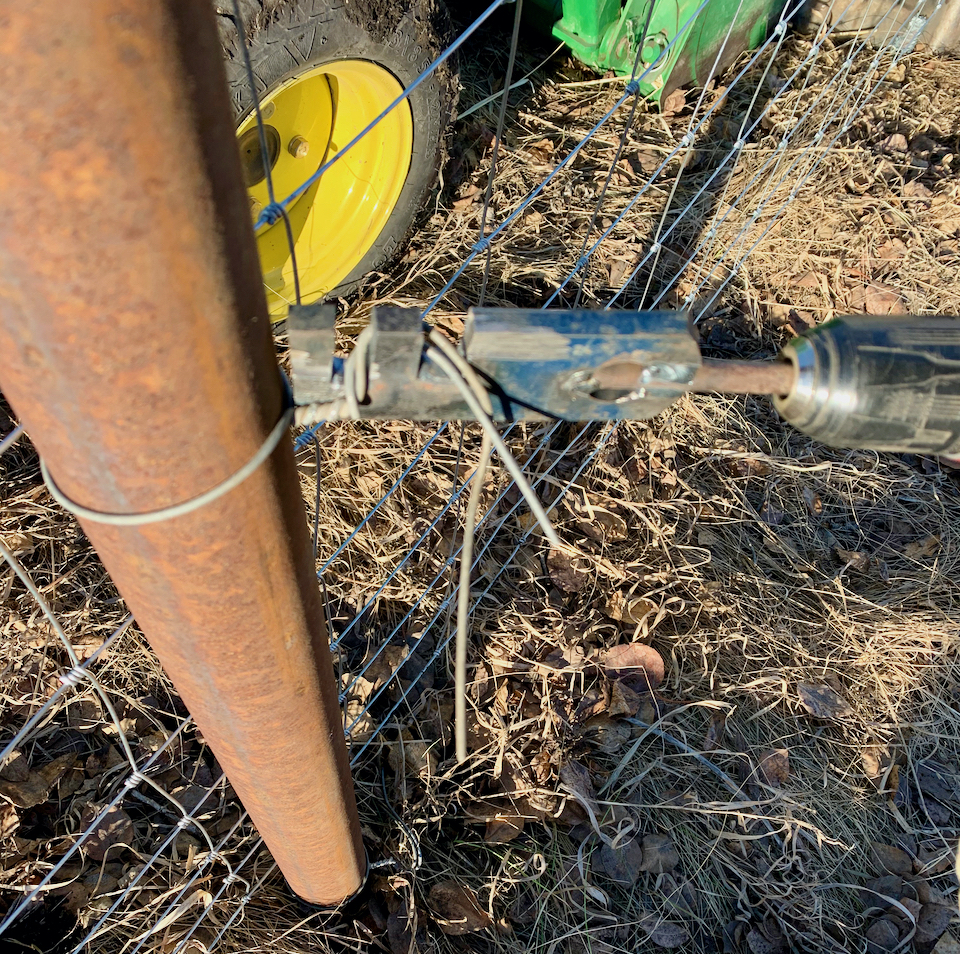
It took some time, but we eventually got all the posts in place and spaced 20′ apart. After welding in some corner braces, we began the process of attaching the wire. Don built a device attached to the garden tractor loader to help unroll and stretch the wire. He also build a little cordless drill attachment that could twist the wire that would tighten and hold the fencing to the posts. It all worked really well! Without these clever tools, the job would have been much harder and taken much longer!

  • As we drove along, the heavy spool of wire fencing unravelled itself along the fence line.
  • By strategically placing several metal rods through the fencing, we could stop the roll from unraveling and tighten the fence.
  • Don fashioned this little tool to twist the wire that held the fence to the post.
  • The tool worked great, but the 10 gauge wire seemed a bit stiff, so we eventually changed to 16 gauge.

We used 10 gauge wire at first, but found it to be too stiff to work with and it didn’t tighten around the post well. So we bought some 16 gauge wire (the stuff used for hanging ceiling tiles) and it worked well. It tightened up around the fencing nice and snug, and the ends typically broke off just after the twist so we didn’t have long wire tails to catch skin or clothing as you walked by. The once concern we currently have is whether or not the thinner, non-galvantized wire will rust away. If that happens we’ll need to rewire the fence to the posts in a few years, but for the ease and minimal cost of the thinner wire, we’re willing to take that risk.

The final step was to add a couple of gates. We added two 20′ machinery gates at either end of the orchard made of two 25′ ft pieces of 8′ high deer fence. We then added a man-gate along the side nearest the house.

  • This 8′ fence now encompasses my entire garden & orchard – about 2 acres in all.

With that, our deer-resistant garden fortress was complete! The next phase would be to begin planting a garden on the west end and the orchard in the middle (with room for expansion in the east) – but I’ll tell you about that process later!

Like it? Hate it? Have questions? Leave a comment below!

Share:
Reading time: 3 min
Projects & Plans

Planning for an Abundant Zone 3 Orchard

Orchard Layout 2020
December 22, 2020 by Dave Trenholm 5 Comments

This last week I reached an important milestone in my life-long dream of establishing an orchard… I bought a SCHWACK of plants! So far, I have ordered 150 Raspberries, 200 Strawberries, 26 Cherry trees/bushes, 6 Pear trees, 6 Apricot trees, 19 Plum trees, 10 Siberian Pea Tree (that’s a fancier name for caraganas!), 5 Seabuckthorn, 10 Hazelberts, 4 Grapevines, 4 Kiwi vines, 6 Gooseberries, 2 Jostaberries, 8 Blueberries, 6 Lingonberries, and 3 Hazelnuts. I also plan to order 96 Haskaps and 20 Saskatoons before the end of the year. If I did my math right, that’s a total of 581 plants!

Now of course, those plants won’t arrive until sometime this spring, but arrive they will!… ready or not! So there is one part of me that is almost giddy with excitement – and another part that is wondering “What in the world have I done!? How will I plant and care for 581 plants this spring!?” To be honest, there is some concern that I may have bitten off more than I can chew.

However, I do have a plan! I am the personality type that will research extensively and then make a comprehensive and detailed plan before ever taking a step – so for me to make the conclusive decision of purchasing all these plants, I do feel confident that I know what I’m getting into! (Although I’m not sure my wife is convinced yet…)

So what my plan? I’m glad you asked!

The Plan

Beside our house, I have measured out an orchard area of 230′ x 400′ – which works out to be about 2 acres. This is where I plan to plant all these trees and bushes… and perhaps a few more! Last fall I bought nearly 3000′ of 4ft welded utility fence which will enclose the area with an 8′ fence, so hopefully, the deer won’t be be able to turn my orchard into their personal all-you-can-eat buffet!

I’ve always been inclined towards the odd and unusual when it comes to growing things and I’m always eager to try new plants or new methods of growing. So my plan may seem a little bit different from what you might see in a regular orchard – but let me show you my plan and then I’ll explain WHY I’m doing WHAT I’m doing.

Here is my plan!

Orchard Layout 2020

Yes, that is a schwack of plants! And you might ask – why so many!? Well, if you read my last post, I mentioned that my initial goal for our orchard is to grow enough food for 5 families. This probably isn’t quite enough for that yet, but it’s a good start! There’s an old proverb that says “The best time to plant a tree is 20 years ago – the second best time is today!” So even though this will be a lot to take care of in the next couple years, I really want to get things started today!

Plus, I want to see what varieties grow exceptionally well in my particular location – so I’ve planted several different varieties of each type of fruit. For example, I’m planning for 8 different kind of plums, 12 varieties of haskap, 4 kinds of cherries, 3 types of pears, and so on… But I’d never know what grows best until I try growing it! So far, everything I’ve ordered is hardy to zone 3 or colder, but as my orchard expands, I’ll likely try some zone 4 things too.

You’ve probably noticed that I have some rows that are all one type of fruit (rows of raspberries, strawberries, haskaps, and saskatoons) and then there are a few mixed rows with all kinds of different fruit growing together. This is done for a reason.

Ideally, I would grow everything in mixed rows for the sake of soil health, pollination, moisture conservation, disease control, weed control (and I’ll talk about this in more detail in another post), but for some fruits, it just makes sense to keep them all together. For example, haskaps require netting to protect the berries from being devoured by the birds – so it makes sense not to interplant them with large trees! But whenever it makes sense, I plan to interplant different types of fruit trees, bushes, and a variety of other plants.

(Caragana - Siberian Pea Tree)

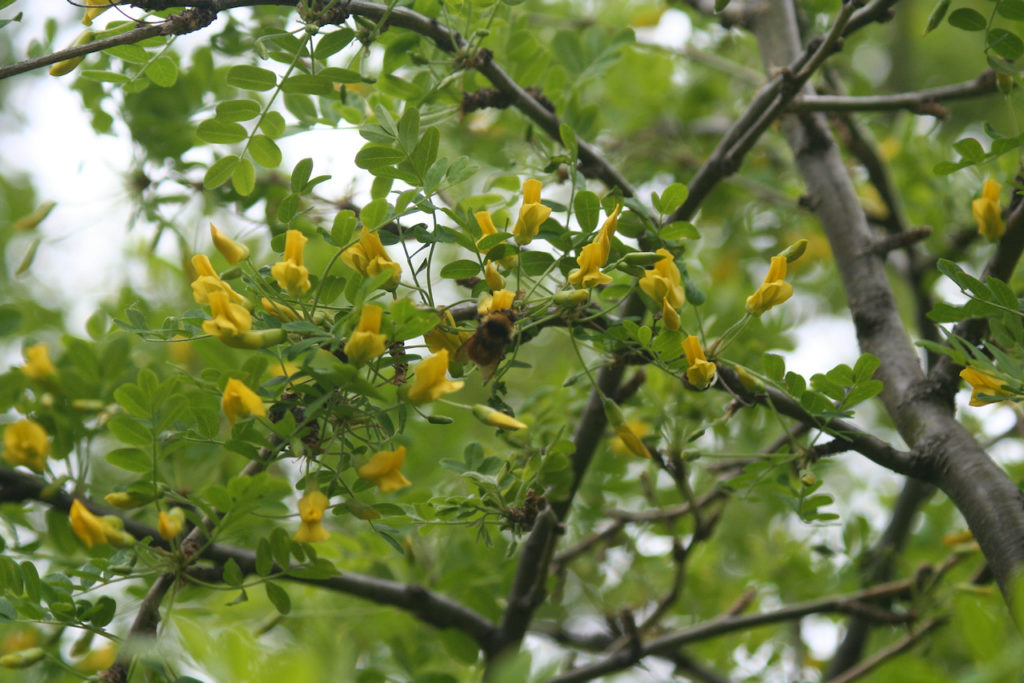
The other thing you might have noticed is that I plan to grow caragana (or Siberian Pea Trees!) in with all my fruit trees! For most prairie farmers, this seems like a crazy thing to do – caragana’s are almost weeds around here! They don’t provide fruit – so why would I grow them?

The reason why is because I want to limit (or even eliminate) the need to use chemical fertilizer, and so I intended to grow both caragana’s and seabuckthorn in my fruit rows because both of those are nitrogen-fixing trees. As nitrogen-fixers, they can take nitrogen out of the air and put it in the soil where my fruit trees can make use of it! To this end, I will be planting one caragana or seabuckthorn for every two fruit trees. This does take up some extra space and resources in the orchard, but I believe their benefits will outweigh their costs. Time will tell!

But that, in a nutshell, is my plan for my orchard. Of course, plans always change and we’ll see by next May how much we’ll have to adapt! But one thing is for sure – 581 plants are on their way and they’re going to need a home!

Anyone want to help plant a tree or two?

Share:
Reading time: 4 min

Recent Posts

Planting More Fruit in the Orchard – Haskap!

Planting More Fruit in the Orchard – Haskap!

July 10, 2021
Cover Crops ~ Diverse, Beautiful, and 100% Indispensable

Cover Crops ~ Diverse, Beautiful, and 100% Indispensable

June 25, 2021
How I Planted My Zone 3 Fruit Orchard

How I Planted My Zone 3 Fruit Orchard

June 14, 2021
Our Farm Finally Has A Name!

Our Farm Finally Has A Name!

June 7, 2021
How To Plant Fruits & Veggies In Marvelous Straw Mulch

How To Plant Fruits & Veggies In Marvelous Straw Mulch

June 1, 2021

About Me

Hi there! My name’s Dave. I’ve dabbled in landscaping & gardening since I was kid, and I’ve been blogging about my experiences since 2007. I've lived most of my life in zone 3 (central Alberta not too far from Red Deer). I love growing all kinds of fruits & veggies (the more unusual the better), creating beautiful spaces, and making people feel at home! I enjoy writing (thus, this blog!) and teaching others what I have learned. I have been abundantly blessed by God and want to honor Him by sharing that abundance with others. I have the joy of sharing my adventures with my delightful wife and my four fantastic kids.

© 2020 copyright Dave Trenholm // All rights reserved