Cold Climate Abundance - Establishing Our Farm, Garden, & Orchard in Canadian Hardiness Zone 3
  • Home
  • Archives
Home
Archives
Cold Climate Abundance - Establishing Our Farm, Garden, & Orchard in Canadian Hardiness Zone 3
  • Home
  • Archives
Projects & Plans

Planting More Fruit in the Orchard – Haskap!

July 10, 2021 by Dave Trenholm No Comments

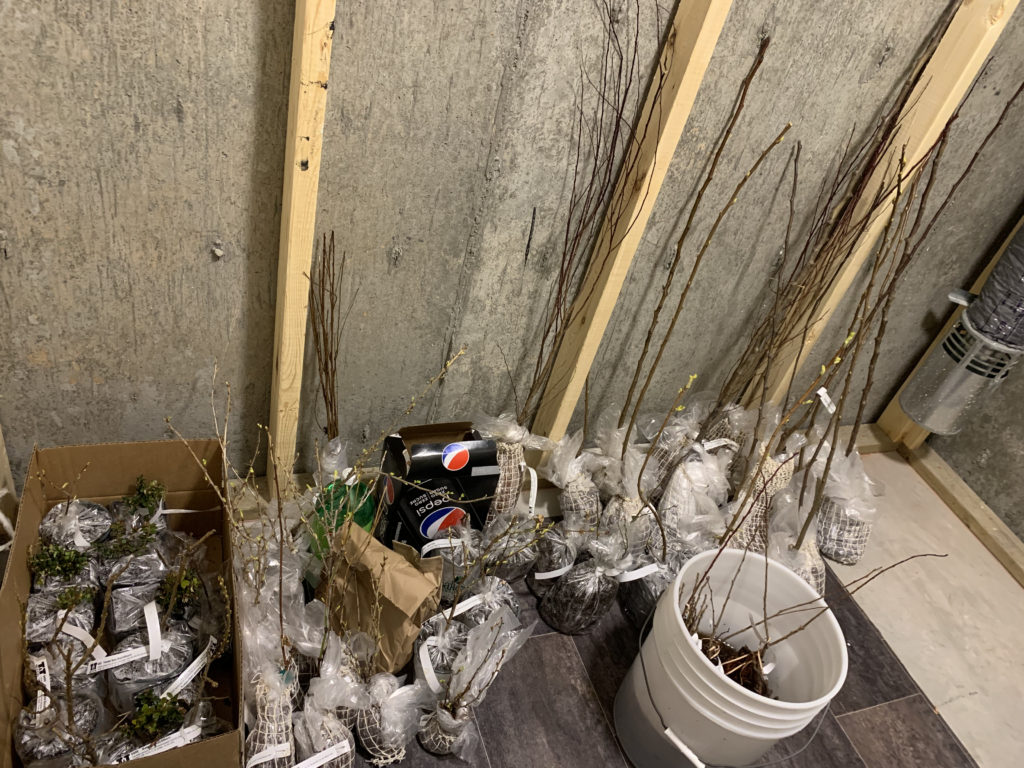
It was a pretty exciting week here as we finally got to plant our haskap section of the orchard! Our 112 little baby haskap plants actually arrived in a small cardboard box back on June 15 – but they had come straight from the nursery and had to be hardened off first. (This is a process of gradually exposing them to the outside elements of wind and sun over a period of about 7-10 days.)

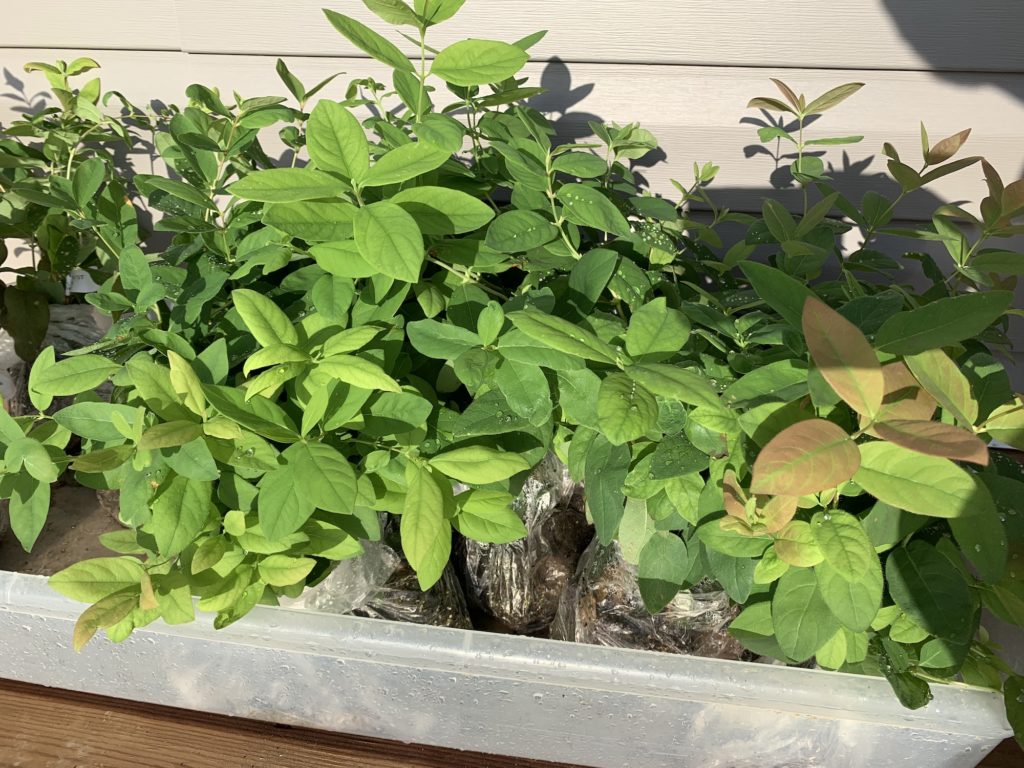
  • Can you believe this is 112 haskap plants?

However, as it happened, Alberta entered a recorded breaking heatwave just about the time these little haskaps were hardened off and ready to get out to the orchard. I decided not to plant them yet, and just keep them protected (and shaded) around the house until the heatwave passed. This wasn’t ideal, but I’m sure it was better than setting them out to bake in the sun! It wasn’t until July 5 (20 days after they arrived) that the weather cooled off enough that I felt it was ok to plant them. It was a bit overcast with a high of only about 20° – so that was perfect for planting! The rest of the week was forecast to be between 25° and 30° (not great for little plants) but I didn’t want to keep them in their little plastic bags any longer and so we planted!

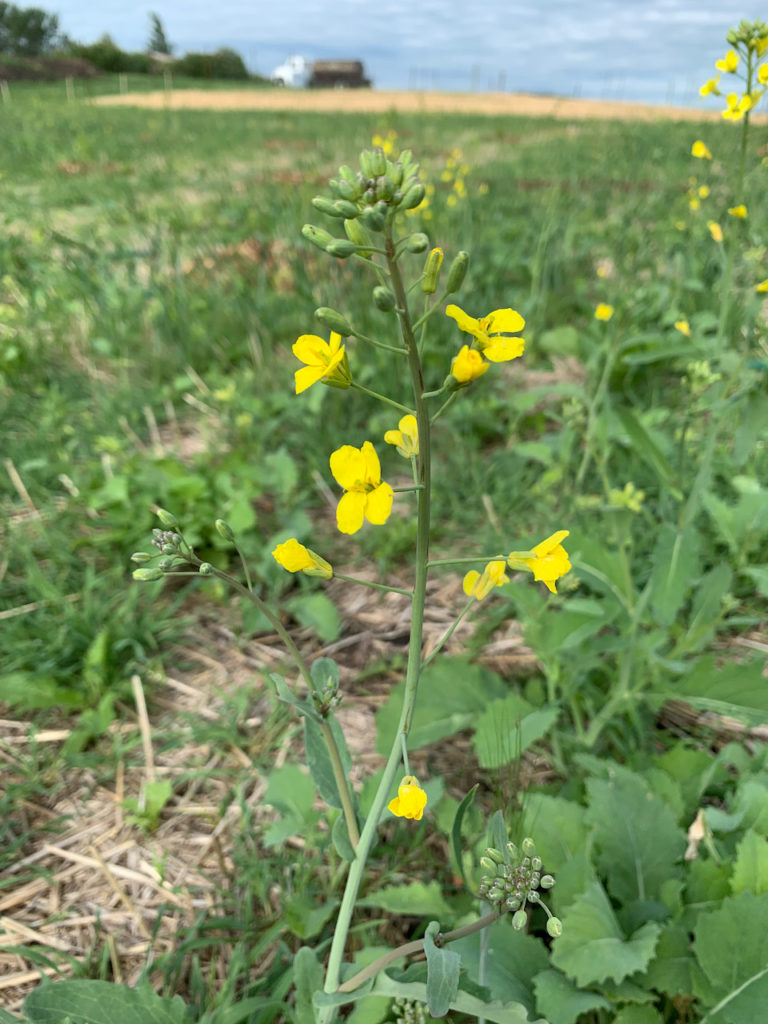
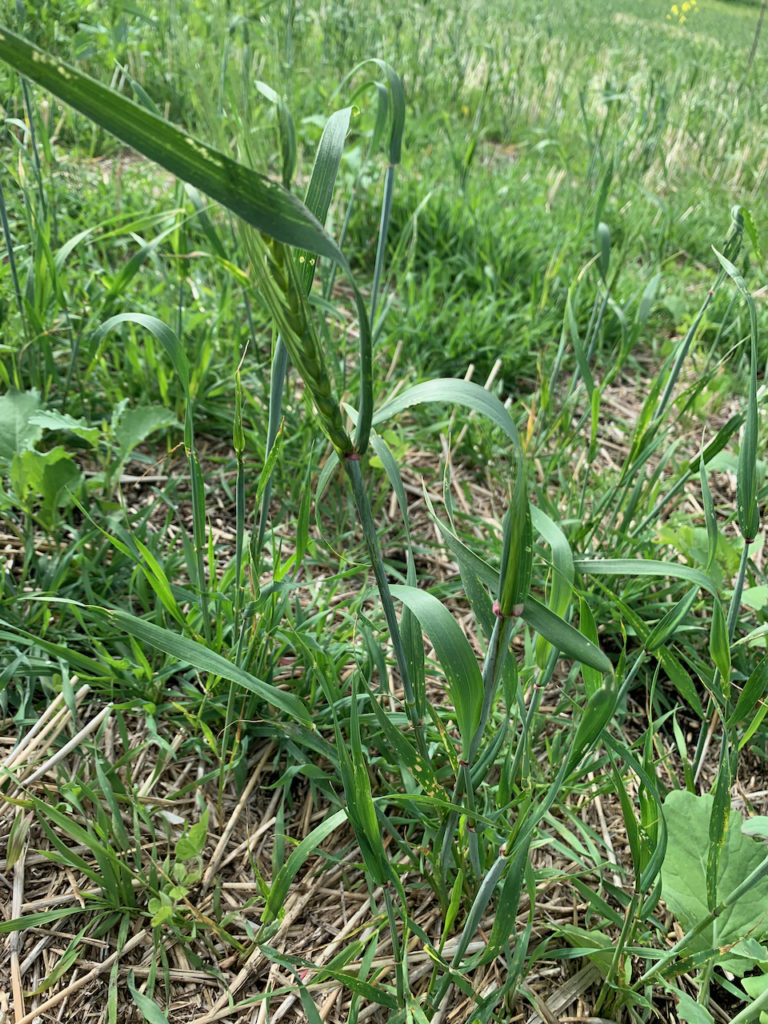
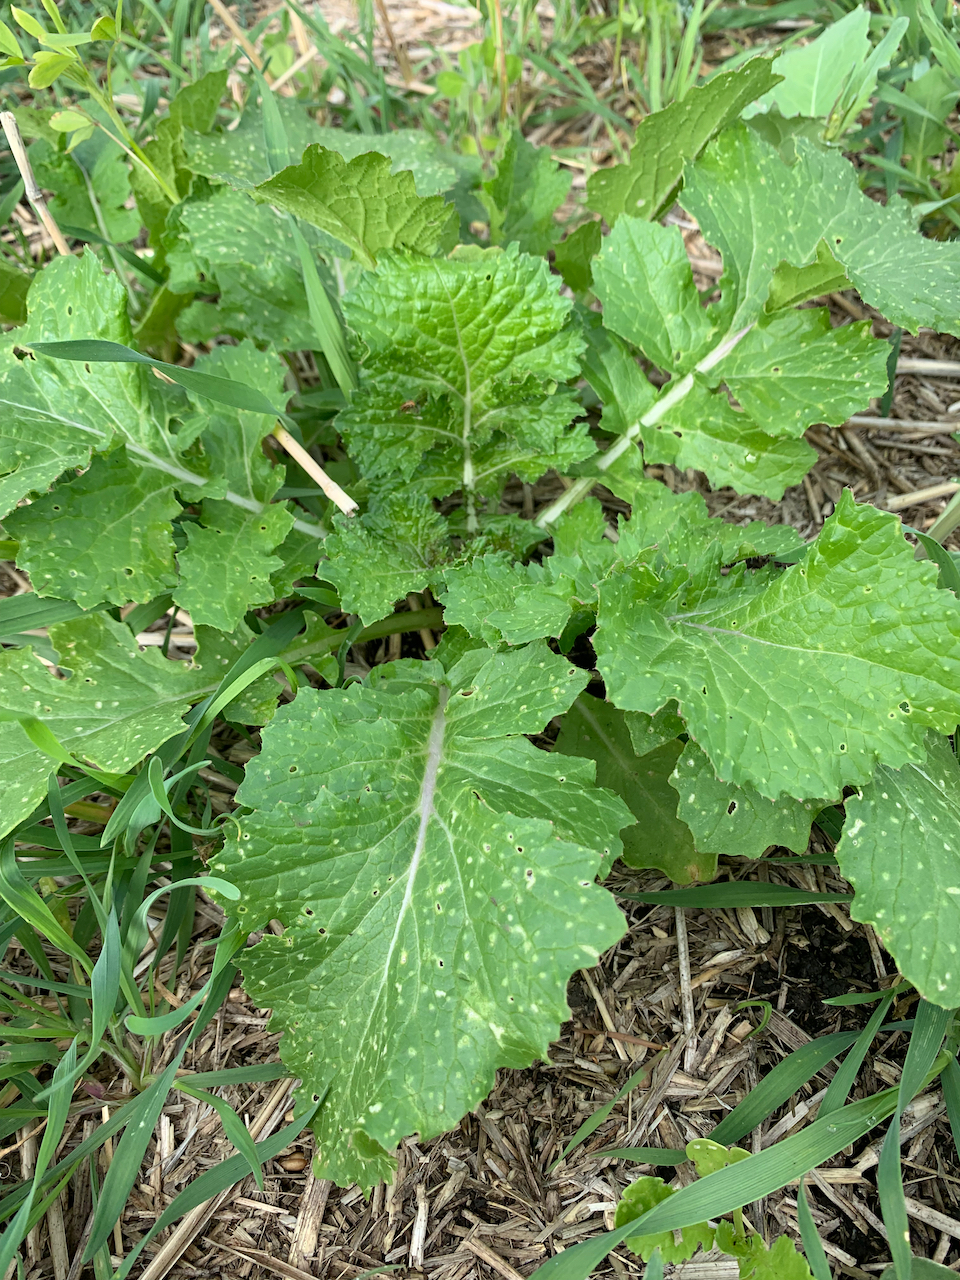
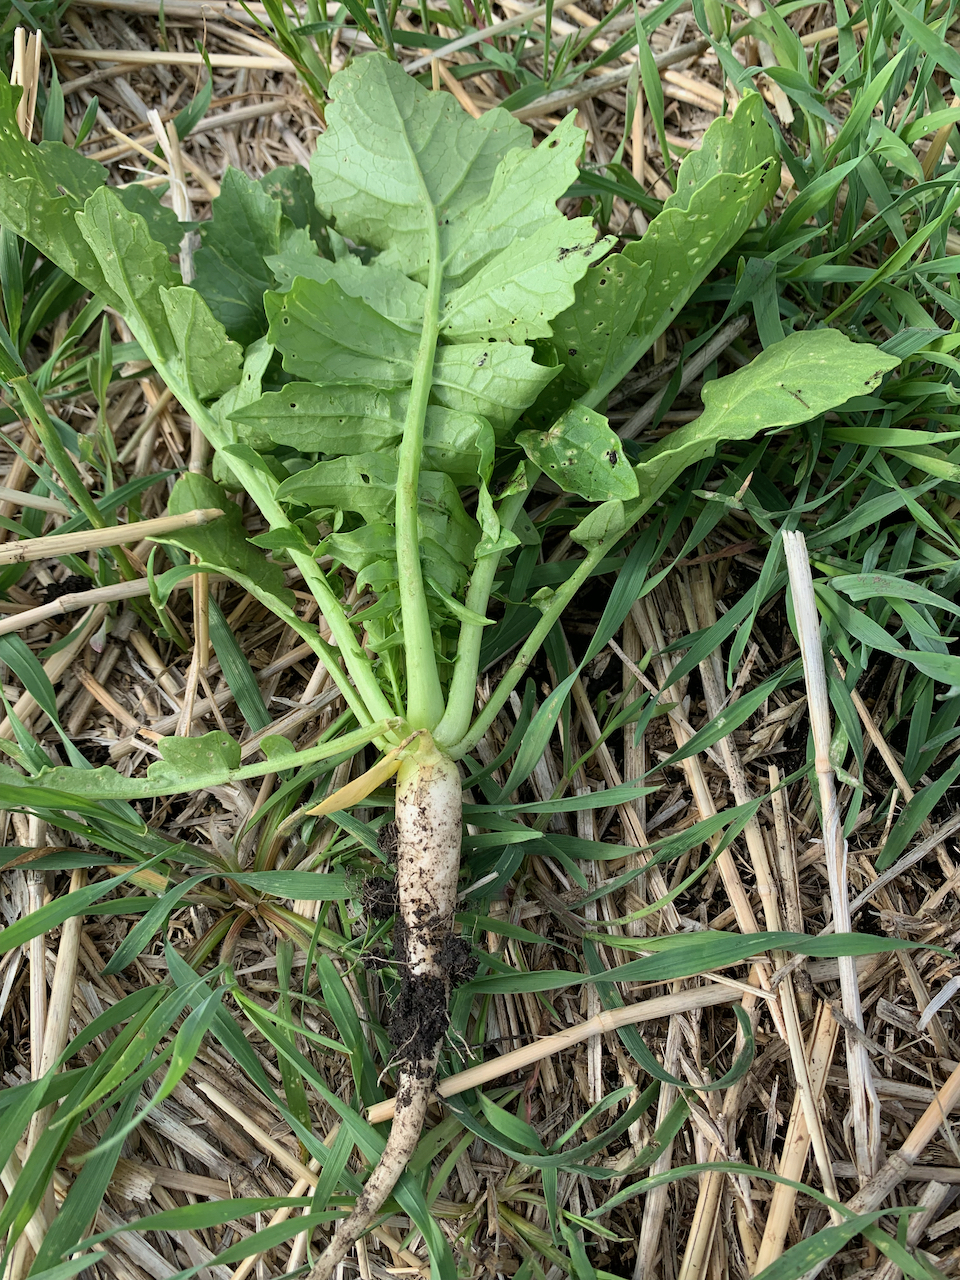
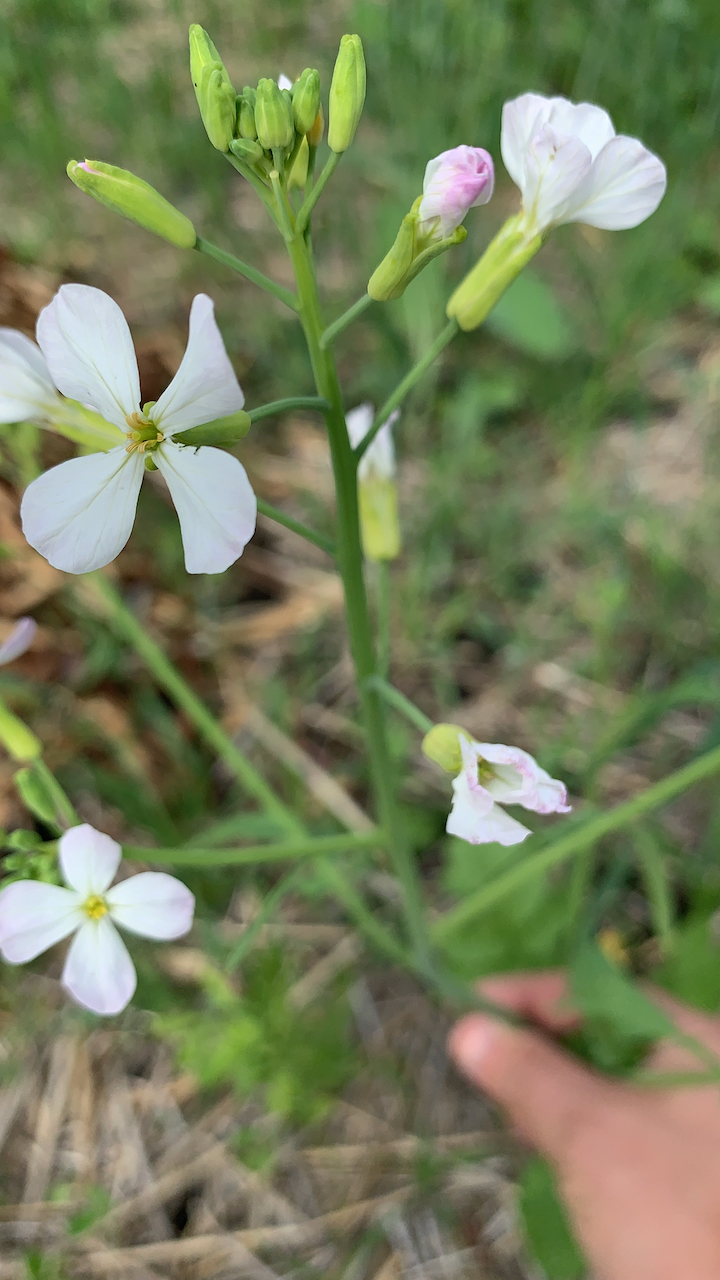
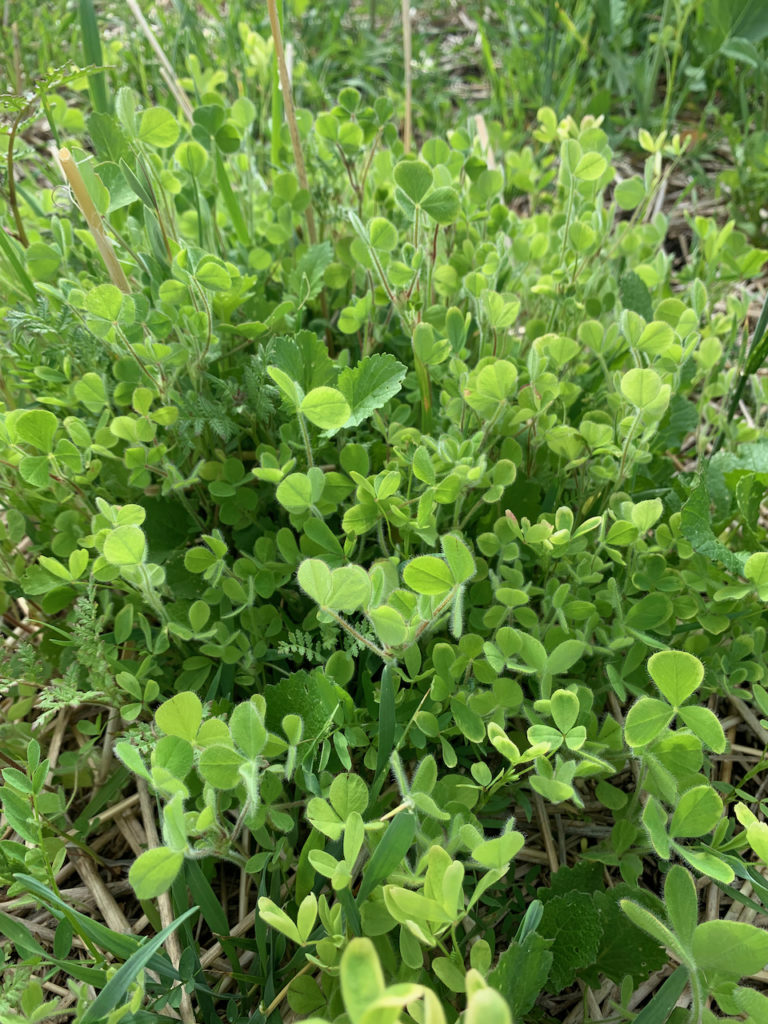
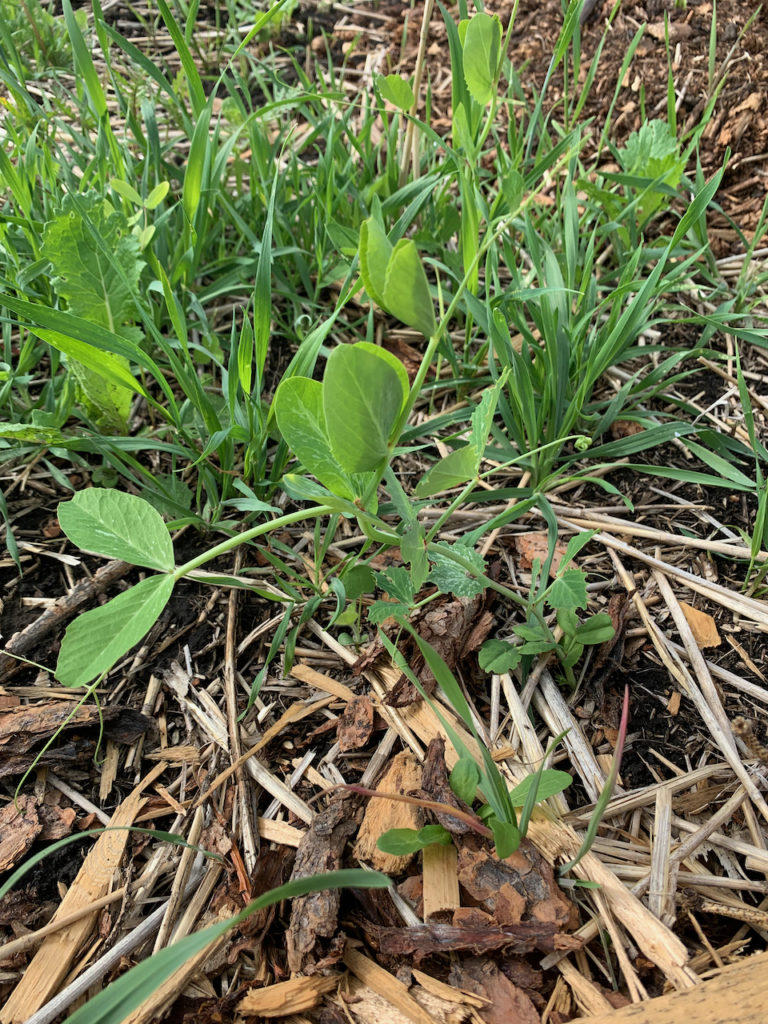
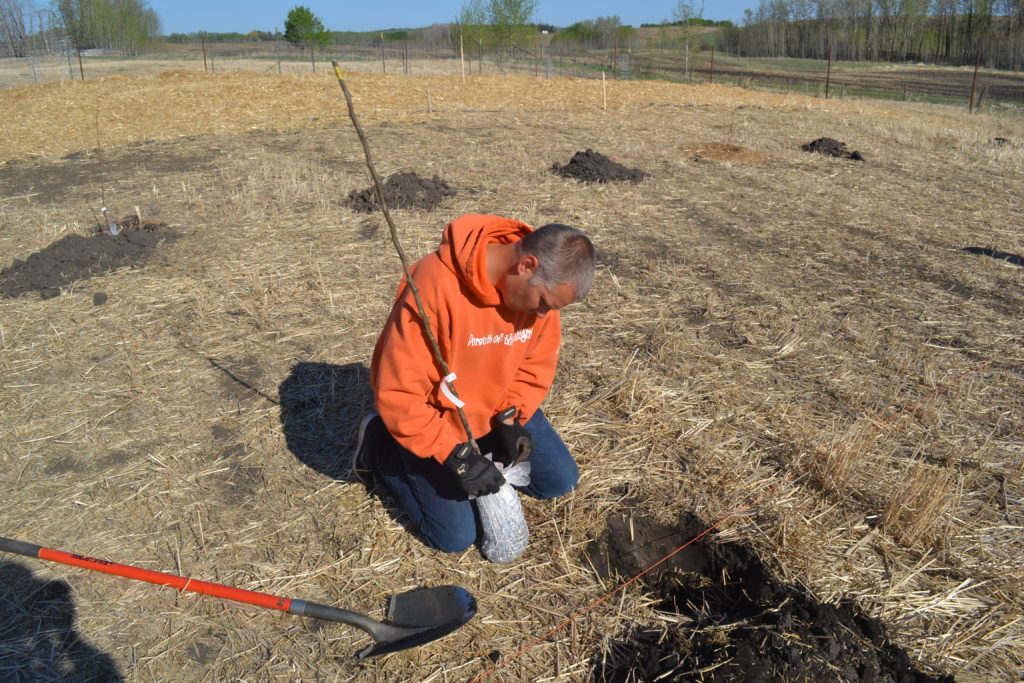
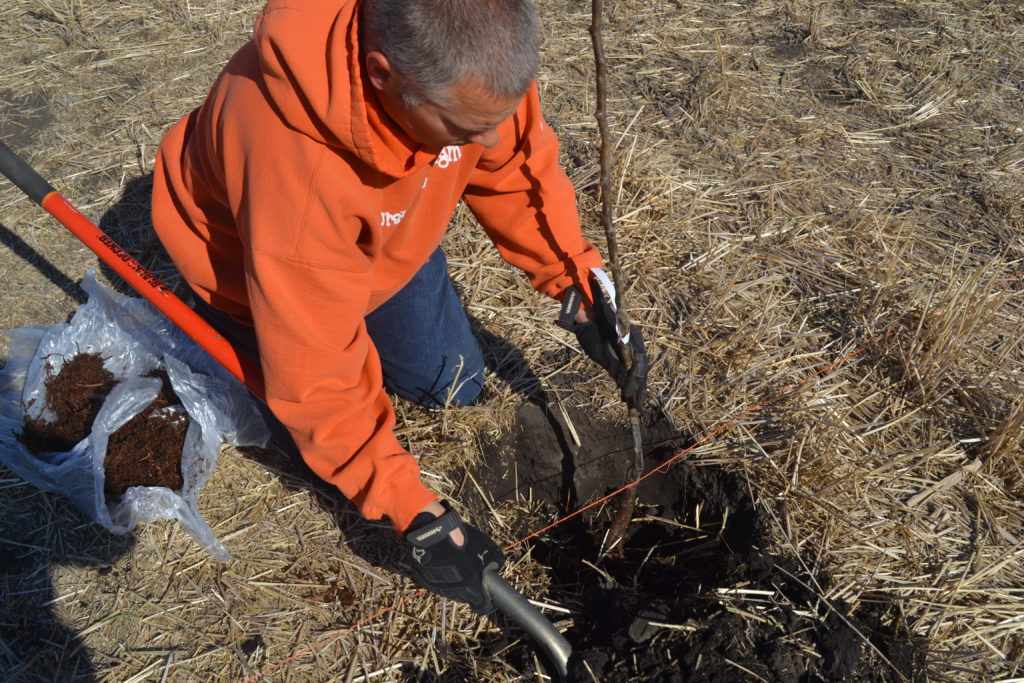
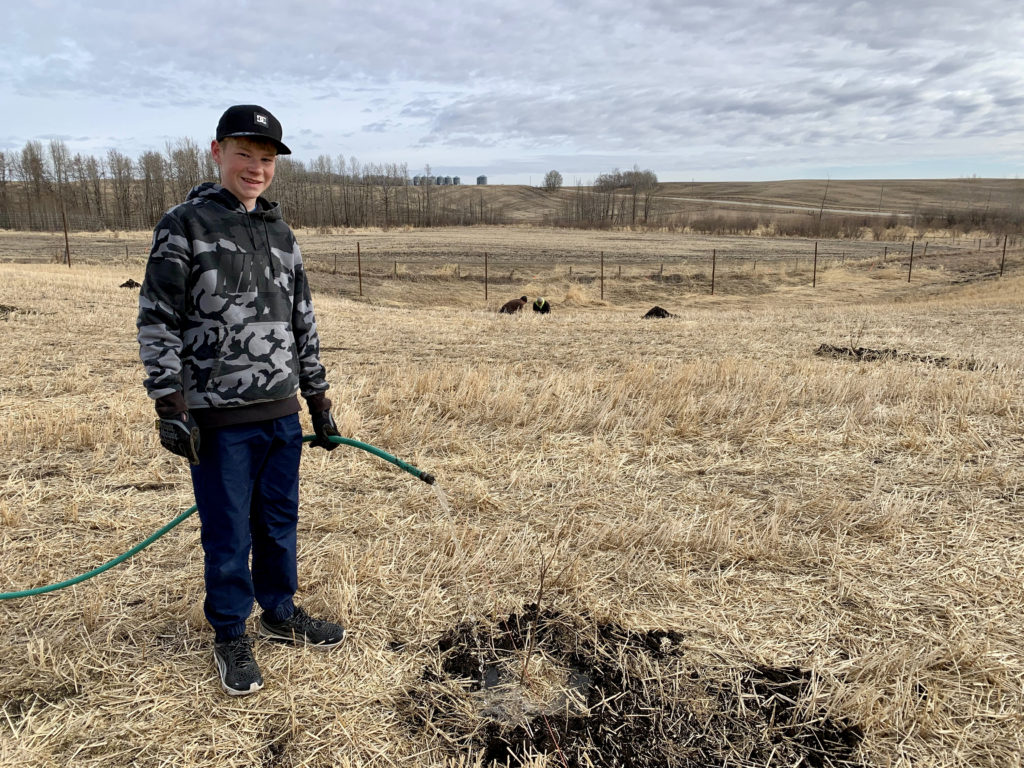
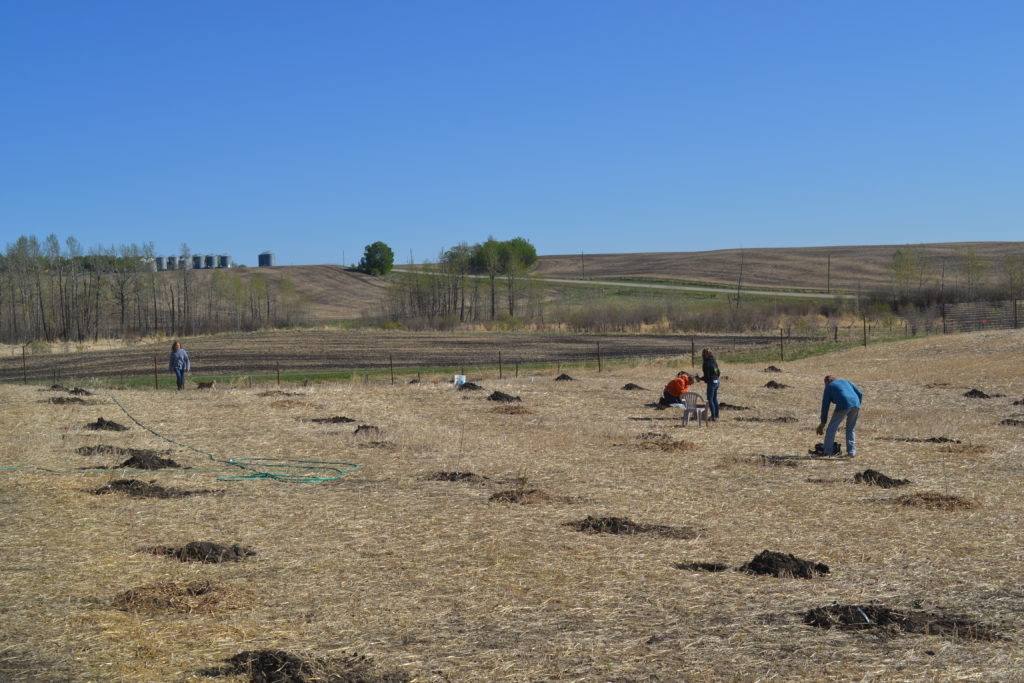
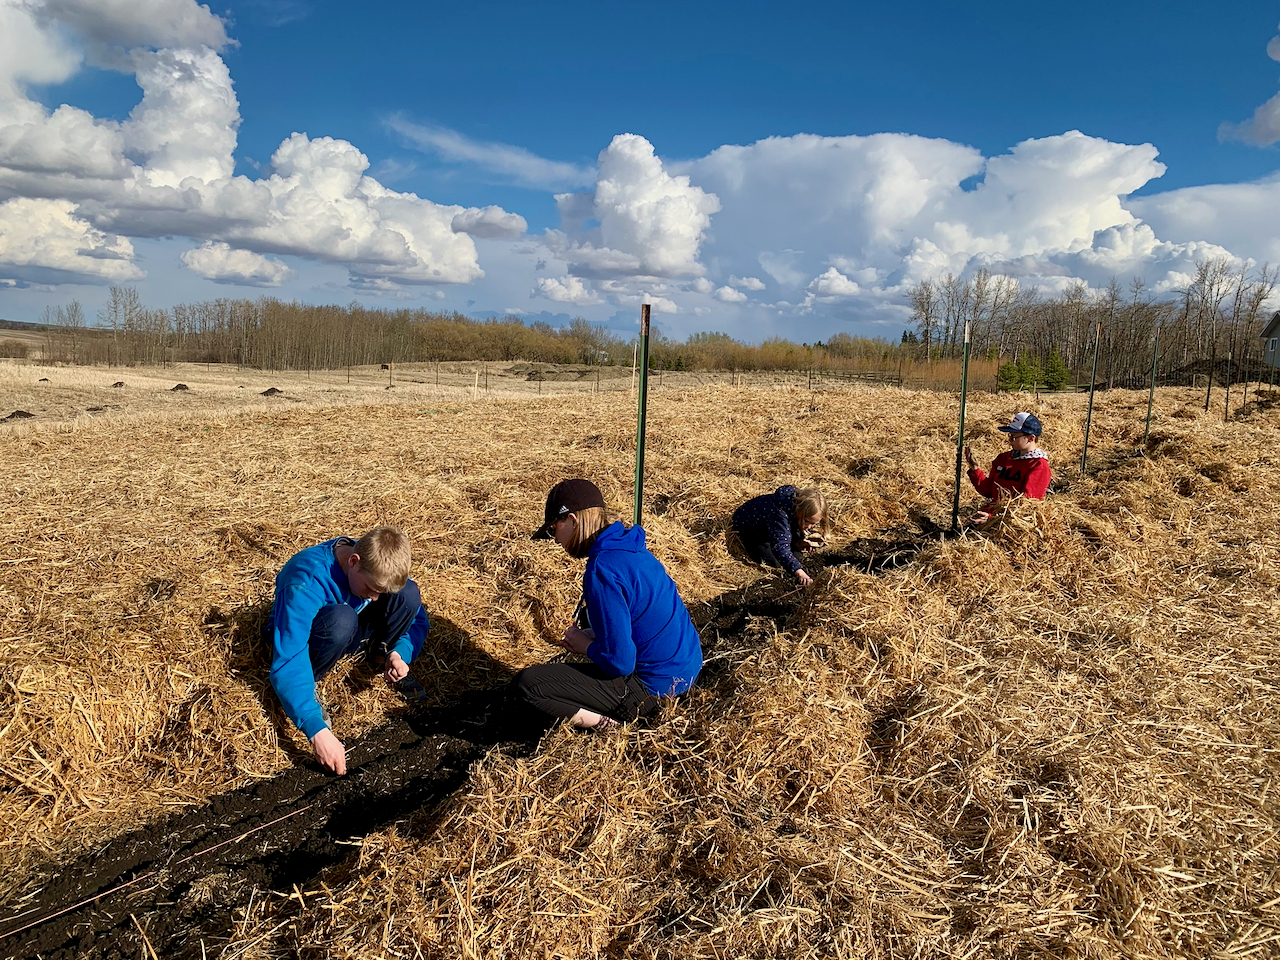
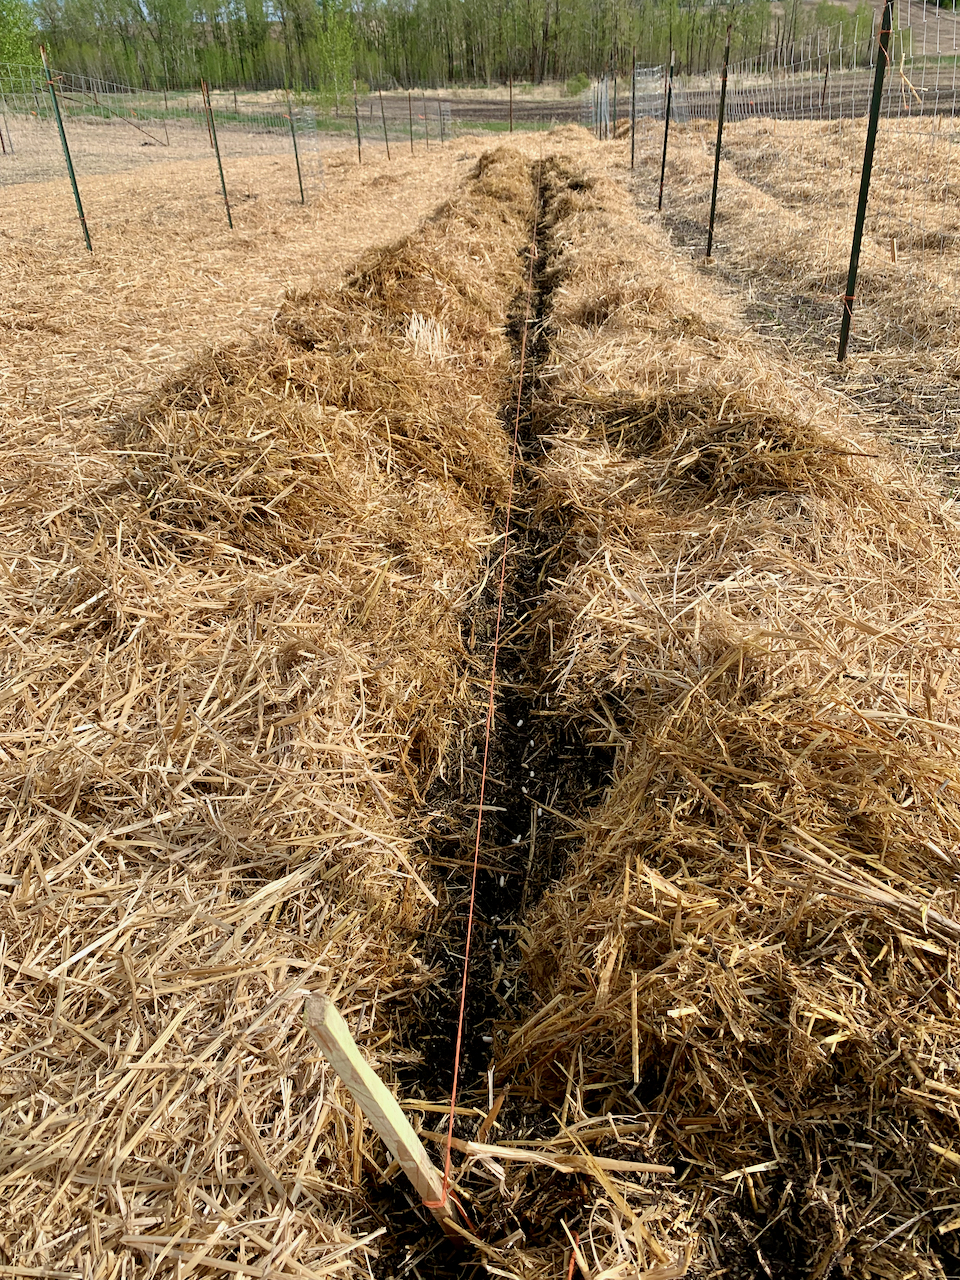
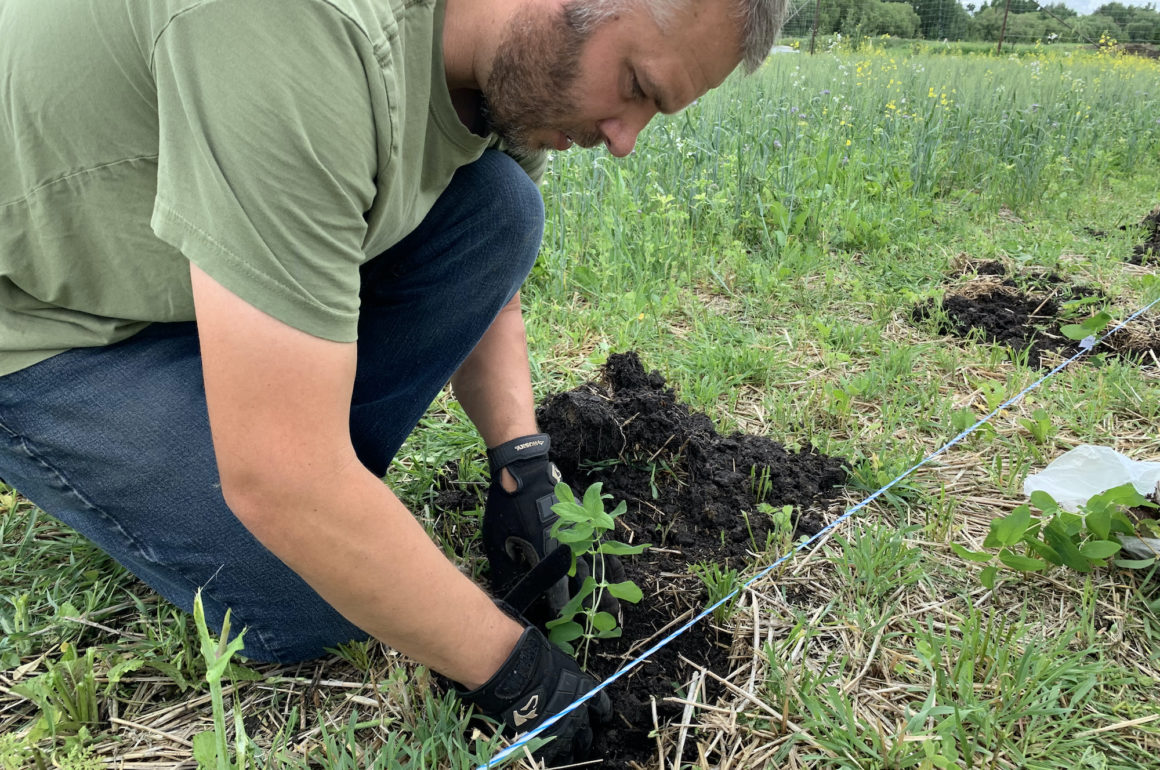
The first thing I did was to mow a strip through our covercrop. Our covercrop (of barley, canola, radish, turnip, peas, clover, phacelia and several other varieties) was growing really well in that area of the orchard and was super thick! But I needed to be able to run a string line to keep the rows straight, so a couple passes with the mower cleared a nice path! With that done, I strung my line and tape measurer and my son Ben & I planted the little haskap plugs in rows of 16 plants spaced 5 ft apart. As we planted, my daughter Allison watered them in good!
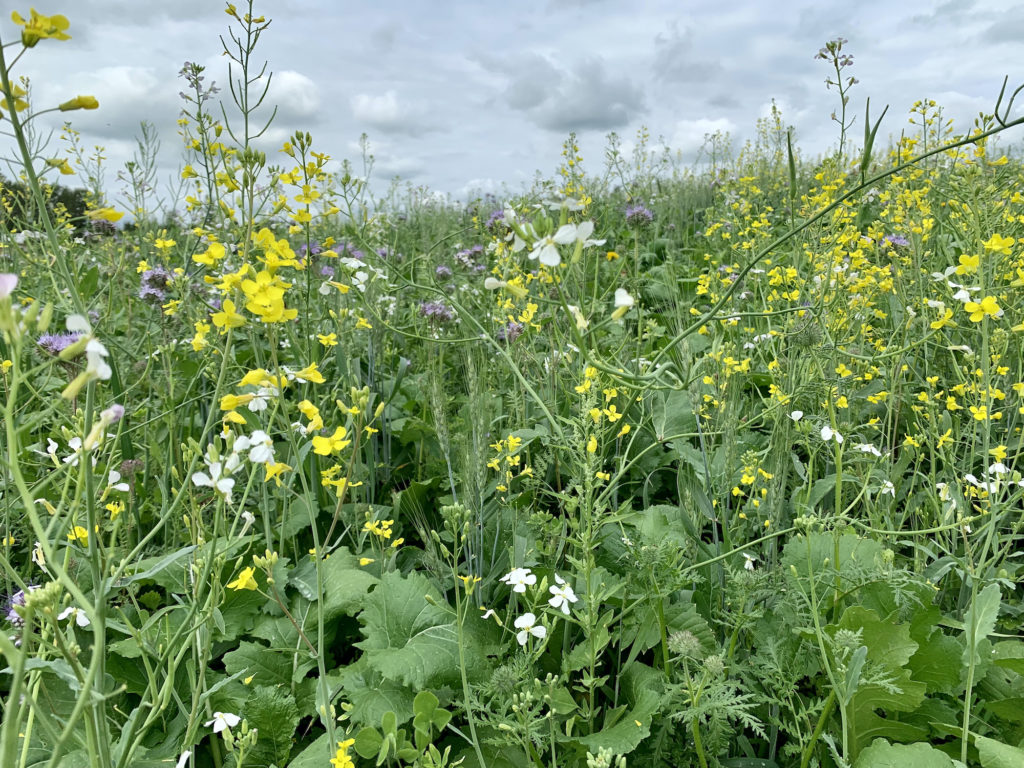
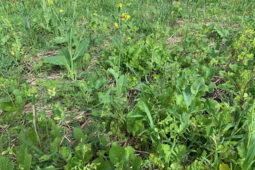
  • Covercrop!
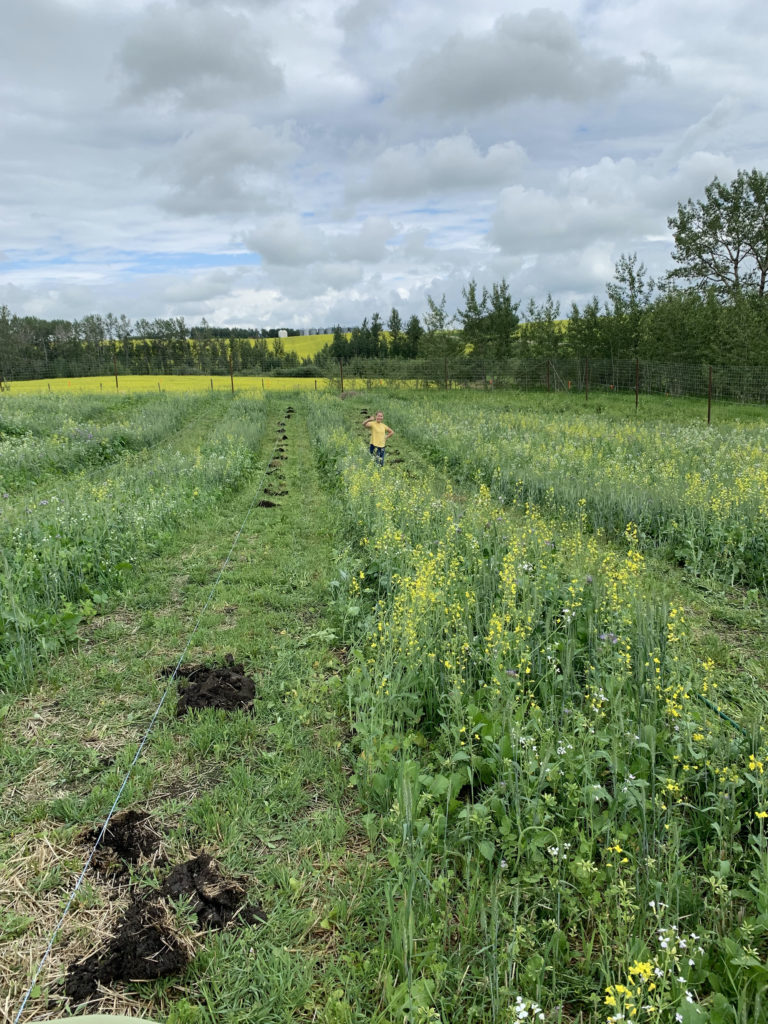
  • Preparing the haskap rows
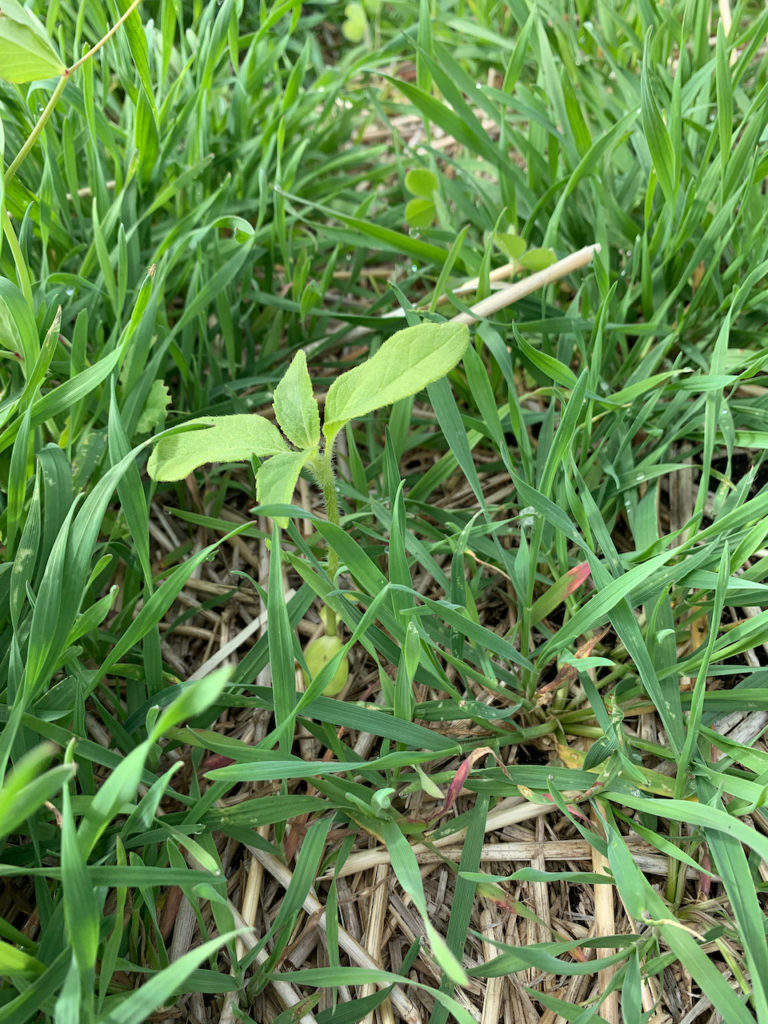
  • Holding a haskap plug
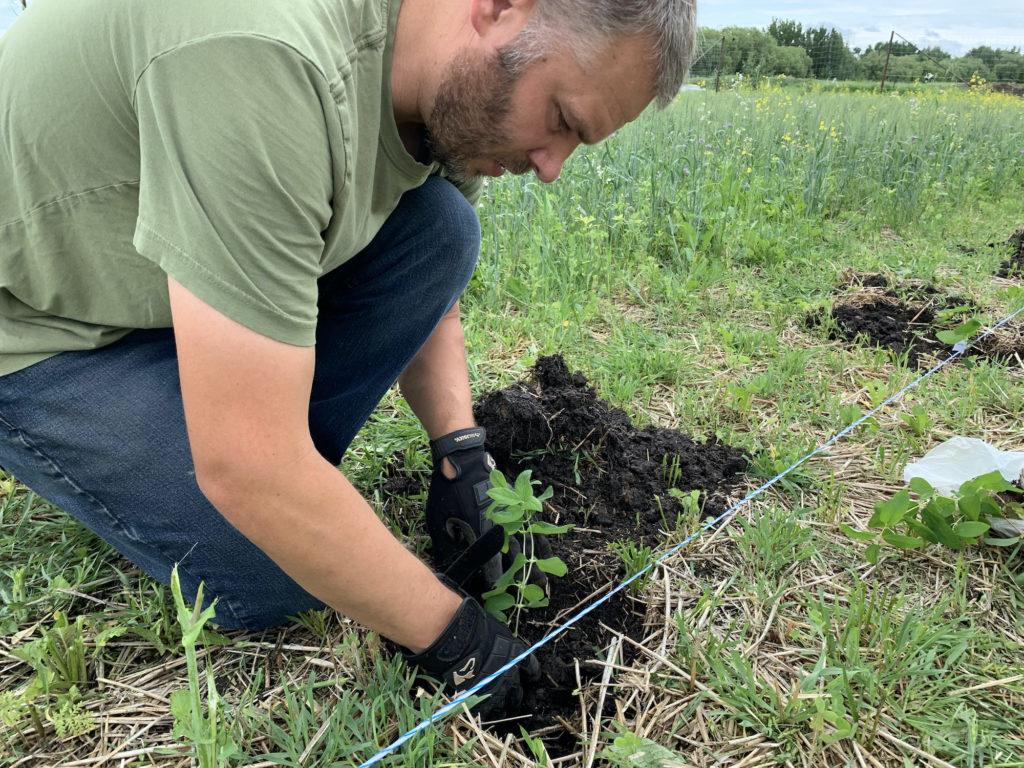
  • Planting Haskap

There were 16 plants of each of the seven varieties I had ordered – Boreal Blizzard, Boreal Beast, Boreal Beauty, Aurora, Honeybee, Indigo Gem, and Indigo Treat. (I had also ordered Borealis and Tundra, but they were unavailable at that time – I’ll see if I can get them later this fall.) Because of the extended time before I could plant them, a handful of the plants ended up not looking well and I think I’ll lose some of them. The record-breaking heatwave is over, but the hot weather continues and some plants have had some wilty moments.

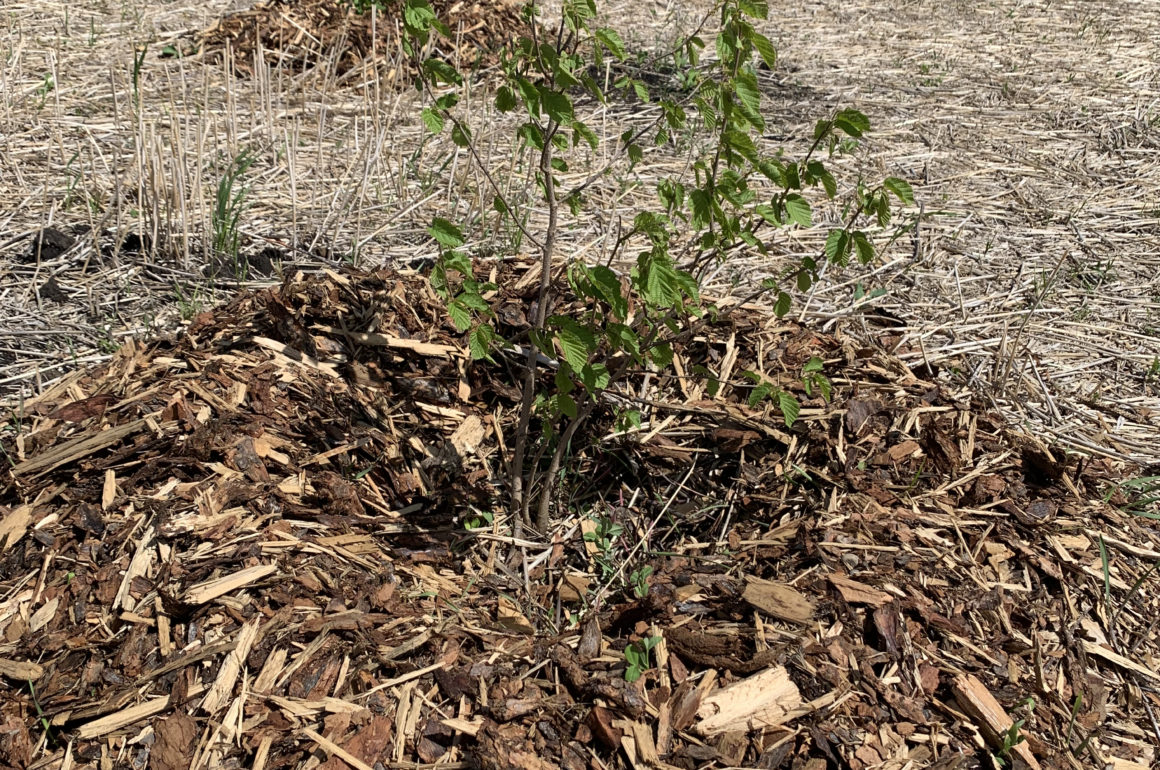
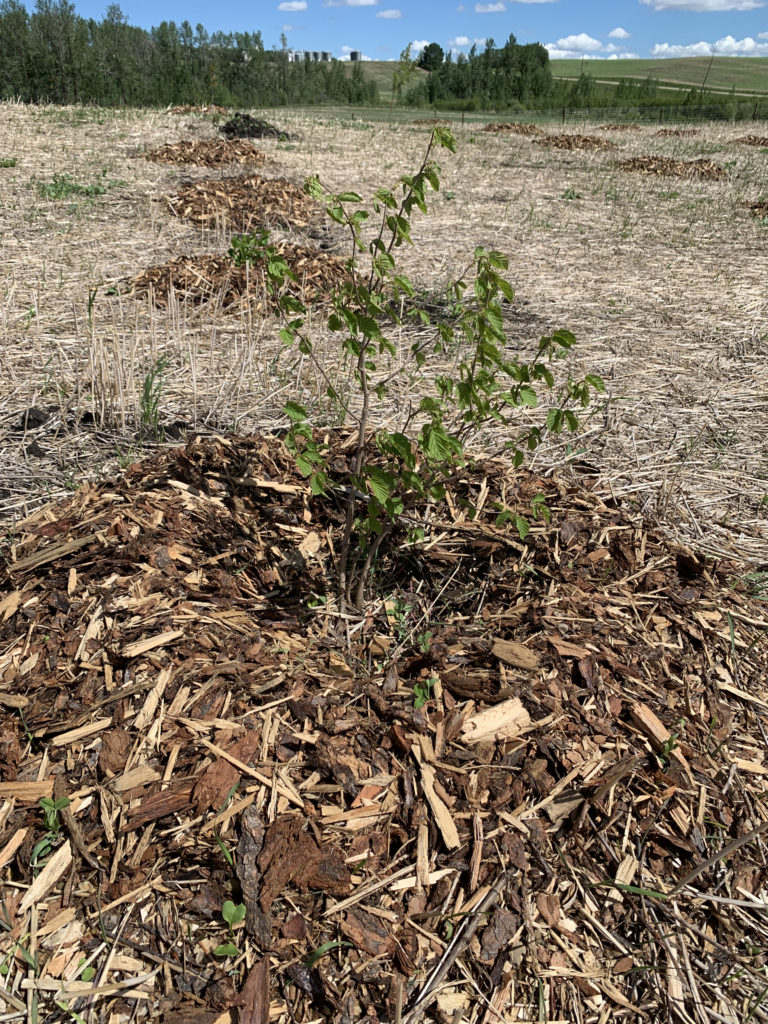
I’ve had to water them daily so far – I’m hoping to get some cooler cloudy days soon and can start reducing the amount of water they need. I also have a pile of mulch I need to apply – but so far I haven’t had a chance to do that! I think that’ll be Monday’s job!

If I could do it again, I think I would order for fall delivery and planting – mid-summer is just too hard on the plants. But I think the vast majority of plants will come through and we’ll be eating haskap berries before we know it!

Share:
Reading time: 2 min
Gardening Principles

Cover Crops ~ Diverse, Beautiful, and 100% Indispensable

June 25, 2021 by Dave Trenholm No Comments

It might seem a bit strange to say this, but one of the things that has brought me the greatest amount of joy thus far in my orchard has been my cover crops! (Mind you, once my fruit trees are old enough to produce fruit, I imagine they’ll take first place in that race!) But for now, it’s quite a delight to look out over the orchard and see the beautiful variety of plants that are growing and thriving in every square foot – knowing that not only are they beautiful, but they are also saving me a significant amount of work and expense!

“How so?” you ask? Well, let me take you on a photo stroll through the orchard and I’ll explain what I mean.

One of the most noticable plants in the orchard is the bright yellow canola. This wasn’t actually part of my cover crop seed mix, (although some do include canola) but it just came up as a volunteer from the canola crop that was planted two years ago. None-the-less, it’s something I would plant on purpose in the future as canola produces some of the most biomass of anything I might plant. It will add a great deal of nitrogen-rich material to my soil when it dies this fall.

The other crop that I didn’t seed, but is growing anyway, is the barley/wheat that is volunteering from last year’s crop. The plot that I’m using for my orchard was rented out to a local farmer last year who planted this, and there is an abundance of it growing this year – which is great! This will give me a significant amount of straw that will provide the mulch for next years crop. Straw doesn’t break down quite as fast as other vegetation, so it’ll be great for suppressing weeds and holding in moisture.

Of the plants that I’ve purposely planted, one of the most visible right now is the radishes. These are one of the most useful plants growing in my orchard right now. First of all, they are big leafy plants that cover the soil really well – holding in moisture and blocking out weeds. Secondly, they have large, deep roots that drill down into the soil, breaking up compaction and leaving large voids as they decompose and feed the worms. This loosens the soil and provides gaps to hold water later. (The photo above shows the root in late June – imagine what it will be like at the end of summer!) Third, they are actually edible radishes. Put them in salads, eat them raw – how ever you like them! And finally, they have really pretty white flowers!

Crimson clover is another important plant in my cover crop. Clovers are great nitrogen fixers and make a great ground cover. I’m considering permanently planted the rows in between my trees primarily to clover for those reasons.

Field peas are another nitrogen fixer in my cover crop mix. They might not be as good as clover in the ground-cover department, but they’ll be a great source of nitrogen.

This photo has two crops. One is sunflowers and the other is rye. Sunflowers have good thick stalks that take quite a while to decompose. This is like having a layer of armour on your soil – protecting it from erosion, moisture loss, and weeds!

Rye is my main cover crop. I have planted more rye than any other plant in my orchard. Rye does all the stuff I’ve already talked about, but one of the biggest draws for me is that it is relatively inexpensive! I purchased my cover crop seed mix this spring (called “Nitro Seasonal Cocktail”) that consisted of 14 different varieties of plants all mixed together. This cost me about $120. I bought roughly 10x that amount of rye seed for roughly the same price. So you can imagine which one I seeded heavier!

And just on that note, I should mention quickly how I seeded everything. I broadcast my seed with a small push-broadcaster that throws the seed out in a 10ft radius. (When I got tired of pushing, I connected the spreader to my sons bike and had him do a few rows!) After seeding, I pulled a small set of harrows over it to cover the seed with soil best I could. The germination rate this way wasn’t nearly what a conventional seeder would do, but I tried to account for that in my seeding rate.

  • I started with this spreader until it broke!
  • When I got tired of pushing, my son’s bike made things much quicker!

The last plant that I’ll mention is a new one to me this year. It’s called Phacelia and it’s actually quite a cool looking plant.

It will have some lovely purple flowers later on this summer that the bees will enjoy. If you need to attract pollinators, this is an excellent choice!

All of these plants put together will save me a ton of work. Less watering as they shield and shade the soil. Less fertilizing as they provide nitrogen and other nutrients to next year’s crops. Less weeding as they provide a living mulch for the plants they surround. And less tilling as they break up the soil and feed the worms and other microorganisms in the ground. It’s a win/win/win/win!

Thoughts? Comments? Questions? I’d love to hear from you. Leave a comment below!

Share:
Reading time: 4 min
Projects & Plans

How I Planted My Zone 3 Fruit Orchard

June 14, 2021 by Dave Trenholm No Comments

Planting an orchard has long been a dream of mine, and this spring, that dream came true. Of course, it’s not a massive commercial sized orchard. To-date, I have 94 fruit trees and shrubs planted (not counting raspberries and strawberries!) with about another 125 to be planted by this fall – most of those, haskap. Everything is planted in a 2-acre field inside an 8ft tall fence (to keep the deer at bay) and for the most part, I’ve followed the plan for my Abundant Zone 3 Orchard that I told you about back last December. But as I expected, I have had to make a few changes. Here’s what my orchard looks like now, in diagram form, that is. (Oh, and by the way, the red symbols are the plants that I don’t have planted yet.)

As I mentioned earlier and as you can see from the diagram, my rows are spaced 16′ apart and each major tree is spaced 16′ apart within the row (with a smaller shrub in between them, so basically a plant every 8 ft.)

Most of my plants came via Canada Post as bare root plants. There were a few that were potted, but many were not much more than sticks with a wee bit of roots. I couldn’t plant them the day I got them, so I opened them up and kept them in my cold room over night and soaked the bare root bundles in water. Most of the trees and shrubs were very small – perhaps only 8″-14″ tall. But some were surprisingly large – up to 4 ft.

This is my order of fruit trees and shrubs from T&T Seeds. (I had to buy the Pepsi separately!)

The following day, we dug the holes according to our map. (Some of the holes we had dug earlier, so that saved a lot of work on planting day.) Because they were bare root, most holes didn’t have to be all that big – probably about 1 ft deep and 1 ft wide. Then we carefully unwrapped the tree’s roots, placed it at the proper level, and pushed the dirt back in the hole. With any extra dirt, we created a bit of a rim around the hole so the tree would be in the centre of a bowl. Then when we watered it, the water would pool and settle down to the roots instead of running away.

  • The whole family helped on planting day – it is after all, a Family Orchard!

The last step, and one I consider to be of utmost importance, is to add a donut of mulch around each tree or bush. Mulch keeps the soil from drying out too quickly and keeps the weeds from growing around the tree. It also breaks down over time to provide rich nutrients for the tree as it grows. When mulching, you don’t want to put the mulch right up to the tree trunk – the trunk needs to breath or the excess moisture can cause a variety of problems. That’s why I say add a ‘donut’ of mulch – not a mountain of mulch. I aim to make my donut as large as possible (with the mulch I have available) – but a radius of about 2-3 ft should be good for seedlings. (That’s keeping the mulch back about 3 inches from the trunk…)

And that’s about it. To be honest, for the first few weeks, the orchard didn’t look like much. From a distance, all you could see was little piles of mulch in the the middle of the field. But slowly and surely the trees are growing. The first trees were planted on April 29, and the second batch on May 22. Most have leafed out now. (Though I’m still waiting for the Apricots and the American Plums to show signs of life.) Now, if you look close, you can at least see little green sticks and bushes as you look out over the orchard.

But soon we’ll have trees. And flowers. And fruit.

Soon.

Share:
Reading time: 3 min
Sharing My Thoughts

Our Farm Finally Has A Name!

June 7, 2021 by Dave Trenholm 2 Comments

Ever since we first decided to move back to the country, our family has been throwing around possible farm names that we would sufficiently describe our farming enterprise. And over the past several months, we’ve come up with a lot of possibilities! (Some we’ve considered more than others!) ‘The Rusty Bucket Orchard‘ was a contender for quite a while. Nick’s favourite (‘Yaks and Snacks’) had some great marketing possibilities. ‘Boardwalk Farms’ was proposed in honor of the boardwalk we build through the swamp last summer. Even Uncle Mike’s suggestion of ‘Deerberry Farms’ was considered, but the logo for that one might not be good for marketing! But after much thought and careful consideration, we’ve finally landed on the name by which we want our farm to become known.

While we might be inclined to have a more ‘quirky’ name, in the end, Good Roots Orchard is the name that we believe summarizes well both what we do and who we are. Let me share with you the three ways that “Good Roots” reflect the essence of our family farm.

‘Good Roots’ Means Healthy Soil

We believe that healthy soil = healthy food! When you see all the life that is present in the soil and how each organism helps and supports the others, you can’t help but conclude that God’s design is incredibly effective! Over the past couple of years, we have increasingly become convinced that the best way to grow food is to grow it in the most natural way possible. Thus, the term ‘Good Roots’ reflect our desire to keep our soil naturally healthy. That means avoiding chemicals in herbicides and fertilizers, using no-till practices that disturb the soil structure as little as possible, and encouraging an abundance of bio-diversity in our orchard. I don’t know if there is a term that describes our practices exactly, but we have adopted a lot of our practices and principles from studying permaculture, regenerative farming, and organic farming. We may not subscribe fully to any one of those practices, but the bottom line is that we want to grow the best tasting food in the healthiest way while being the best stewards of the plants/land/animals in our care. We want to have good roots!

‘Good Roots’ Means Awesome Ancestors

We are incredibly blessed to have an amazing family heritage! Our children have the benefit of being the fourth-generation of God-honoring, hard-working Alberta farmers. On both sides of the family, their parents, their grandparents, and their great-grandparents have all farmed in Central Alberta – and they all loved, honoured, and served the Lord! What a heritage! We are so grateful for our amazing family! We would most certainly not be where we are today if it were not for help and support of our extended families. We have some very good roots!

‘Good Roots’ Means Faith in Jesus

Jesus Christ said in John 15:5, “Yes, I am the vine; you are the branches. Those who remain in me, and I in them, will produce much fruit. For apart from me you can do nothing.” We believe that the most important thing in life that anyone can do is to have a personal relationship with Jesus Christ – our loving Creator and eternal King. We strive to follow this verse and to ‘remain in him’ – that is, to develop an ever-deepening relationship with him. We don’t always do that perfectly, but that is our goal and highest priority. We desire to stay rooted in our relationship with Christ and to produce good fruit (both literally and figuratively) for Him. He Himself is our Good Roots.

Share:
Reading time: 3 min
Projects & Plans

How To Plant Fruits & Veggies In Marvelous Straw Mulch

June 1, 2021 by Dave Trenholm No Comments

I’ve long been convinced that growing in mulch is the best way to garden. After all, it just makes sense. Mulch suppresses weeds, holds in moisture, and provides abundant food for all the worms and other little creatures in the dirt that provide nutrients for your plants! But honestly, even with all that knowledge, I’ve been slow to change over from the ‘traditional’ method of gardening. You know… roto-tilling the entire garden before planting – then tilling in between the rows a few times throughout the year…. keeping the garden soil bare and black so that it looks like a neat and tidy garden. (And I do tend to be a neat & tidy, straight-rows, kinda guy…) But this year as we start a new garden space on the farm, I’ve made the decision to cover the entire garden with a thick layer of straw mulch.

Now, I have played around a little bit with growing in straw previously. If you followed my old blog, you’ll remember that one year (back in 2008) I grew potatoes on top of the dirt, buried in straw. (See Growing Potatoes in Straw) And that worked really well! In fact, I experimented on a small scale with potatoes, corn, peas, sunflowers, and carrots all mulched with straw.

  • My experimental garden grown in straw in 2008

So this isn’t the first time I’ve experimented with this. But this will be the first time I fully take the plunge and plant the whole garden under straw.

The first step was to acquire some straw. As it happened, the farmer down the road had a stack of old round straw bales that had been sitting in his field for the last couple of years, so we offered to take them off his hands. He invited us to take whatever we wanted for free – which was an incredible blessing! We happily took them all.

My garden space is on the west end of my orchard – which is fully enclosed by an 8ft fence so my garden doesn’t become a salad bar for the deer. The site has been a traditionally farmed field for the last decade or so – previously planted to barley, wheat, or canola – so I’m thankful I don’t have to deal with sod or an enormous amount of weeds. However, it is a very large site (at least compared to anything I’ve gardened before). It’s about 80′ x 190′. To cover that area with 6-8 inches of straw would be a mammoth undertaking!

Thankfully, another neighbour had a bale shredder (used to feed or provide bedding for cattle) that he offered to loan us. This would make the job of spreading the straw WAY quicker and easier! (As it was, it still took the bulk of an afternoon spreading out nine round bales of straw over the roughly 15,000 sq ft of garden space.) Praise the Lord for neighbors! Farming has a long history of community cooperation and it’s no wonder! We couldn’t do this without the help of friends, family, and neighbors!

  • Using the bale shredder to cover the garden with straw

Well, one very windy afternoon later, we had roughly 8 inches of straw all over the garden area. I left the straw to settle for about a week before we began planting.

Potatoes were first to plant and they were fairly simple. I employed a little help from yet another friend and we pulled back pockets of straw with a pitchfork, dug a hole for the seed potato, and then covered it up again with dirt and the straw. For most other veggies, I would leave the straw to the side until the plant had emerged, but I knew the potatoes would have no trouble pushing through the straw, so I completely re-covered the area with several inches of straw.

For peas, I started by putting in my pea fence posts. Then, with the help of my kids, I pulled back about a 1 ft strip of straw with either a rake or pitchfork. Then I hoed two furrows side-by-side so I could have a row on either side of the fence.

  • Planting peas in a double row. We’ll pull the straw up to the plants once they’ve sprouted a few inches.

For other seeds, like beans for example, I pulled aside just a narrow strip of straw with a triangle-shaped hoe. Then, using that same hoe, dug a small furrow.

*As a little note, I found that although the tractor pulling the bale shredder sure spread the straw quickly, it also resulted in the ground becoming very compacted! In the places where the tractor tires went, it was very difficult to dig the furrow. Other places were much easier! I think once the straw begins to decomposed and the worms do their thing – the soil should become much easier to work with!

  • Growing beans in straw mulch

Finally, after seeding in the furrow, I covered the seeds with soil, but not with straw. I’ll wait until there are some well-visible sprouts before I move the straw back around them – since I don’t want to smother them.

And that’s about it! At the time of this post (May 31), I have all of my seeds planted, but still a few seedlings to transplant into the garden. I’ll likely do that in the next week or so.

Share:
Reading time: 4 min
Page 1 of 212»

Recent Posts

Planting More Fruit in the Orchard – Haskap!

Planting More Fruit in the Orchard – Haskap!

July 10, 2021
Cover Crops ~ Diverse, Beautiful, and 100% Indispensable

Cover Crops ~ Diverse, Beautiful, and 100% Indispensable

June 25, 2021
How I Planted My Zone 3 Fruit Orchard

How I Planted My Zone 3 Fruit Orchard

June 14, 2021
Our Farm Finally Has A Name!

Our Farm Finally Has A Name!

June 7, 2021
How To Plant Fruits & Veggies In Marvelous Straw Mulch

How To Plant Fruits & Veggies In Marvelous Straw Mulch

June 1, 2021

About Me

Hi there! My name’s Dave. I’ve dabbled in landscaping & gardening since I was kid, and I’ve been blogging about my experiences since 2007. I've lived most of my life in zone 3 (central Alberta not too far from Red Deer). I love growing all kinds of fruits & veggies (the more unusual the better), creating beautiful spaces, and making people feel at home! I enjoy writing (thus, this blog!) and teaching others what I have learned. I have been abundantly blessed by God and want to honor Him by sharing that abundance with others. I have the joy of sharing my adventures with my delightful wife and my four fantastic kids.

© 2020 copyright Dave Trenholm // All rights reserved