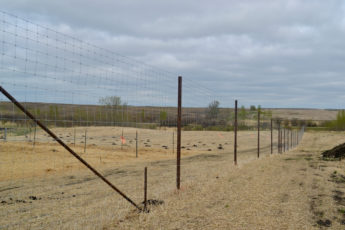
Planting an orchard has long been a dream of mine, and this spring, that dream came true. Of course, it’s not a massive commercial sized orchard. To-date, I have 94 fruit trees and shrubs planted (not counting raspberries and strawberries!) with about another 125 to be planted by this fall – most of those, haskap. Everything is planted in a 2-acre field inside an 8ft tall fence (to keep the deer at bay) and for the most part, I’ve followed the plan for my Abundant Zone 3 Orchard that I told you about back last December. But as I expected, I have had to make a few changes. Here’s what my orchard looks like now, in diagram form, that is. (Oh, and by the way, the red symbols are the plants that I don’t have planted yet.)
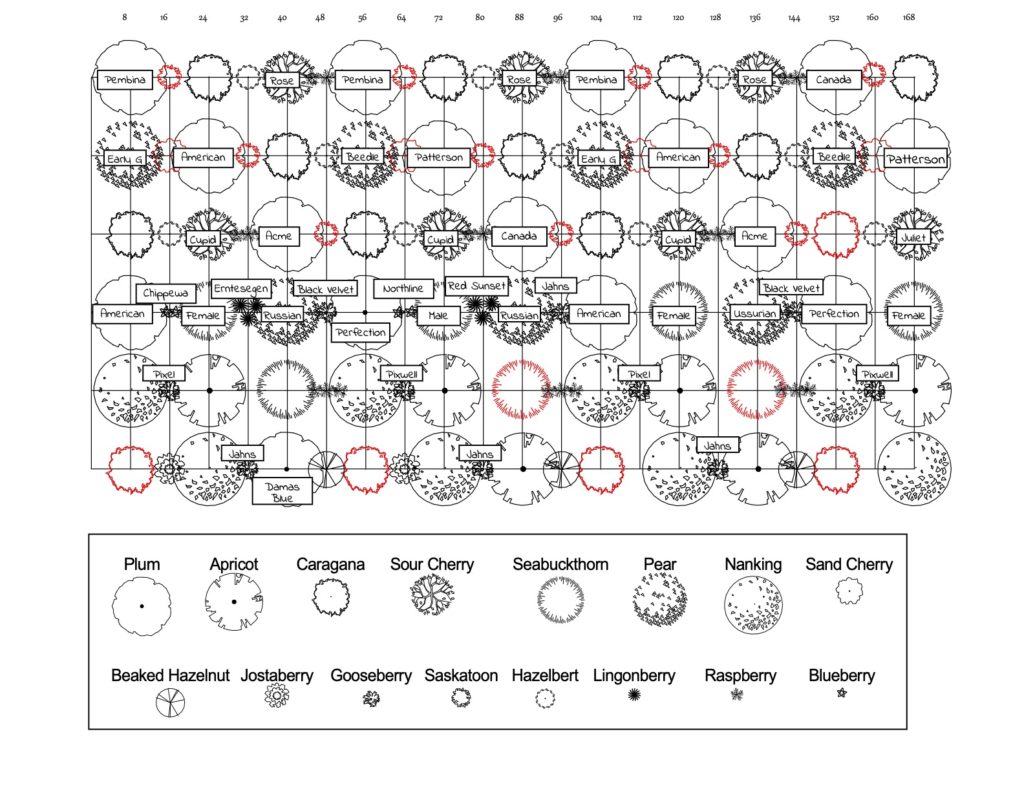
As I mentioned earlier and as you can see from the diagram, my rows are spaced 16′ apart and each major tree is spaced 16′ apart within the row (with a smaller shrub in between them, so basically a plant every 8 ft.)
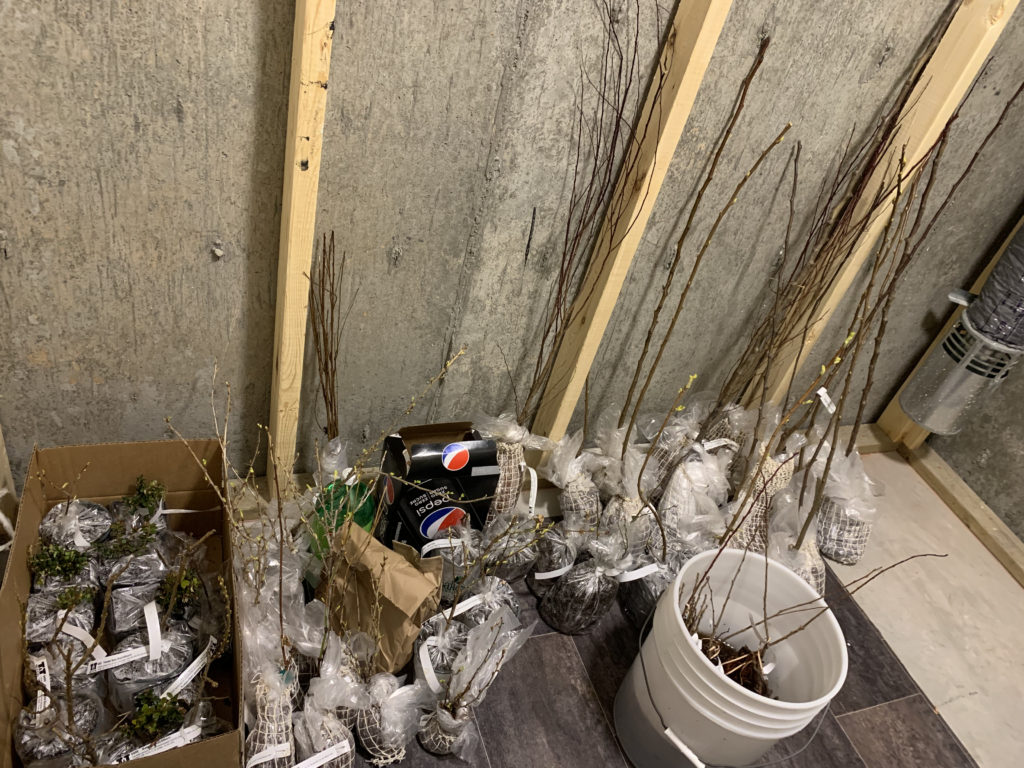
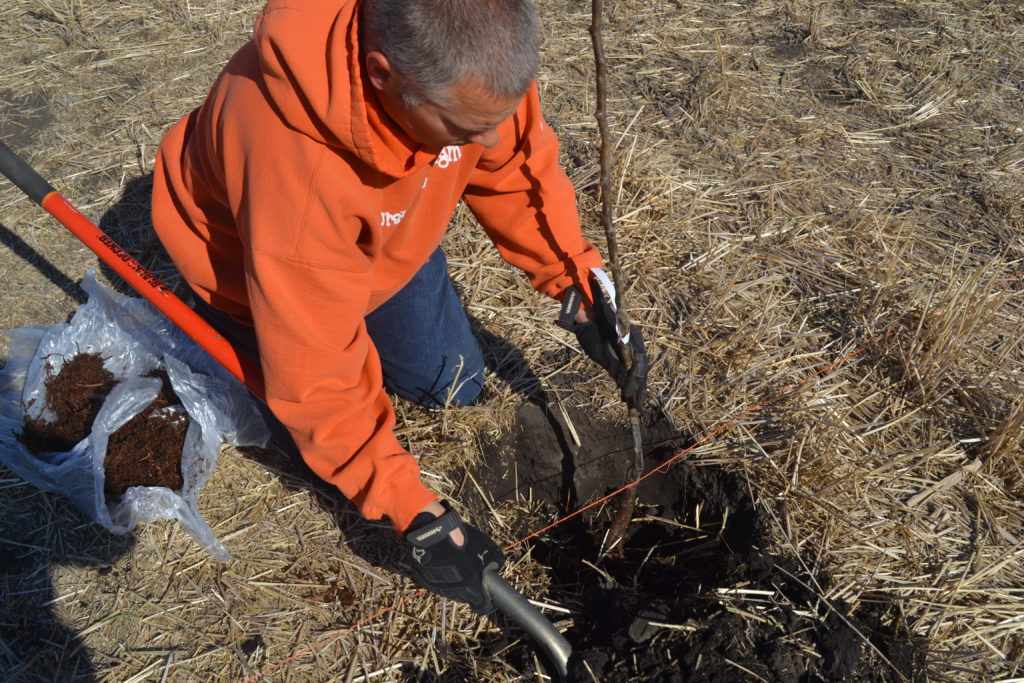
Most of my plants came via Canada Post as bare root plants. There were a few that were potted, but many were not much more than sticks with a wee bit of roots. I couldn’t plant them the day I got them, so I opened them up and kept them in my cold room over night and soaked the bare root bundles in water. Most of the trees and shrubs were very small – perhaps only 8″-14″ tall. But some were surprisingly large – up to 4 ft.
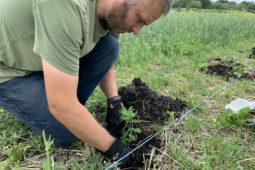
The following day, we dug the holes according to our map. (Some of the holes we had dug earlier, so that saved a lot of work on planting day.) Because they were bare root, most holes didn’t have to be all that big – probably about 1 ft deep and 1 ft wide. Then we carefully unwrapped the tree’s roots, placed it at the proper level, and pushed the dirt back in the hole. With any extra dirt, we created a bit of a rim around the hole so the tree would be in the centre of a bowl. Then when we watered it, the water would pool and settle down to the roots instead of running away.
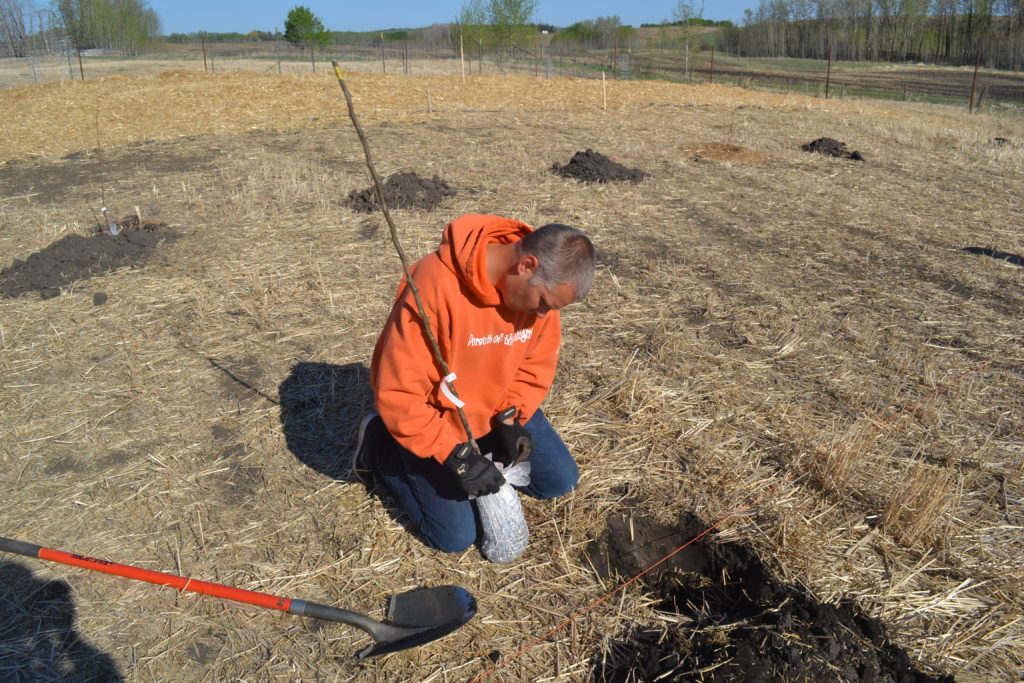
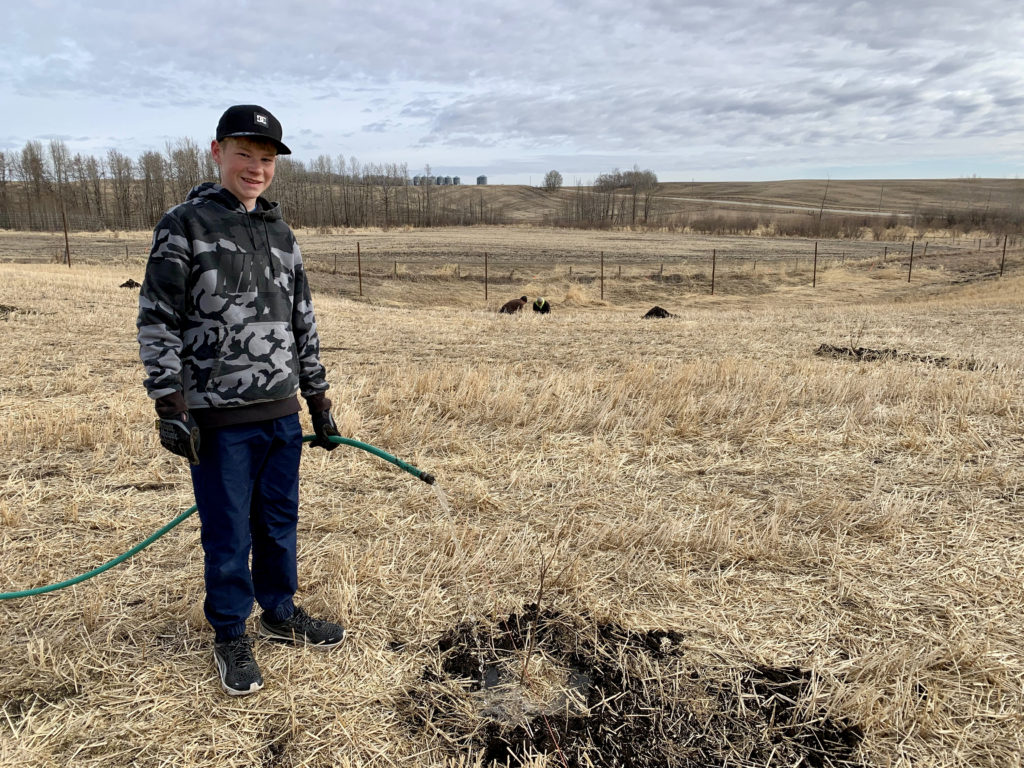
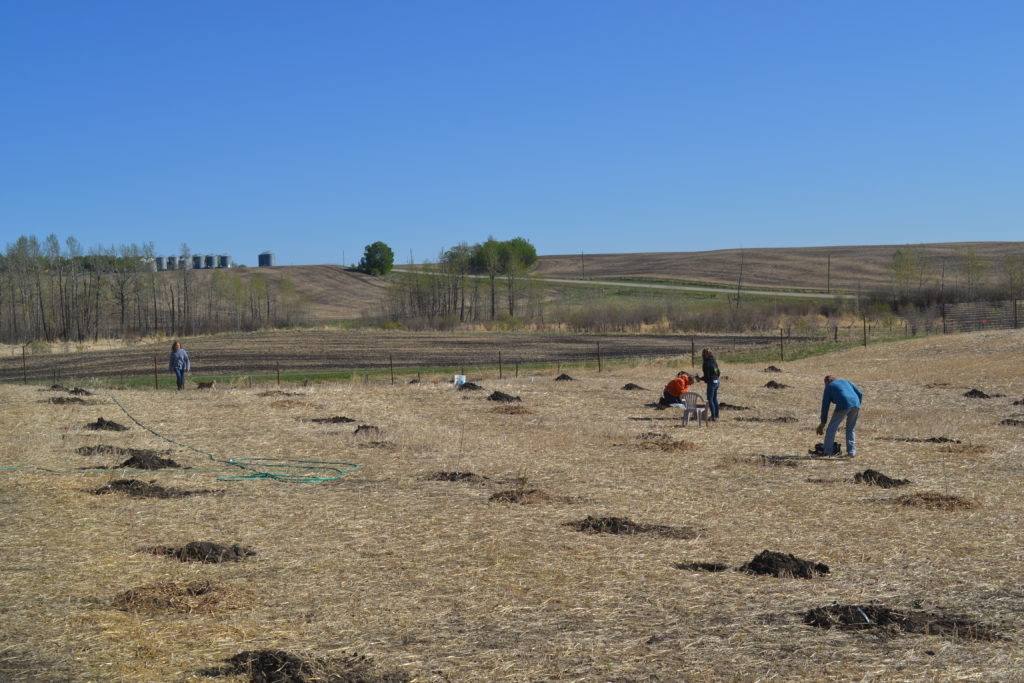
The whole family helped on planting day – it is after all, a Family Orchard!
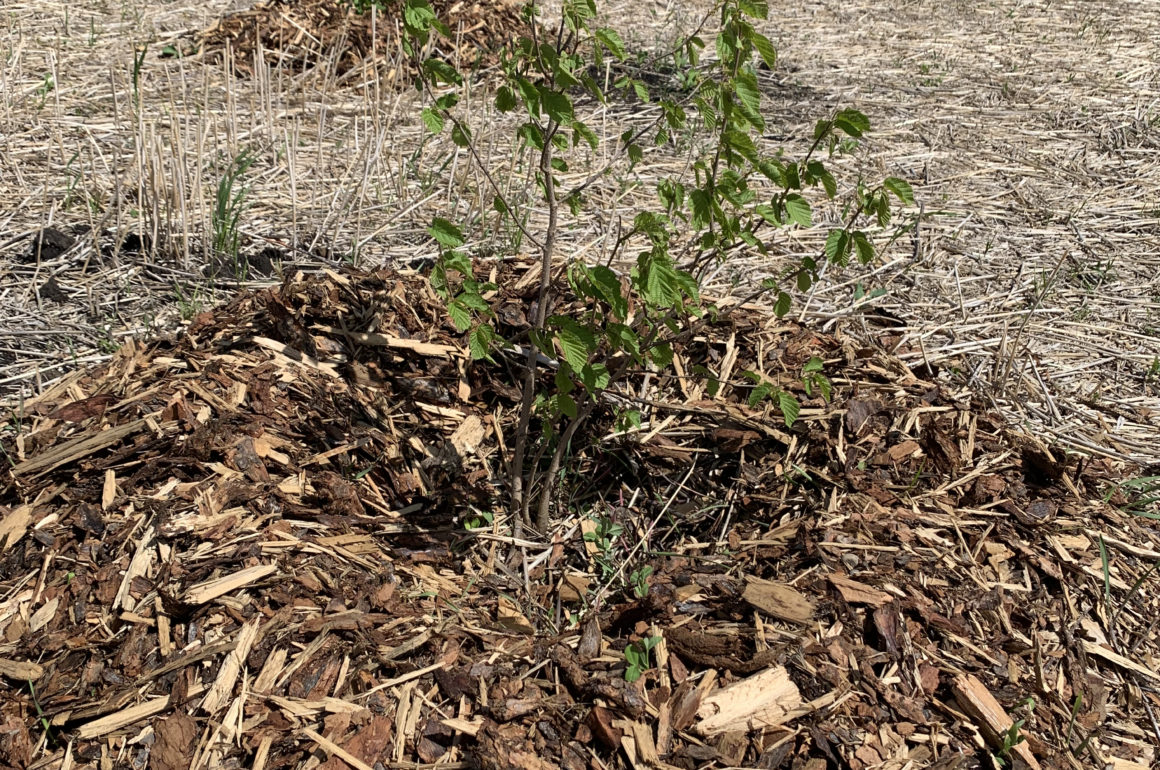
The last step, and one I consider to be of utmost importance, is to add a donut of mulch around each tree or bush. Mulch keeps the soil from drying out too quickly and keeps the weeds from growing around the tree. It also breaks down over time to provide rich nutrients for the tree as it grows. When mulching, you don’t want to put the mulch right up to the tree trunk – the trunk needs to breath or the excess moisture can cause a variety of problems. That’s why I say add a ‘donut’ of mulch – not a mountain of mulch. I aim to make my donut as large as possible (with the mulch I have available) – but a radius of about 2-3 ft should be good for seedlings. (That’s keeping the mulch back about 3 inches from the trunk…)
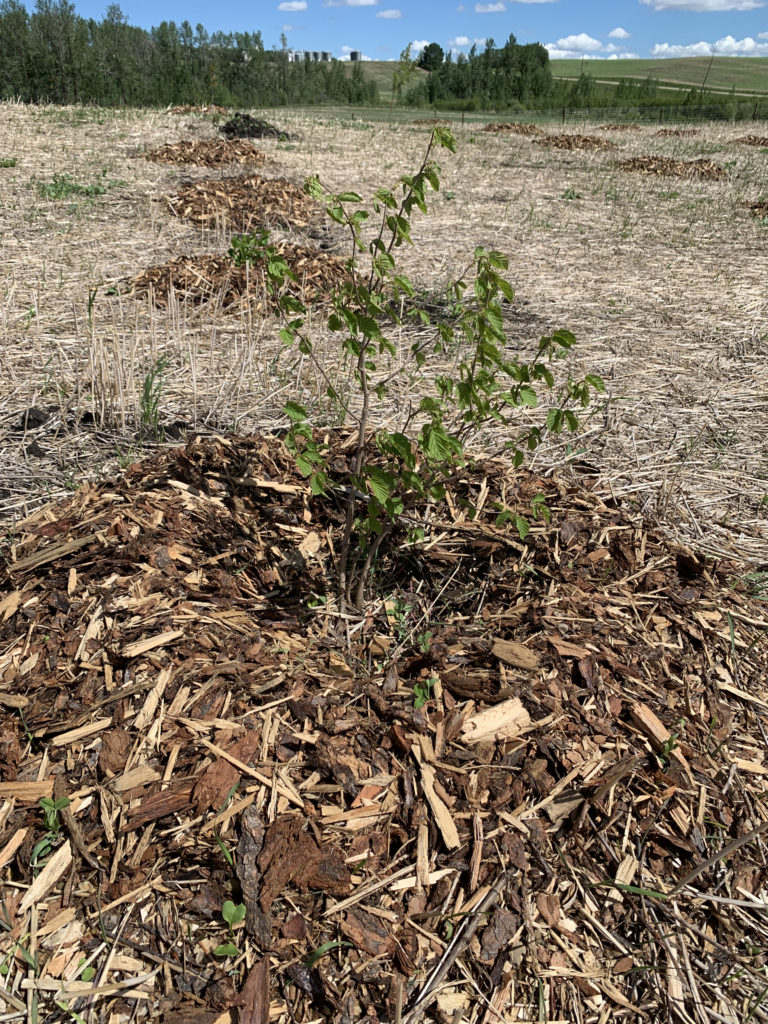
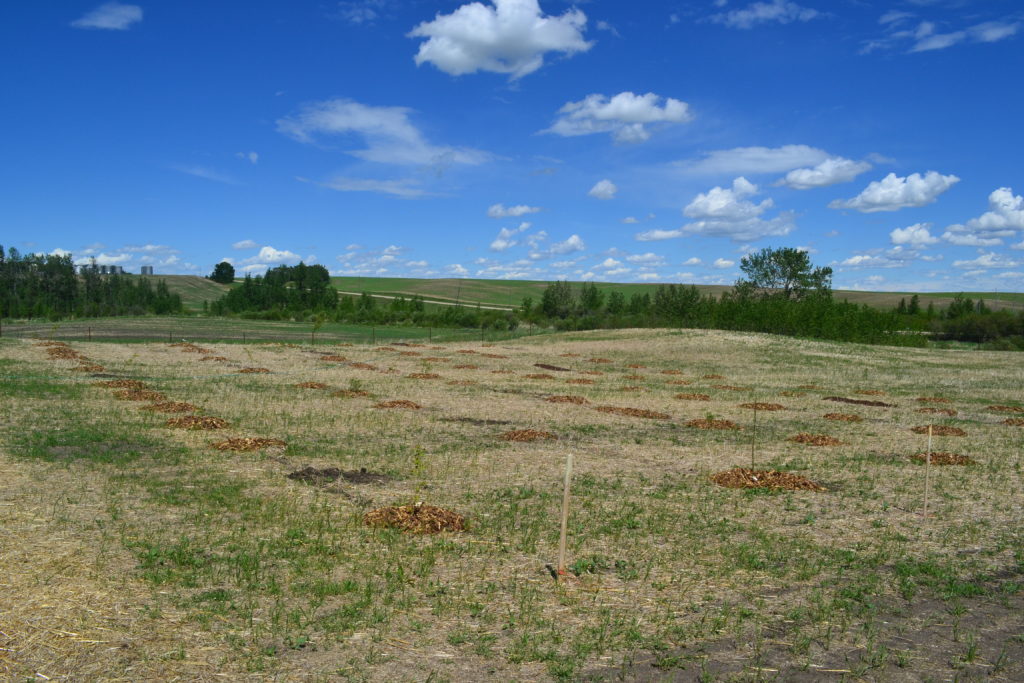
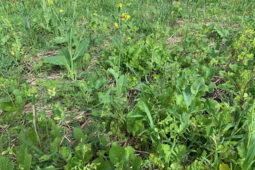
And that’s about it. To be honest, for the first few weeks, the orchard didn’t look like much. From a distance, all you could see was little piles of mulch in the the middle of the field. But slowly and surely the trees are growing. The first trees were planted on April 29, and the second batch on May 22. Most have leafed out now. (Though I’m still waiting for the Apricots and the American Plums to show signs of life.) Now, if you look close, you can at least see little green sticks and bushes as you look out over the orchard.
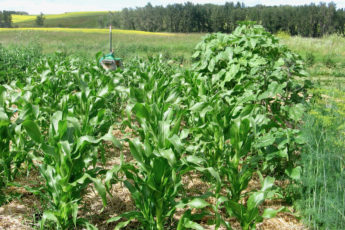
But soon we’ll have trees. And flowers. And fruit.
Soon.


Would love to see an update on your orchard and some pictures of how it’s coming.
Hey Kalin! The last couple years have been super dry here so while I did keep things alive, they didn’t really take off in growth. But that’s probably ok in the long run, as they’ve instead been able to put their energy into pushing down deep roots! I didn’t get a lot of photos last year, but I’ll aim to get some this year and post a more complete update. Thanks for asking!