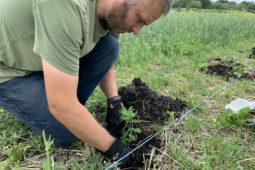
Sixteen years ago I planted dozens of young fruit trees in my front yard – and all but two of them were eaten by deer. So this time around, I’ll not be providing these four-legged menaces a smorgasbord of fresh fruit seedlings. I plan to plant over 500 trees, shrubs, and plants this summer and the best way to keep them safe from deer is to build a deer-resistant garden fortress. I could almost say “deer-proof” – but that would only motivate the deer to prove me wrong…)
My goal was to build a 8 ft high steel-post, wire-mesh fence around what will become my 2-acre garden/orchard. Normally, this could be a very intimidating (and expensive) task, but thankfully, I have a resourceful father-in-law full of good ol’ farmer ingenuity who has lots of great tools at his disposal. He happened to have a bunch of 30′ steel posts just laying around already and was willing to cut and weld them to 12 ft lengths. Meanwhile, I bought eight rolls of 4′ x 330′ wire fencing from Uncle Wieners (yes, that’s an actual retail store!) The 4′ fencing would be stacked two high to make the 8 ft fence.
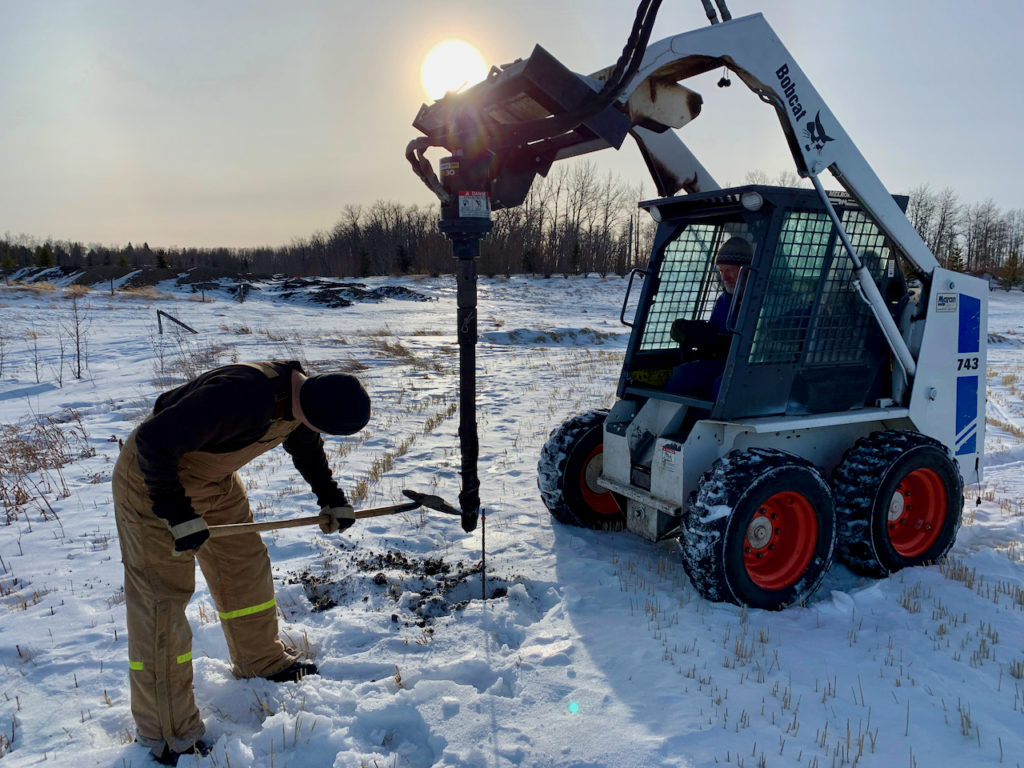
We began drilling post holes through the frost in January.
Believe it or not, we started putting in posts in January – the dead of winter! My father-in-law (Don) built a drill bit attachment for the skid-steer that could drill 3″ holes – just large enough to fit the 27⁄8” pipes. We drilled down through the frost with the bit, and then pushed the 12′ post 4 ft down into the ground with a tractor loader. This wasn’t always easy. The frost was deeper in some areas than others and several of the holes took quite a while to drill. Sometimes the drill would end up going in at a bit of an angle so that the post would either resist going in, or go in at a crooked angle. However, with a little push from the tractor, we could straighten up the posts so the fence would be straight and true.
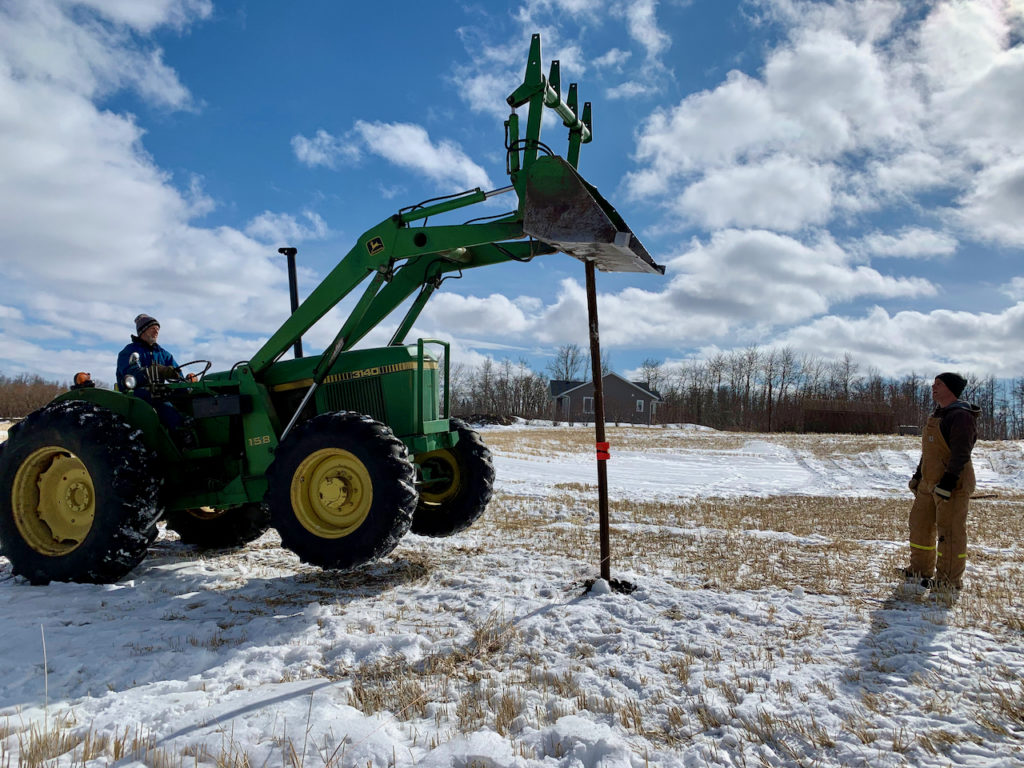
The tractor would push the 12′ post into the drilled hole. Sometimes it didn’t go down easy!

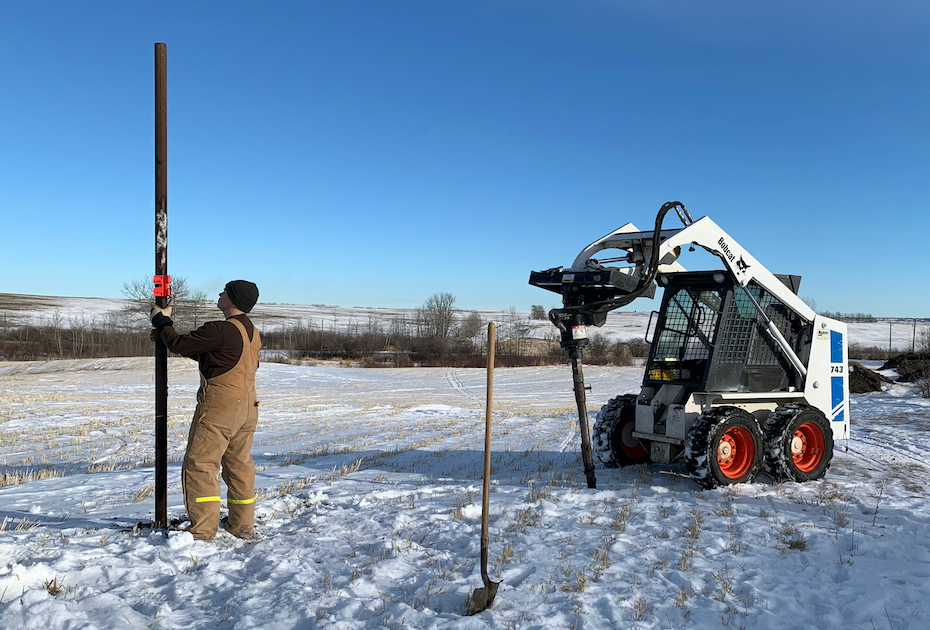
We managed to make sure that everything was straight and true by the time we were done.
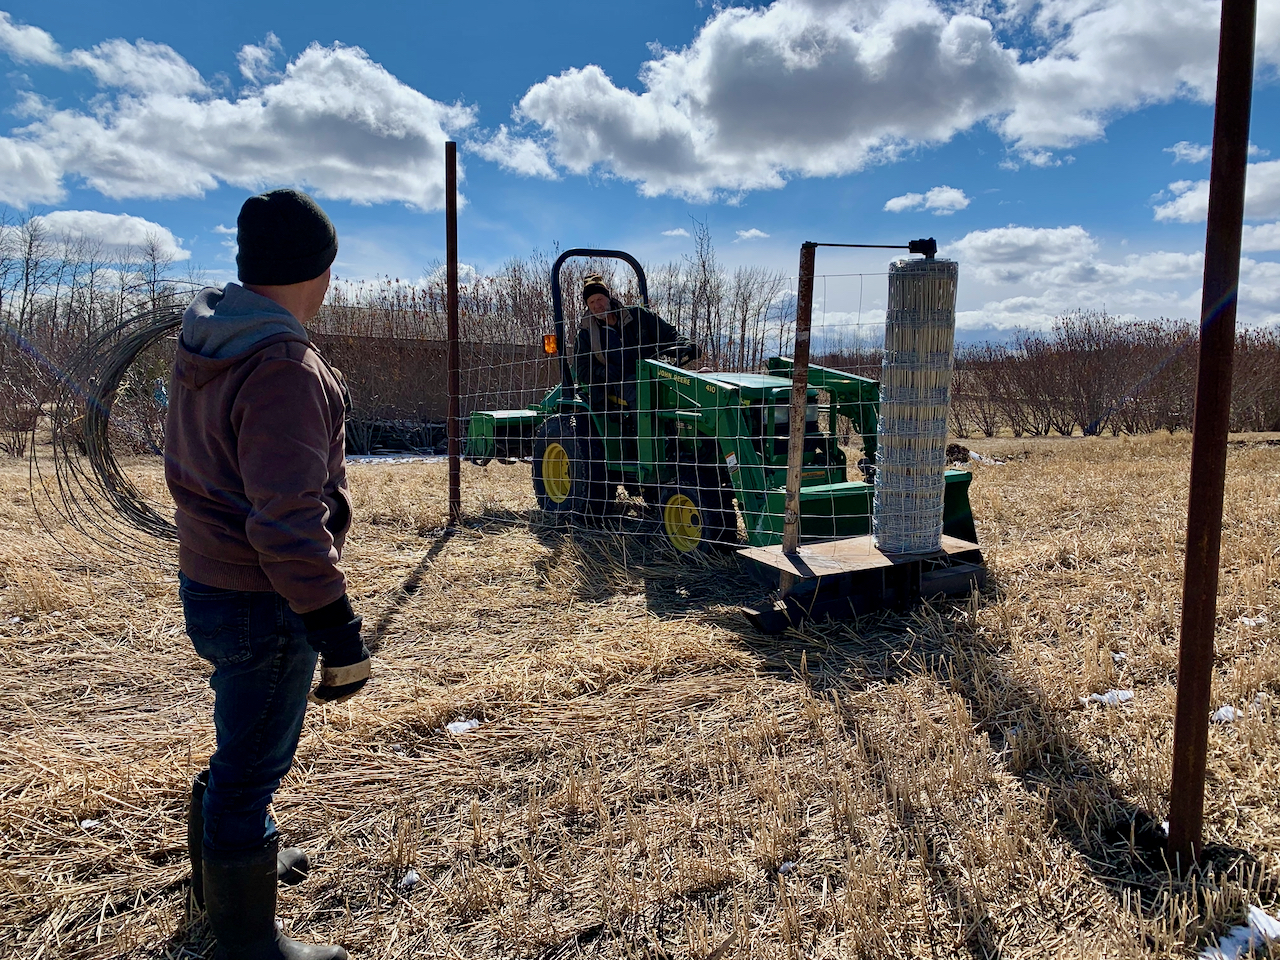
It took some time, but we eventually got all the posts in place and spaced 20′ apart. After welding in some corner braces, we began the process of attaching the wire. Don built a device attached to the garden tractor loader to help unroll and stretch the wire. He also build a little cordless drill attachment that could twist the wire that would tighten and hold the fencing to the posts. It all worked really well! Without these clever tools, the job would have been much harder and taken much longer!
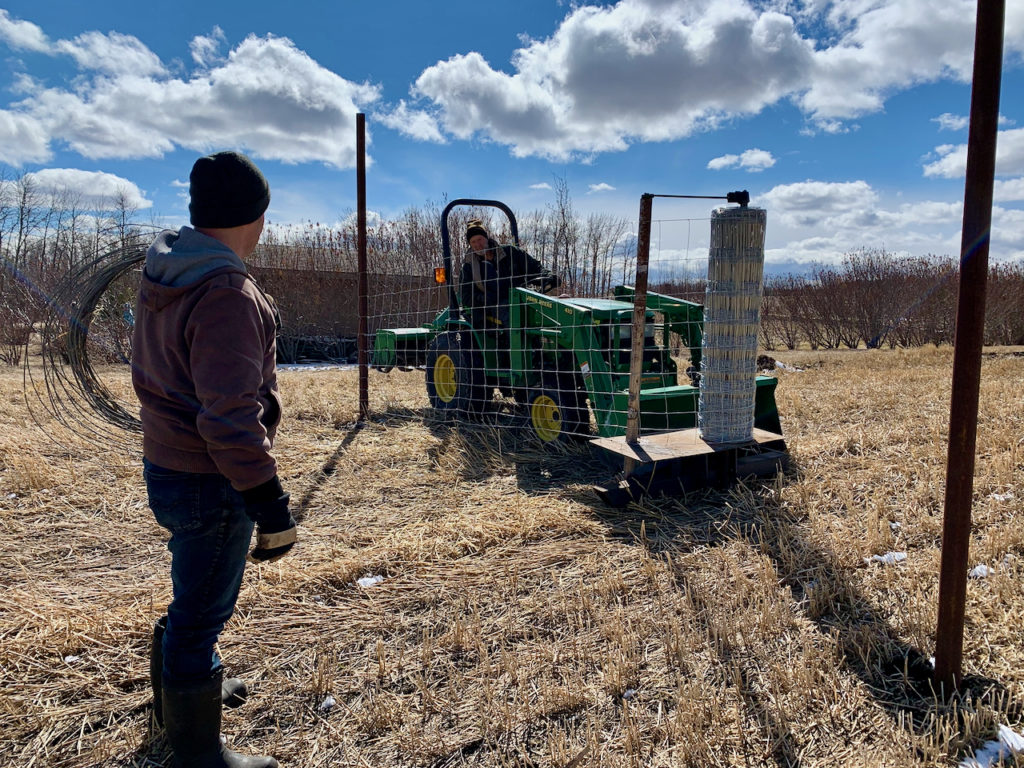
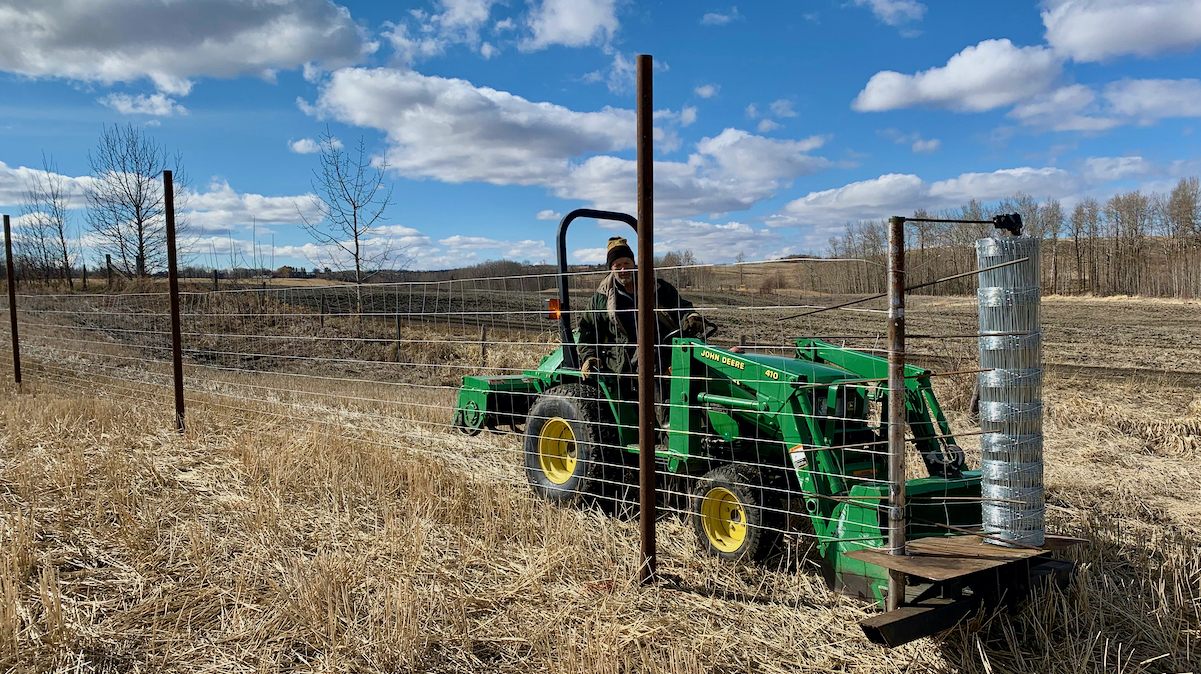
As we drove along, the heavy spool of wire fencing unravelled itself along the fence line.

By strategically placing several metal rods through the fencing, we could stop the roll from unraveling and tighten the fence.
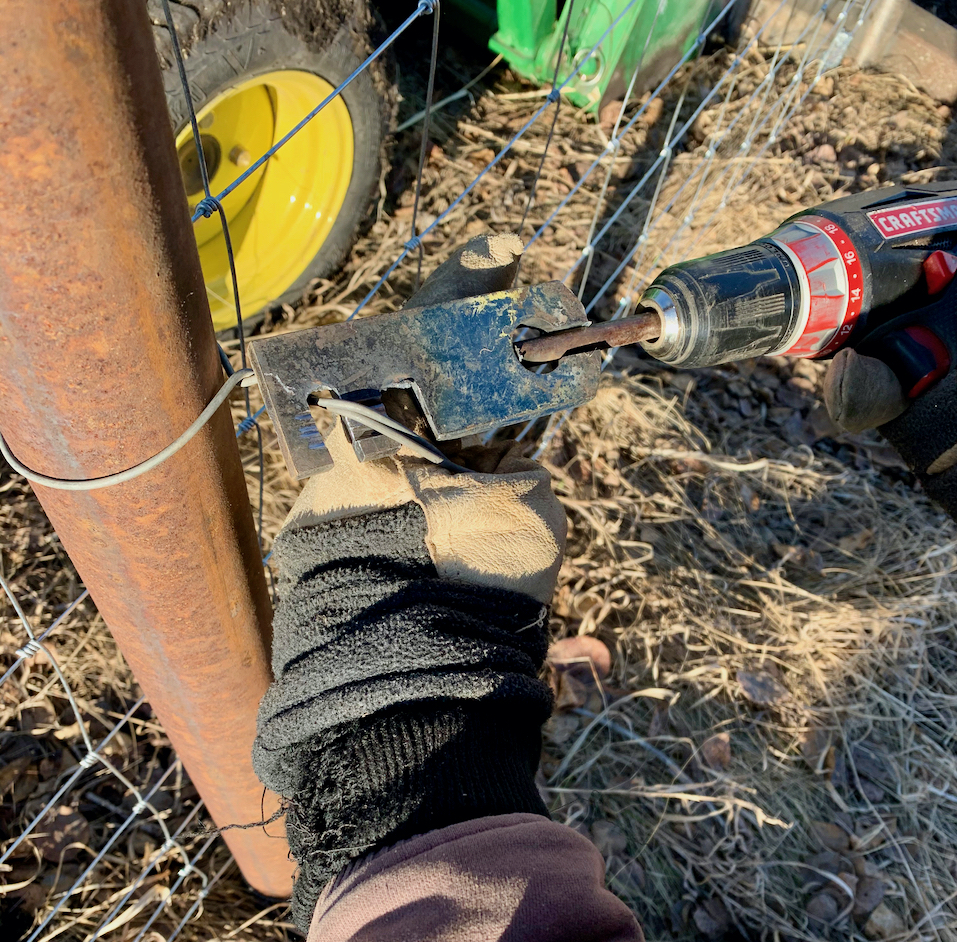
Don fashioned this little tool to twist the wire that held the fence to the post.
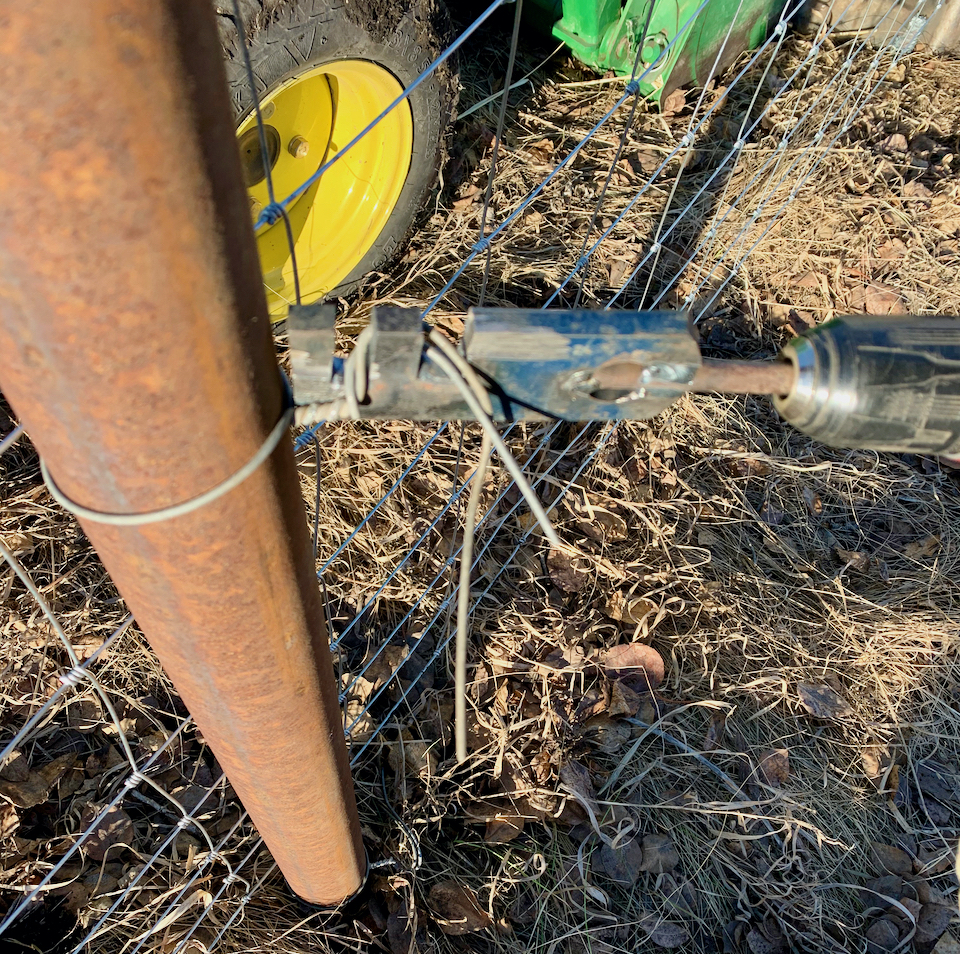
The tool worked great, but the 10 gauge wire seemed a bit stiff, so we eventually changed to 16 gauge.
We used 10 gauge wire at first, but found it to be too stiff to work with and it didn’t tighten around the post well. So we bought some 16 gauge wire (the stuff used for hanging ceiling tiles) and it worked well. It tightened up around the fencing nice and snug, and the ends typically broke off just after the twist so we didn’t have long wire tails to catch skin or clothing as you walked by. The once concern we currently have is whether or not the thinner, non-galvantized wire will rust away. If that happens we’ll need to rewire the fence to the posts in a few years, but for the ease and minimal cost of the thinner wire, we’re willing to take that risk.
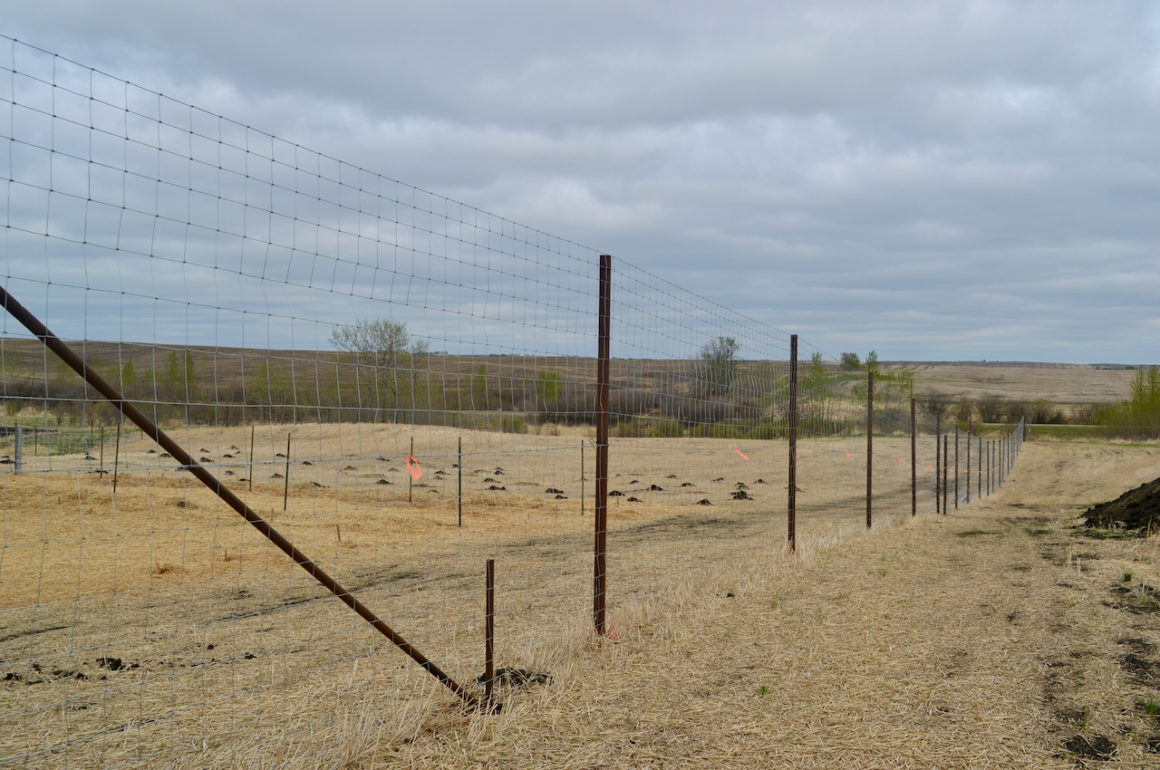
The final step was to add a couple of gates. We added two 20′ machinery gates at either end of the orchard made of two 25′ ft pieces of 8′ high deer fence. We then added a man-gate along the side nearest the house.
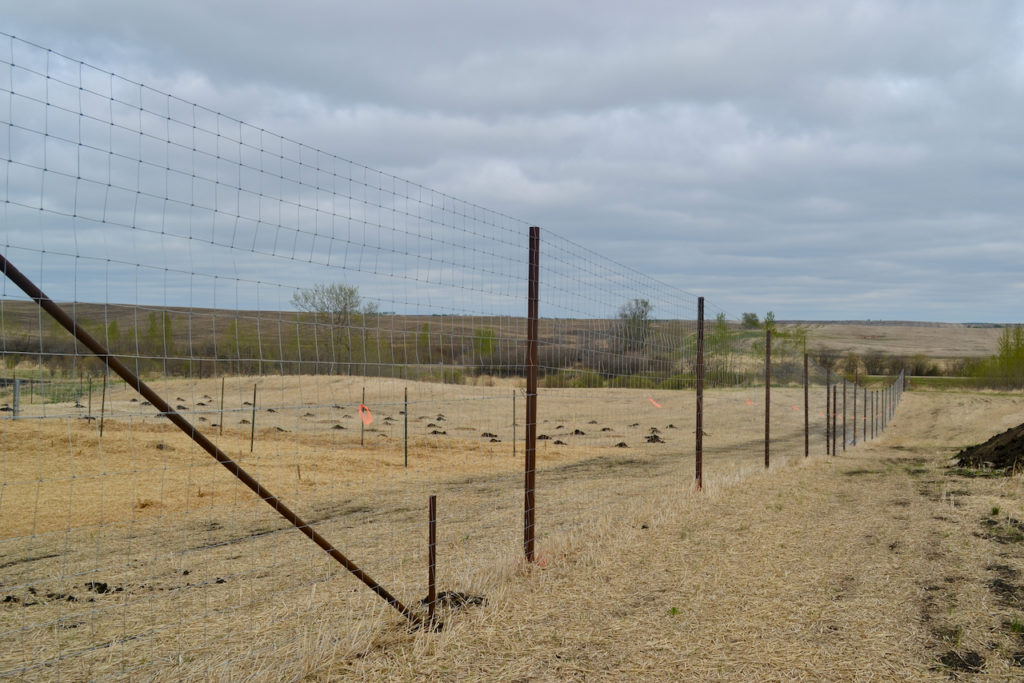
This 8′ fence now encompasses my entire garden & orchard – about 2 acres in all.

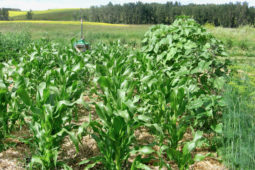
With that, our deer-resistant garden fortress was complete! The next phase would be to begin planting a garden on the west end and the orchard in the middle (with room for expansion in the east) – but I’ll tell you about that process later!
Like it? Hate it? Have questions? Leave a comment below!